Why Proper Vinyl Window Care Matters More Than You Think
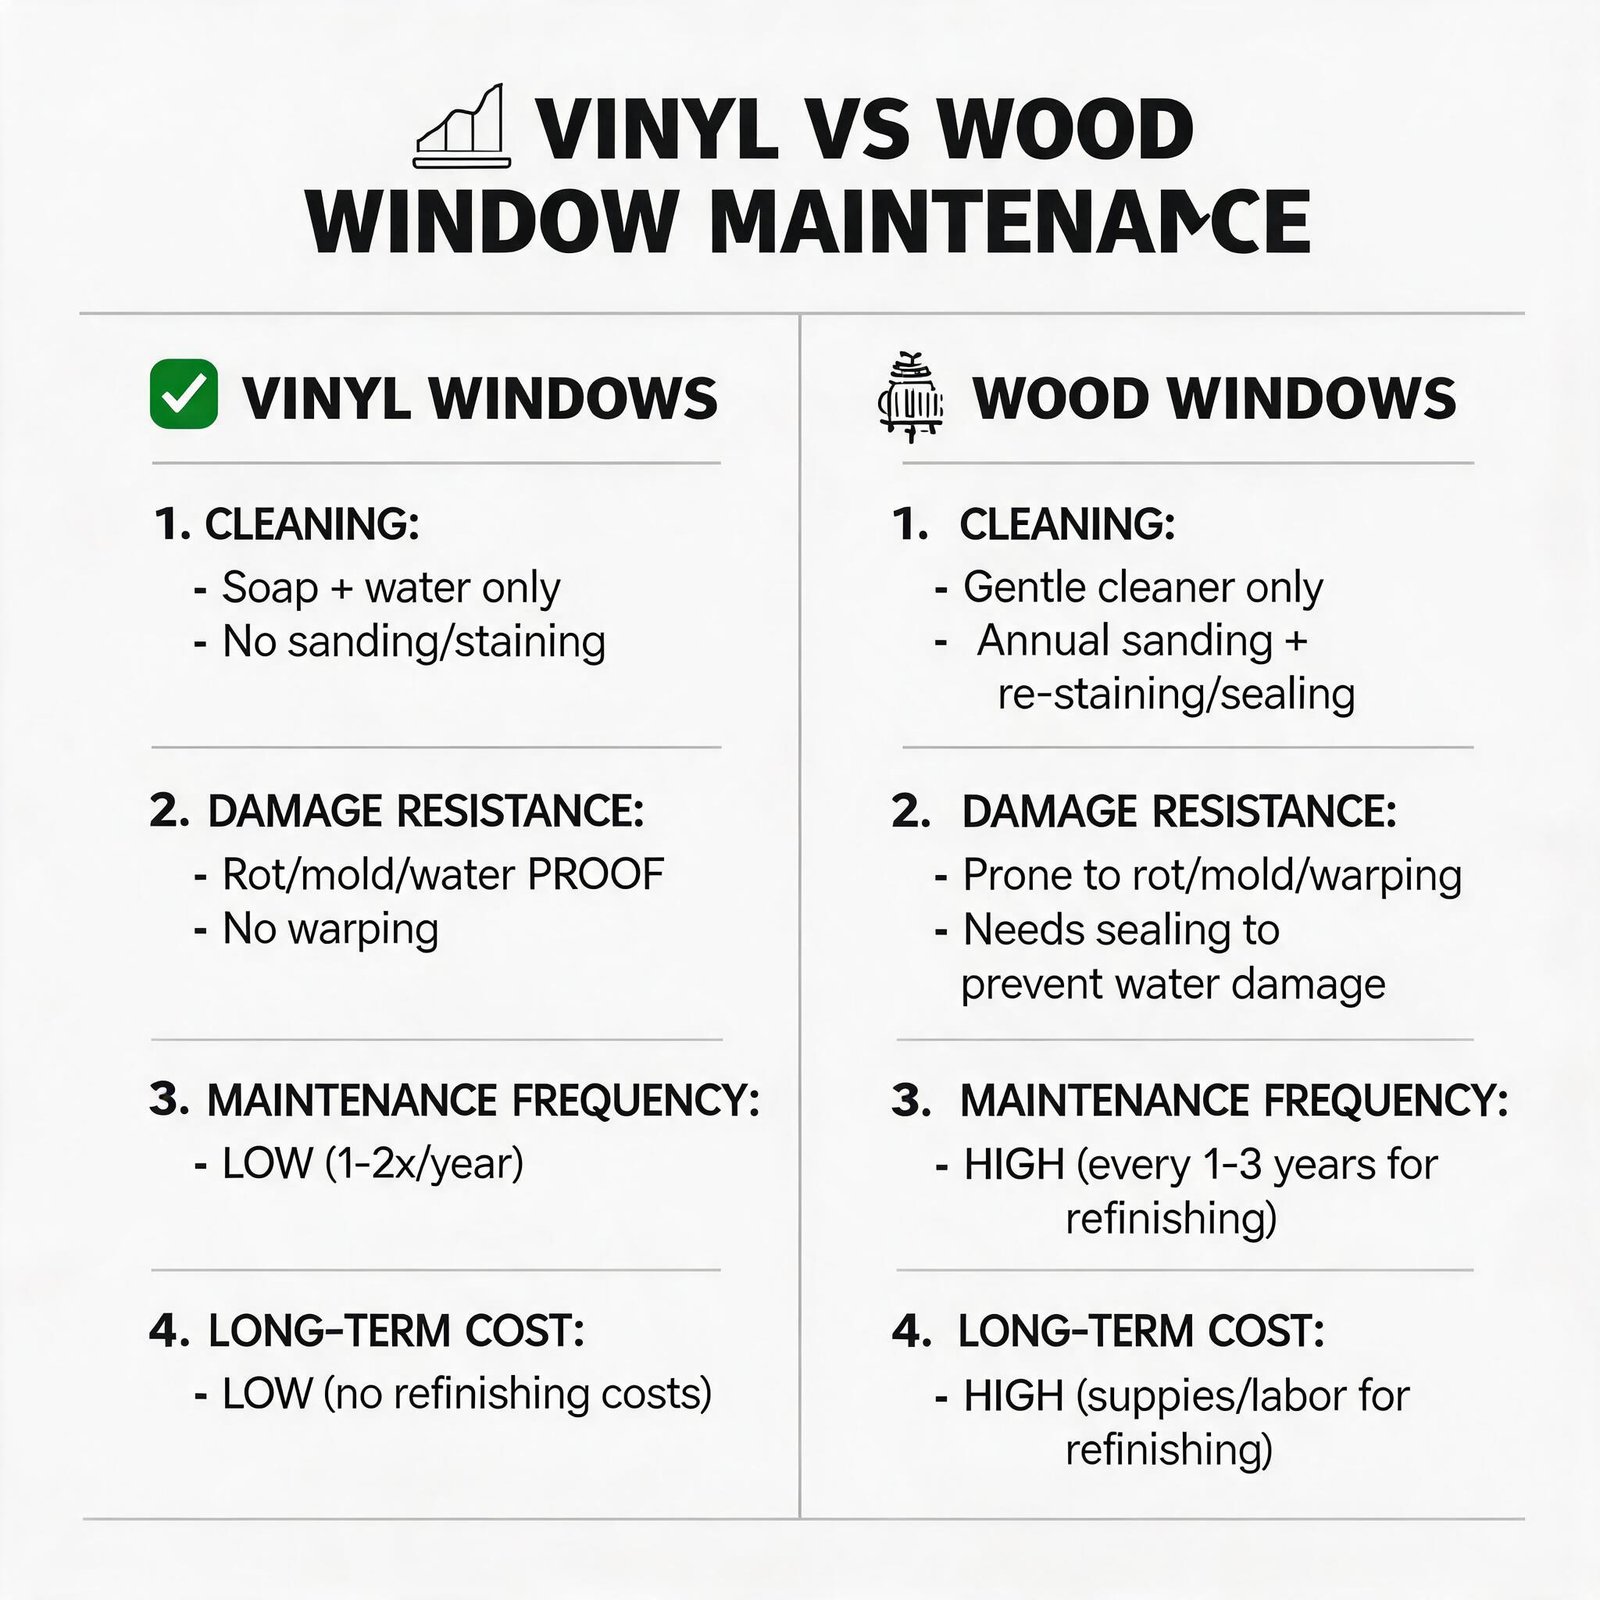
Before diving into the cleaning process, let’s understand what makes vinyl windows unique. Unlike wood that can be sanded and repainted, or aluminum that resists most chemicals, vinyl has specific vulnerabilities. The material contains plasticizers that keep it flexible and impact-resistant. Harsh cleaners can strip these plasticizers, leading to brittleness, cracking, and discoloration over time.
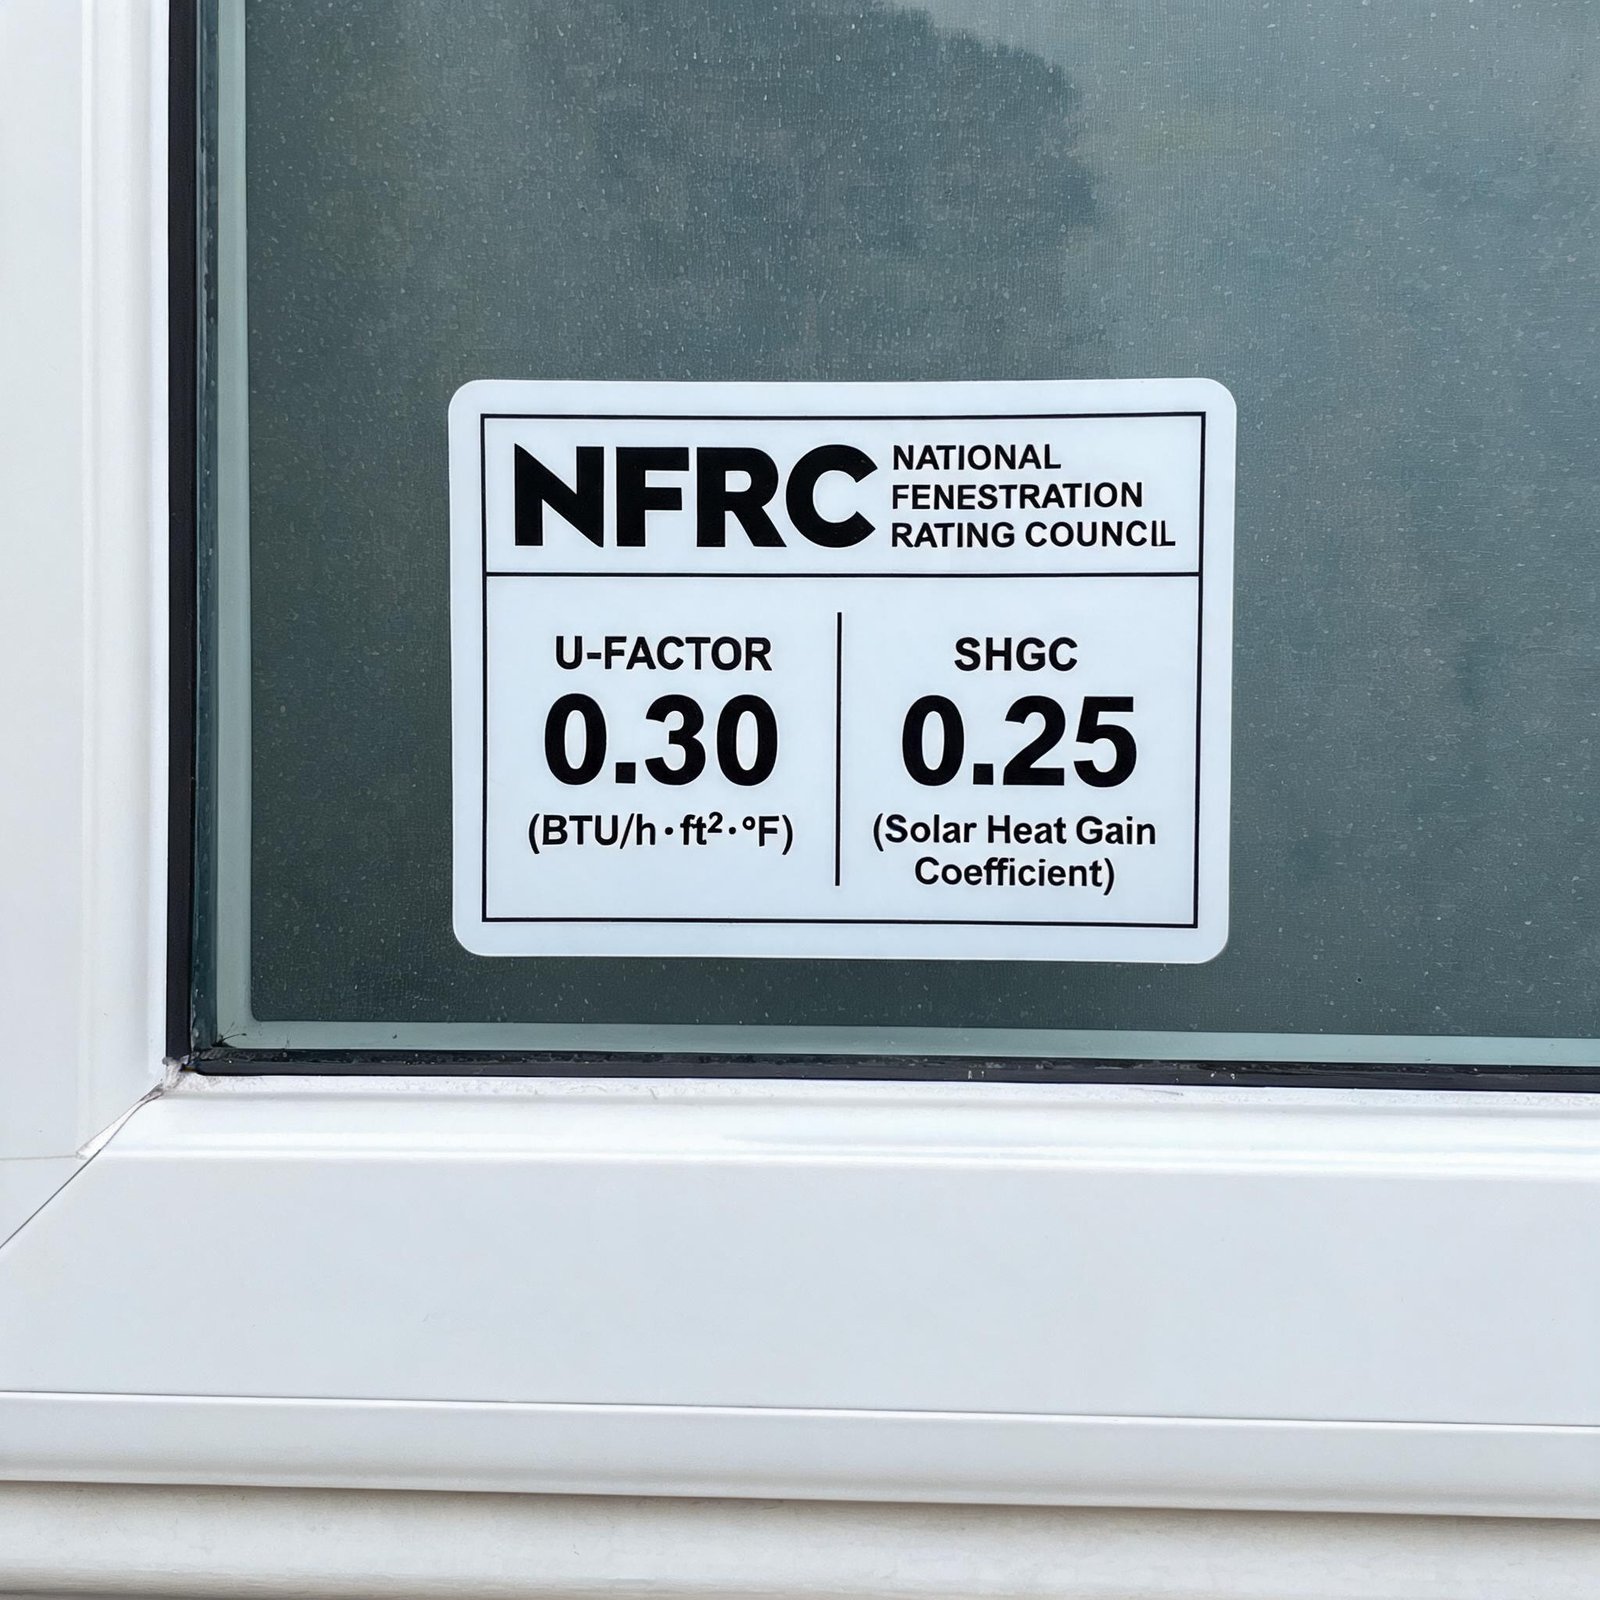
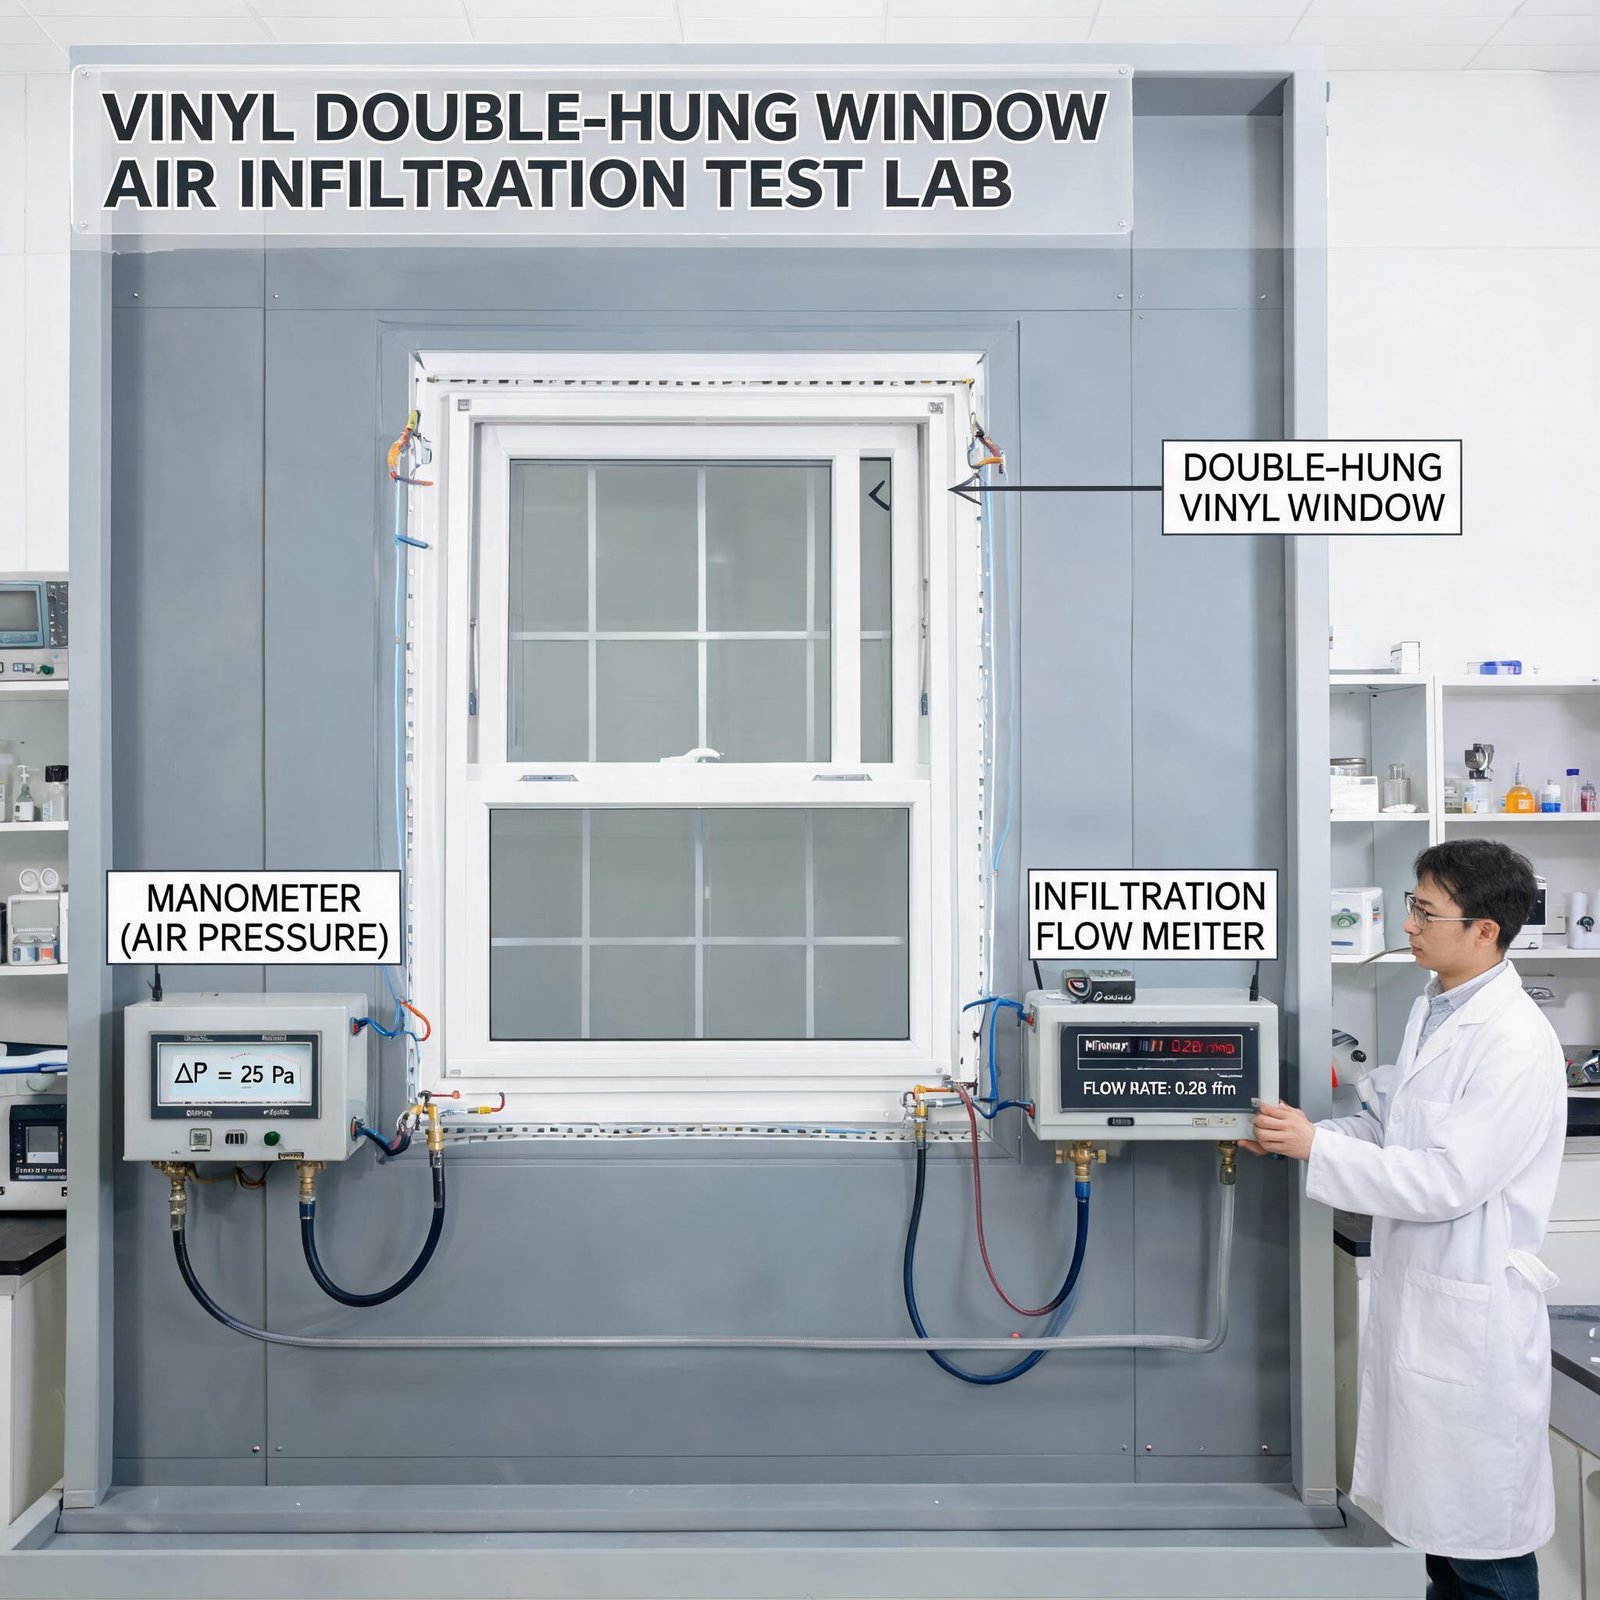
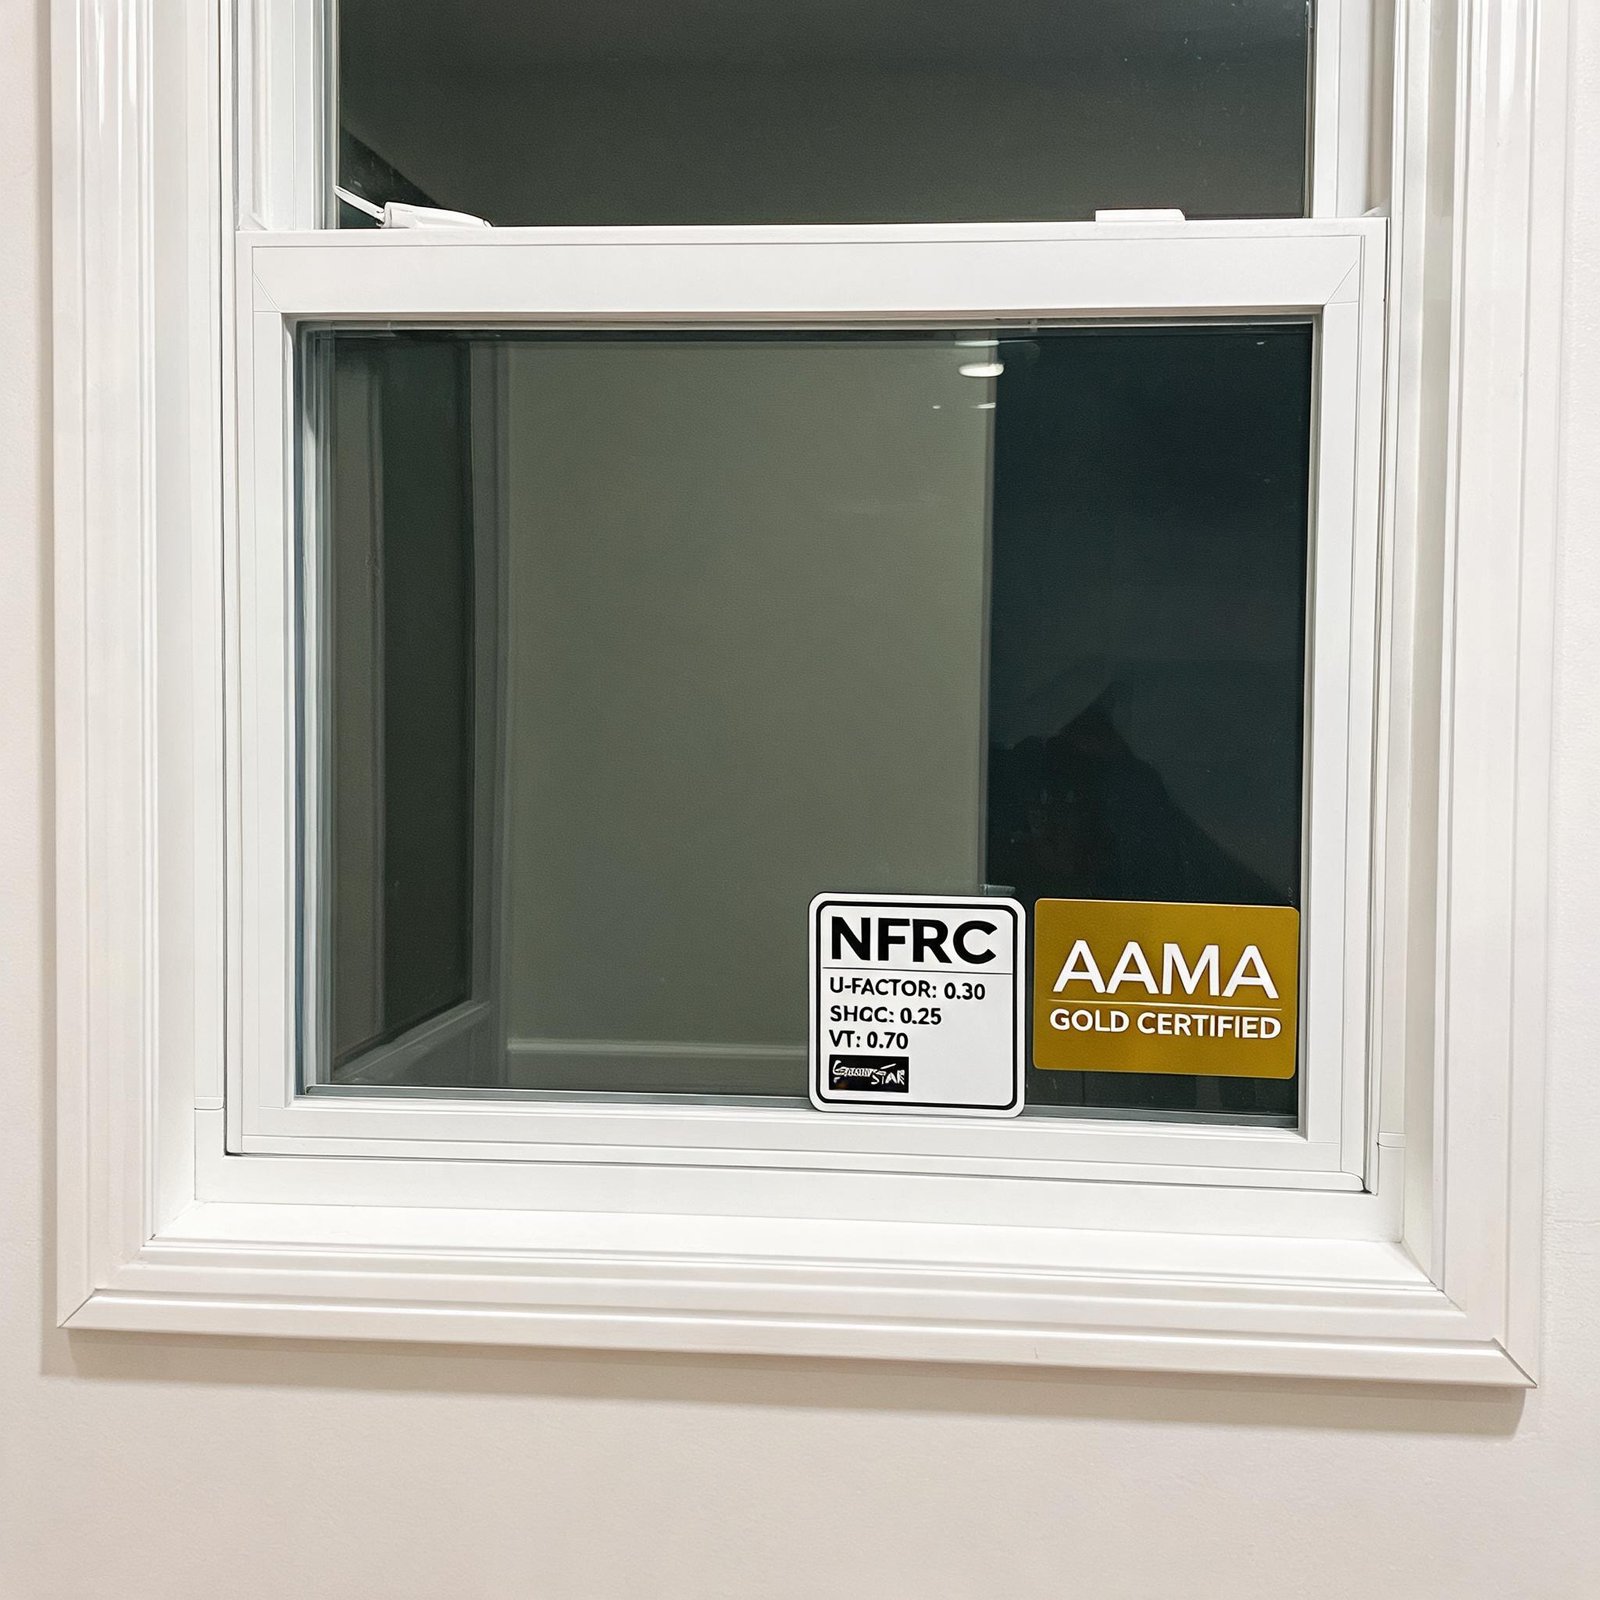
Regular maintenance does more than keep your windows looking good. Clean frames seal better against air and moisture infiltration, which directly impacts your energy bills. Dirt buildup can also trap moisture against the frame, creating conditions for mold growth that compromises indoor air quality. When you understand how to wash vinyl windows properly, you’re extending the life of one of your home’s most important investments.
Essential Supplies for Safe and Effective Cleaning
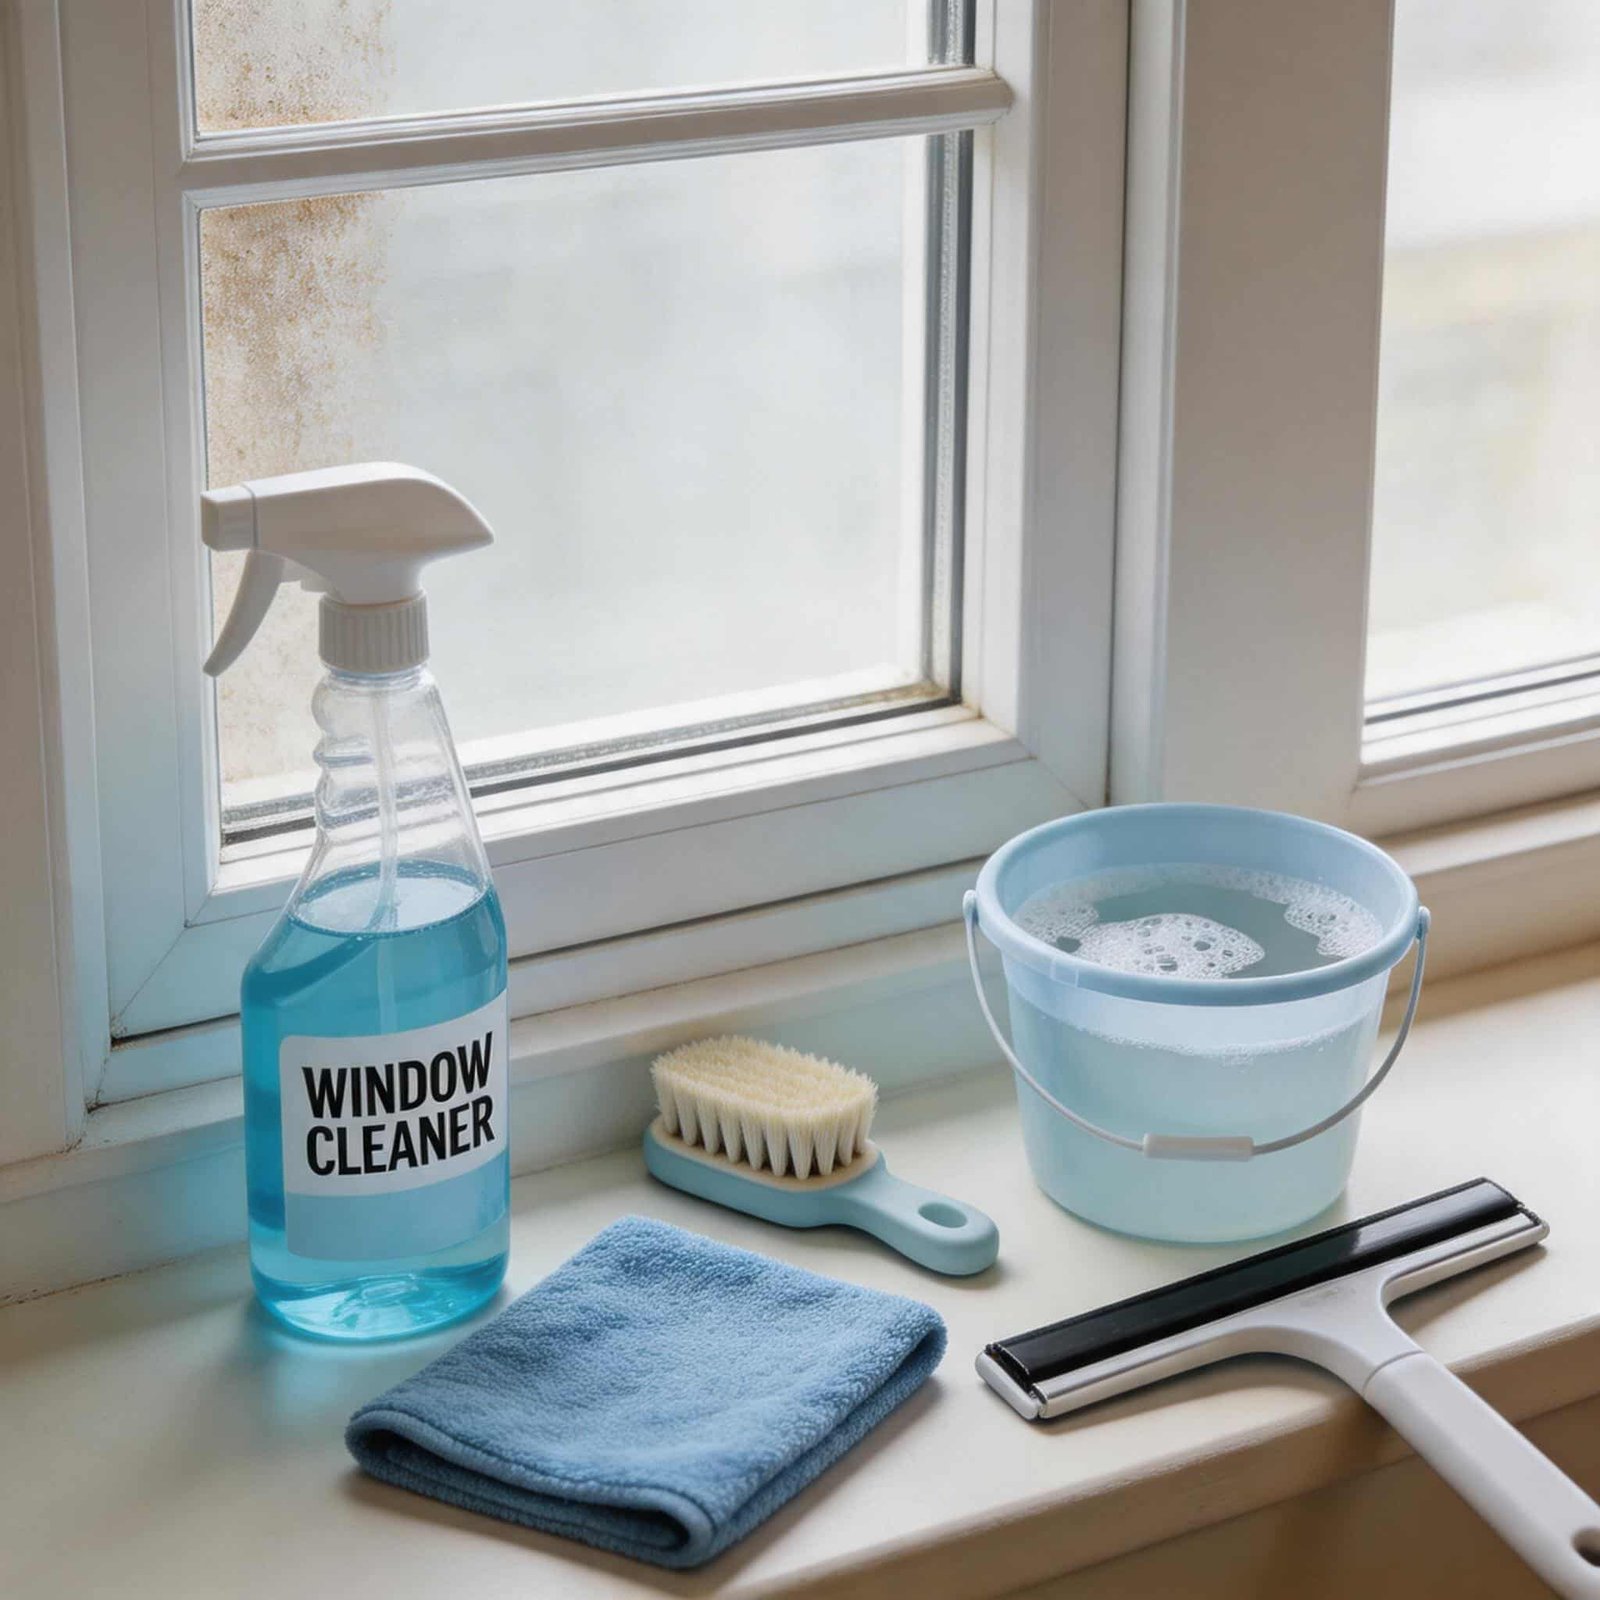
The right tools make all the difference. Here’s what I recommend based on years of testing various cleaning approaches:
Gentle Cleaning Solutions:
- Mild dish soap (avoid degreasing formulas with harsh chemicals)
- White distilled vinegar for tough stains
- Rubbing alcohol for mold and mildew spots
- Commercial vinyl-safe cleaners (check labels for pH-neutral formulas)
Proper Tools:
- Soft microfiber cloths (multiple, to avoid spreading dirt)
- Soft-bristled brush or old toothbrush for crevices
- Garden hose with spray nozzle or bucket of clean water
- Squeegee for glass (optional but helpful)
- Step ladder for upper windows
What to Avoid at All Costs:
- Bleach and ammonia-based cleaners
- Abrasive scrub pads or steel wool
- Pressure washers (they force water behind seals)
- Razor blades or sharp scrapers
- Citrus-based cleaners that can etch vinyl
Step-by-Step Professional Cleaning Method
Preparing Your Work Area
Start by removing window screens if possible. This gives you full access to the frame and prevents dirt from getting trapped between the screen and window. Lay down drop cloths or old towels below the windows to catch drips and protect your landscaping or siding.
Check the weather forecast before beginning. Direct sunlight can cause cleaning solutions to dry too quickly, leaving streaks and residue. Overcast days or morning hours provide ideal working conditions.
Dry Dusting and Debris Removal
This preliminary step is often overlooked but critically important. Use a soft brush or dry microfiber cloth to remove loose dust, cobwebs, and debris from the frame surfaces. Pay special attention to the bottom track where leaves, dead insects, and grit accumulate.
If you skip this step, you’ll essentially be grinding abrasive particles into the vinyl surface during wet cleaning. This creates microscopic scratches that trap dirt more easily in the future and dull the finish over time.
Creating Your Cleaning Solution
Mix a few drops of mild dish soap with warm water in a bucket. The water should be warm but not hot, as extreme temperatures can affect vinyl. Hot water combined with direct sunlight can cause the frame to expand temporarily, potentially compromising the seal.
For areas with stubborn grime or light mold, prepare a separate solution of equal parts white vinegar and water. Vinegar is acidic enough to break down mineral deposits and organic growth but gentle enough not to damage vinyl when used properly.
Washing the Frame Surfaces
Dip your microfiber cloth in the soapy water and wring it out thoroughly. You want a damp cloth, not a dripping one. Excess water can seep behind the frame and into wall cavities, potentially causing issues with insulation or drywall.
Work from top to bottom, cleaning the frame in sections. Use gentle circular motions to lift dirt without pressing too hard. For the horizontal surfaces where dirt settles most heavily, you may need to rinse and re-wipe several times.
When you encounter stubborn spots, apply the vinegar solution directly to the area and let it sit for 30-60 seconds before wiping. This dwell time allows the vinegar to break down deposits without requiring aggressive scrubbing.
Cleaning Window Tracks and Crevices
The bottom track of vinyl windows is where most problems develop. Dirt, pollen, and moisture collect here, creating the perfect environment for mold and mildew. Use your soft-bristled brush or an old toothbrush to agitate dirt in the track channels.
For particularly dirty tracks, create a paste by mixing baking soda with a small amount of vinegar. Apply this paste to the track, let it sit for five minutes, then scrub gently. The mild abrasiveness of baking soda helps lift grime without scratching the vinyl surface.
Rinsing Thoroughly
This step cannot be emphasized enough. Any soap residue left on vinyl frames will attract more dirt and can cause streaking when sunlight hits the windows. Use clean water and a fresh microfiber cloth to wipe down all surfaces, changing the cloth frequently.
If you’re using a garden hose, use a gentle spray pattern and avoid directing water at the window seals. The goal is to rinse the frame surfaces, not blast water into the window mechanism.
Drying for Streak-Free Results
Vinyl dries quickly, but water spots can form if you let it air dry unevenly. Use a clean, dry microfiber cloth to buff the frames immediately after rinsing. Work in long, overlapping strokes to prevent streaking.
Pay special attention to corners and crevices where moisture tends to linger. A cotton swab or small cloth wrapped around a toothpick can reach these tight spaces effectively.
Addressing Mold and Mildew
If you discover black spots or greenish discoloration on your vinyl frames, you’re dealing with mold or mildew. This is particularly common in bathrooms, kitchens, and windows near humid areas.
Create a solution of one part rubbing alcohol to three parts water. Apply this to the affected areas with a cloth, let it sit for several minutes, then scrub gently with your soft brush. Rinse thoroughly and dry completely. For persistent mold, you may need to repeat this process several times.
Never use bleach on vinyl windows. While bleach kills mold effectively, it also degrades the vinyl material and can cause yellowing that’s impossible to reverse.
Protecting Window Hardware and Seals
While cleaning the frames, take a moment to inspect the weatherstripping and seals. These components are essential for energy efficiency but are often neglected. Wipe them gently with a damp cloth, being careful not to dislodge them.
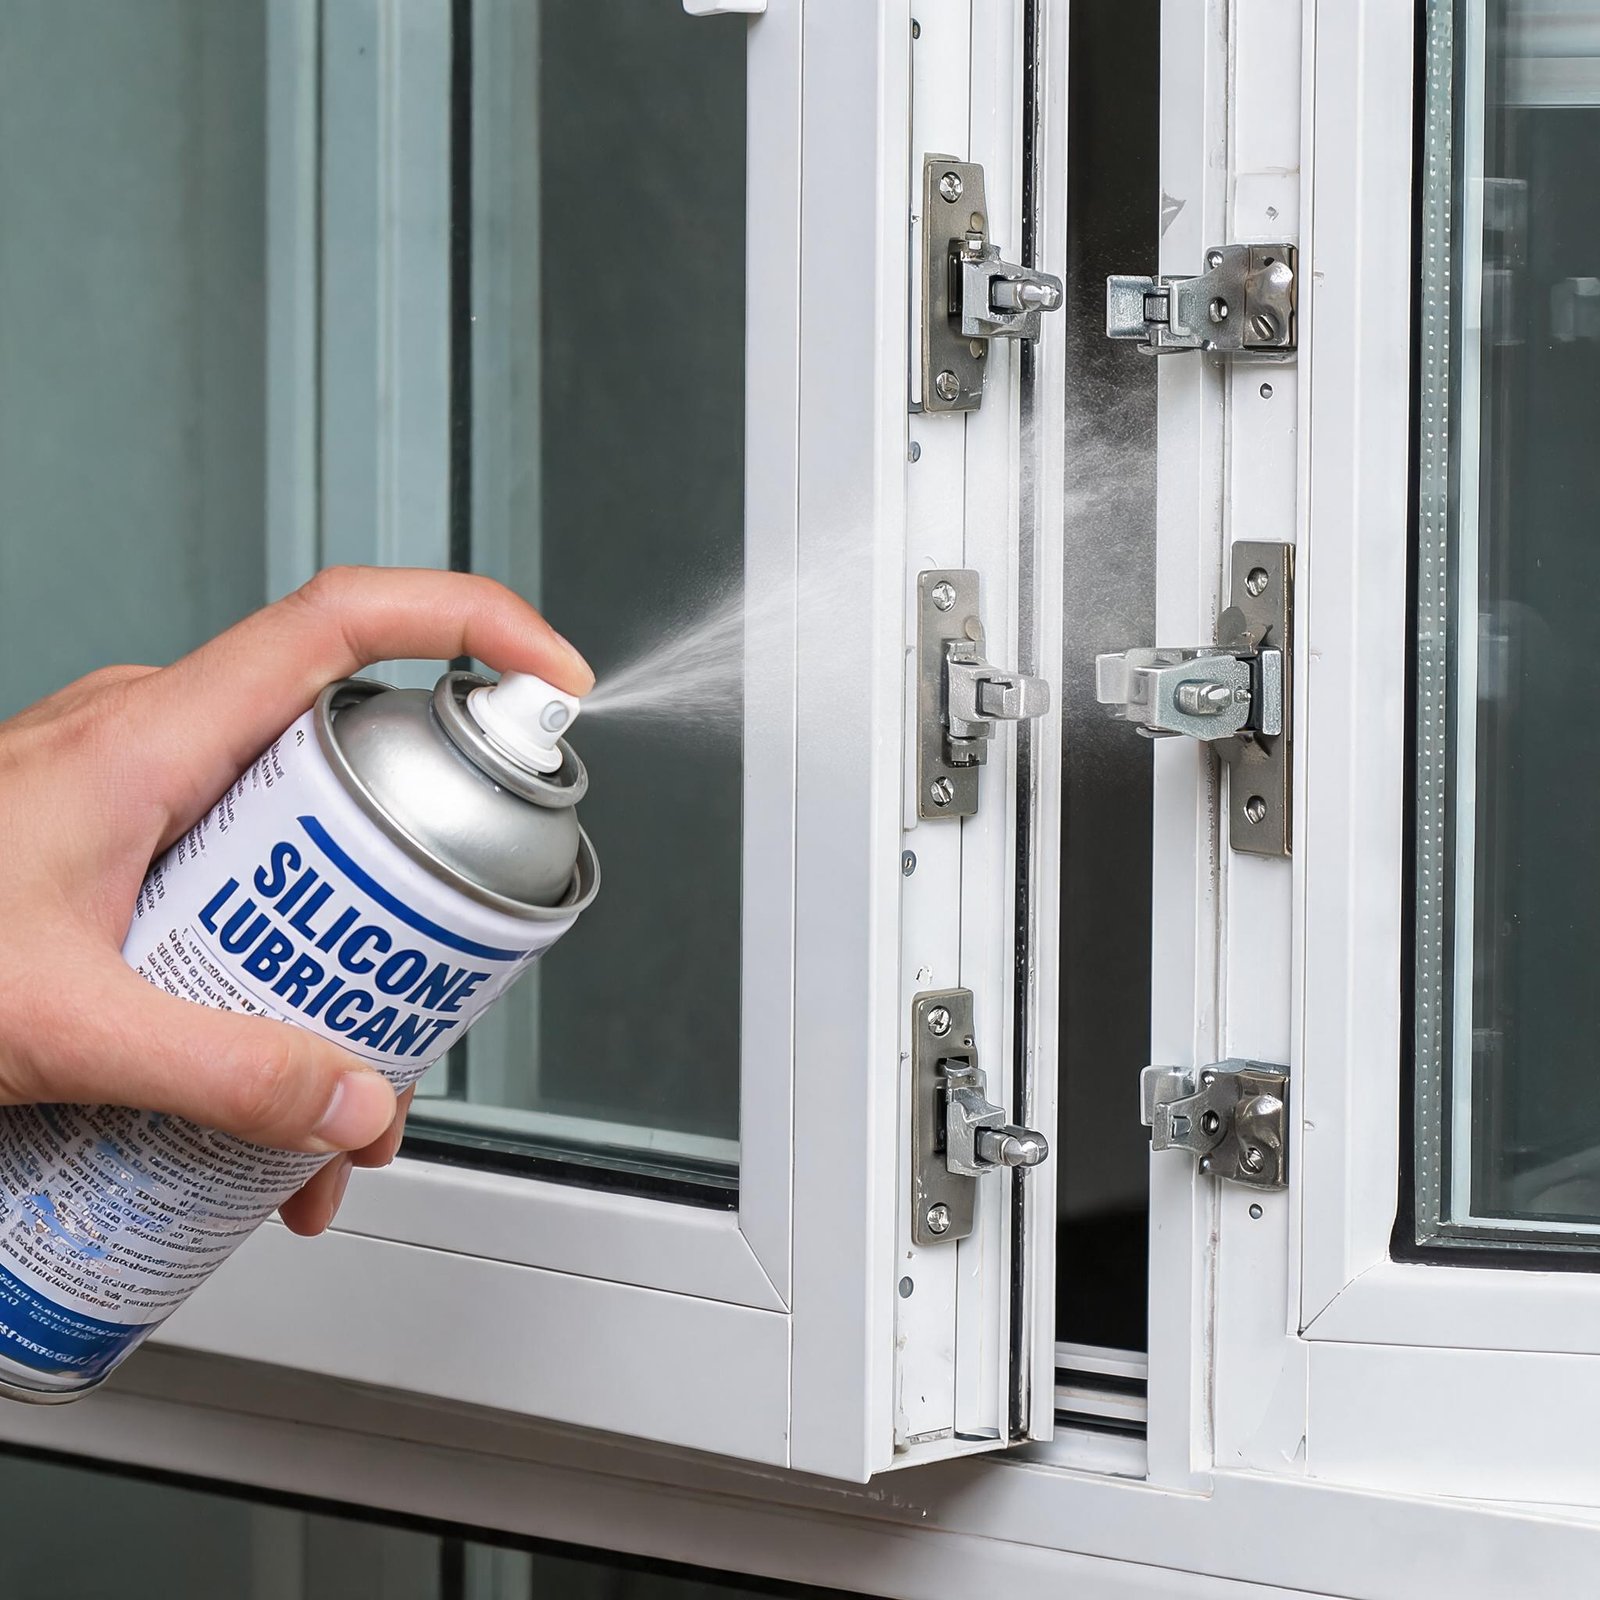
For sliding windows, clean the tracks thoroughly and apply a silicone-based lubricant to the moving parts. Avoid petroleum-based lubricants that can deteriorate vinyl over time. A properly lubricated window operates smoothly and maintains a better seal.
Final Inspection and Touch-Ups
Once everything is dry, step back and examine your work in different lighting conditions. Look for missed spots, streaks, or areas where dirt remains. Pay attention to corners and the areas around hardware where grime tends to hide.
If you notice any areas where the vinyl appears chalky or faded, this indicates oxidation. A specialized vinyl restoration product can help restore the original color and sheen. Apply these products according to manufacturer instructions, typically with a soft cloth using circular motions.
Common Mistakes That Damage Vinyl Windows
Understanding what not to do is just as important as knowing the correct methods. Here are the most frequent errors I see homeowners make:
Using abrasive cleaners: Scouring powders, magic erasers, and harsh scrub pads create microscopic scratches that permanently dull the finish. Once the surface is roughened, it traps dirt more easily and becomes harder to clean in the future.
Applying too much pressure: Vinyl is flexible by design, but excessive pressure during cleaning can warp the frame or damage the seal between the frame and glass. Let your cleaning solution do the work rather than relying on physical force.
Neglecting regular maintenance: Waiting until windows are visibly dirty makes cleaning much harder. A quick monthly wipe-down prevents buildup and keeps windows looking their best with minimal effort.
Using the wrong cleaning products: Many all-purpose cleaners contain chemicals that are too harsh for vinyl. Always check labels and test new products on an inconspicuous area first.
Seasonal Maintenance Schedule
Different seasons bring different challenges for vinyl windows. Here’s how to adjust your cleaning routine throughout the year:
Spring: Focus on removing winter grime and pollen. This is the ideal time for a deep clean, including tracks and hardware. Inspect seals for any damage caused by freezing temperatures.
Summer: Clean more frequently if you live in a dusty area or near construction. Pay attention to insect debris and bird droppings, which can etch the surface if left too long.
Fall: Remove fallen leaves and debris from tracks before they decompose. This is also a good time to check weatherstripping before winter arrives.
Winter: Focus on interior cleaning only. Avoid washing windows when temperatures are below freezing, as ice can damage seals and the vinyl itself becomes more brittle in cold weather.
When to Call a Professional
While most vinyl window cleaning can be done by homeowners, certain situations warrant professional help. If you notice:
- Water stains between double-pane glass (indicates seal failure)
- Visible warping or buckling of the frame
- Persistent mold that returns despite thorough cleaning
- Difficulty opening or closing windows after cleaning
These issues may indicate underlying problems that require professional assessment. Attempting to fix them yourself could void warranties or cause further damage.
Frequently Asked Questions
Can I use a pressure washer to clean vinyl windows?
No, pressure washers can force water behind the window seals and into wall cavities. The high pressure can also damage the vinyl surface and dislodge weatherstripping. Stick to gentle hand washing methods.
How often should I clean my vinyl windows?
For most homes, a thorough cleaning twice per year is sufficient. However, windows in high-traffic areas, near kitchens, or in humid environments may need more frequent attention. A quick monthly wipe-down helps maintain appearance between deep cleans.
Will vinegar damage my vinyl windows?
White vinegar is safe for vinyl when used properly. It should be diluted with water and rinsed thoroughly after use. Avoid letting vinegar sit on the surface for extended periods, and never use it on unsealed or damaged areas.
What’s the best way to remove hard water spots from vinyl?
Hard water spots respond well to vinegar solutions. Apply undiluted white vinegar to the spots, let it sit for a few minutes, then wipe with a damp cloth. For stubborn deposits, a paste of baking soda and vinegar can provide gentle abrasion.
Can I use window cleaner on the frames?
Standard glass cleaners are generally safe for vinyl frames, but they’re not ideal for removing dirt and grime. Stick to mild soap and water for frames, and reserve glass cleaner for the windows themselves.
How do I prevent mold from growing on my window frames?
Improve ventilation in humid areas, wipe condensation from windows regularly, and address any water leaks promptly. Keeping frames clean and dry is the most effective prevention strategy.
My vinyl windows look faded. Can I paint them?
Painting vinyl windows is possible but requires special paint formulated for vinyl. Standard house paint will peel and crack as the vinyl expands and contracts with temperature changes. Consult your window manufacturer before painting, as it may void warranties.
Is it safe to use bleach on vinyl window frames?
No, bleach should never be used on vinyl windows. It degrades the material and causes irreversible yellowing. Use vinegar or rubbing alcohol solutions for disinfecting instead.
By following these professional methods, you’ll keep your vinyl windows looking beautiful and functioning properly for decades. Remember that gentle, consistent care always outperforms aggressive cleaning approaches. Your windows are an investment worth protecting with the right techniques.