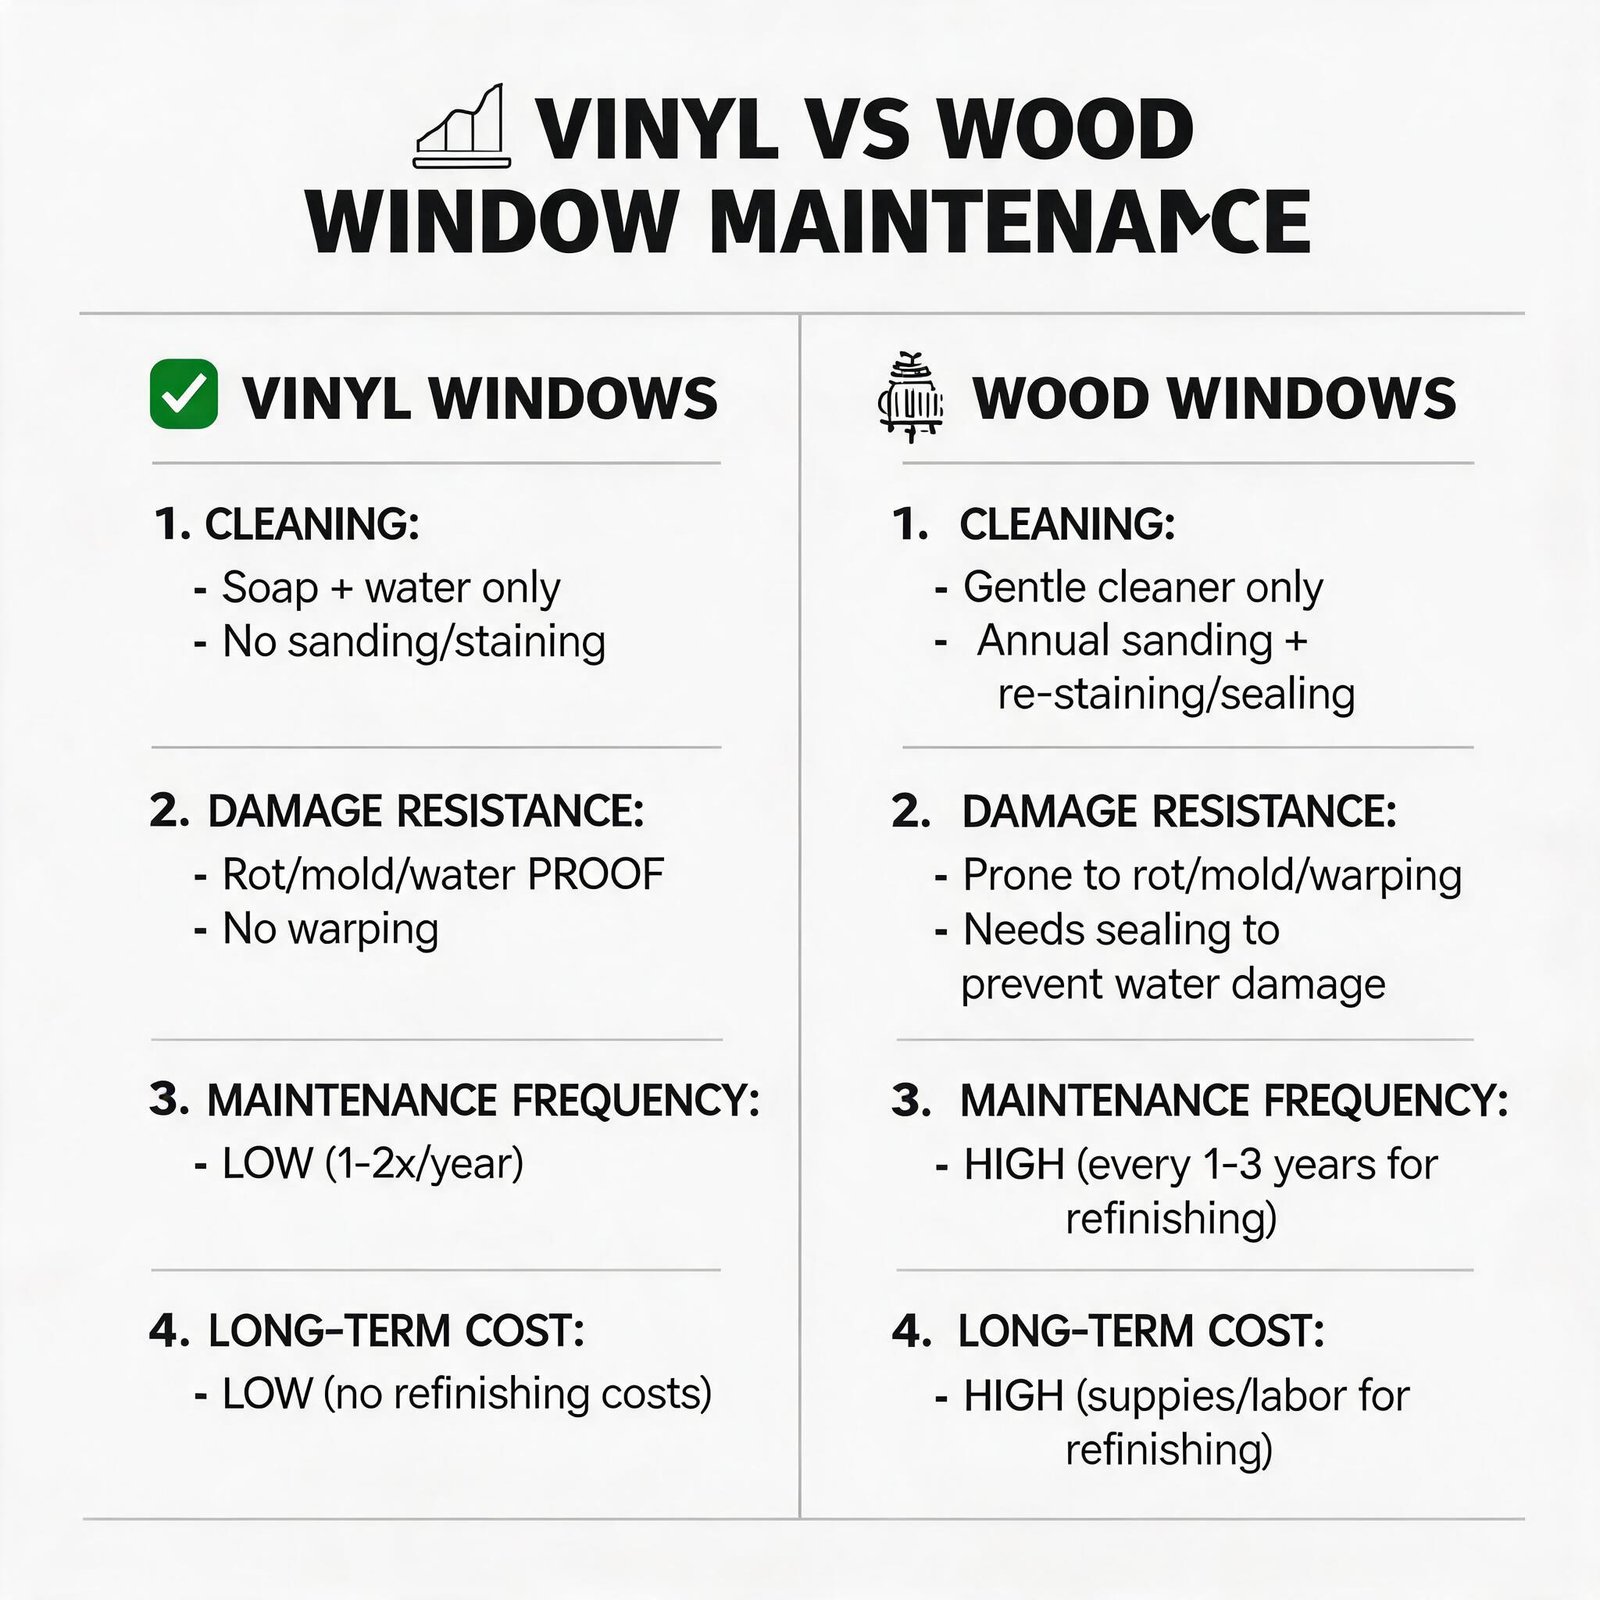
Why Choose Vinyl Replacement Windows?
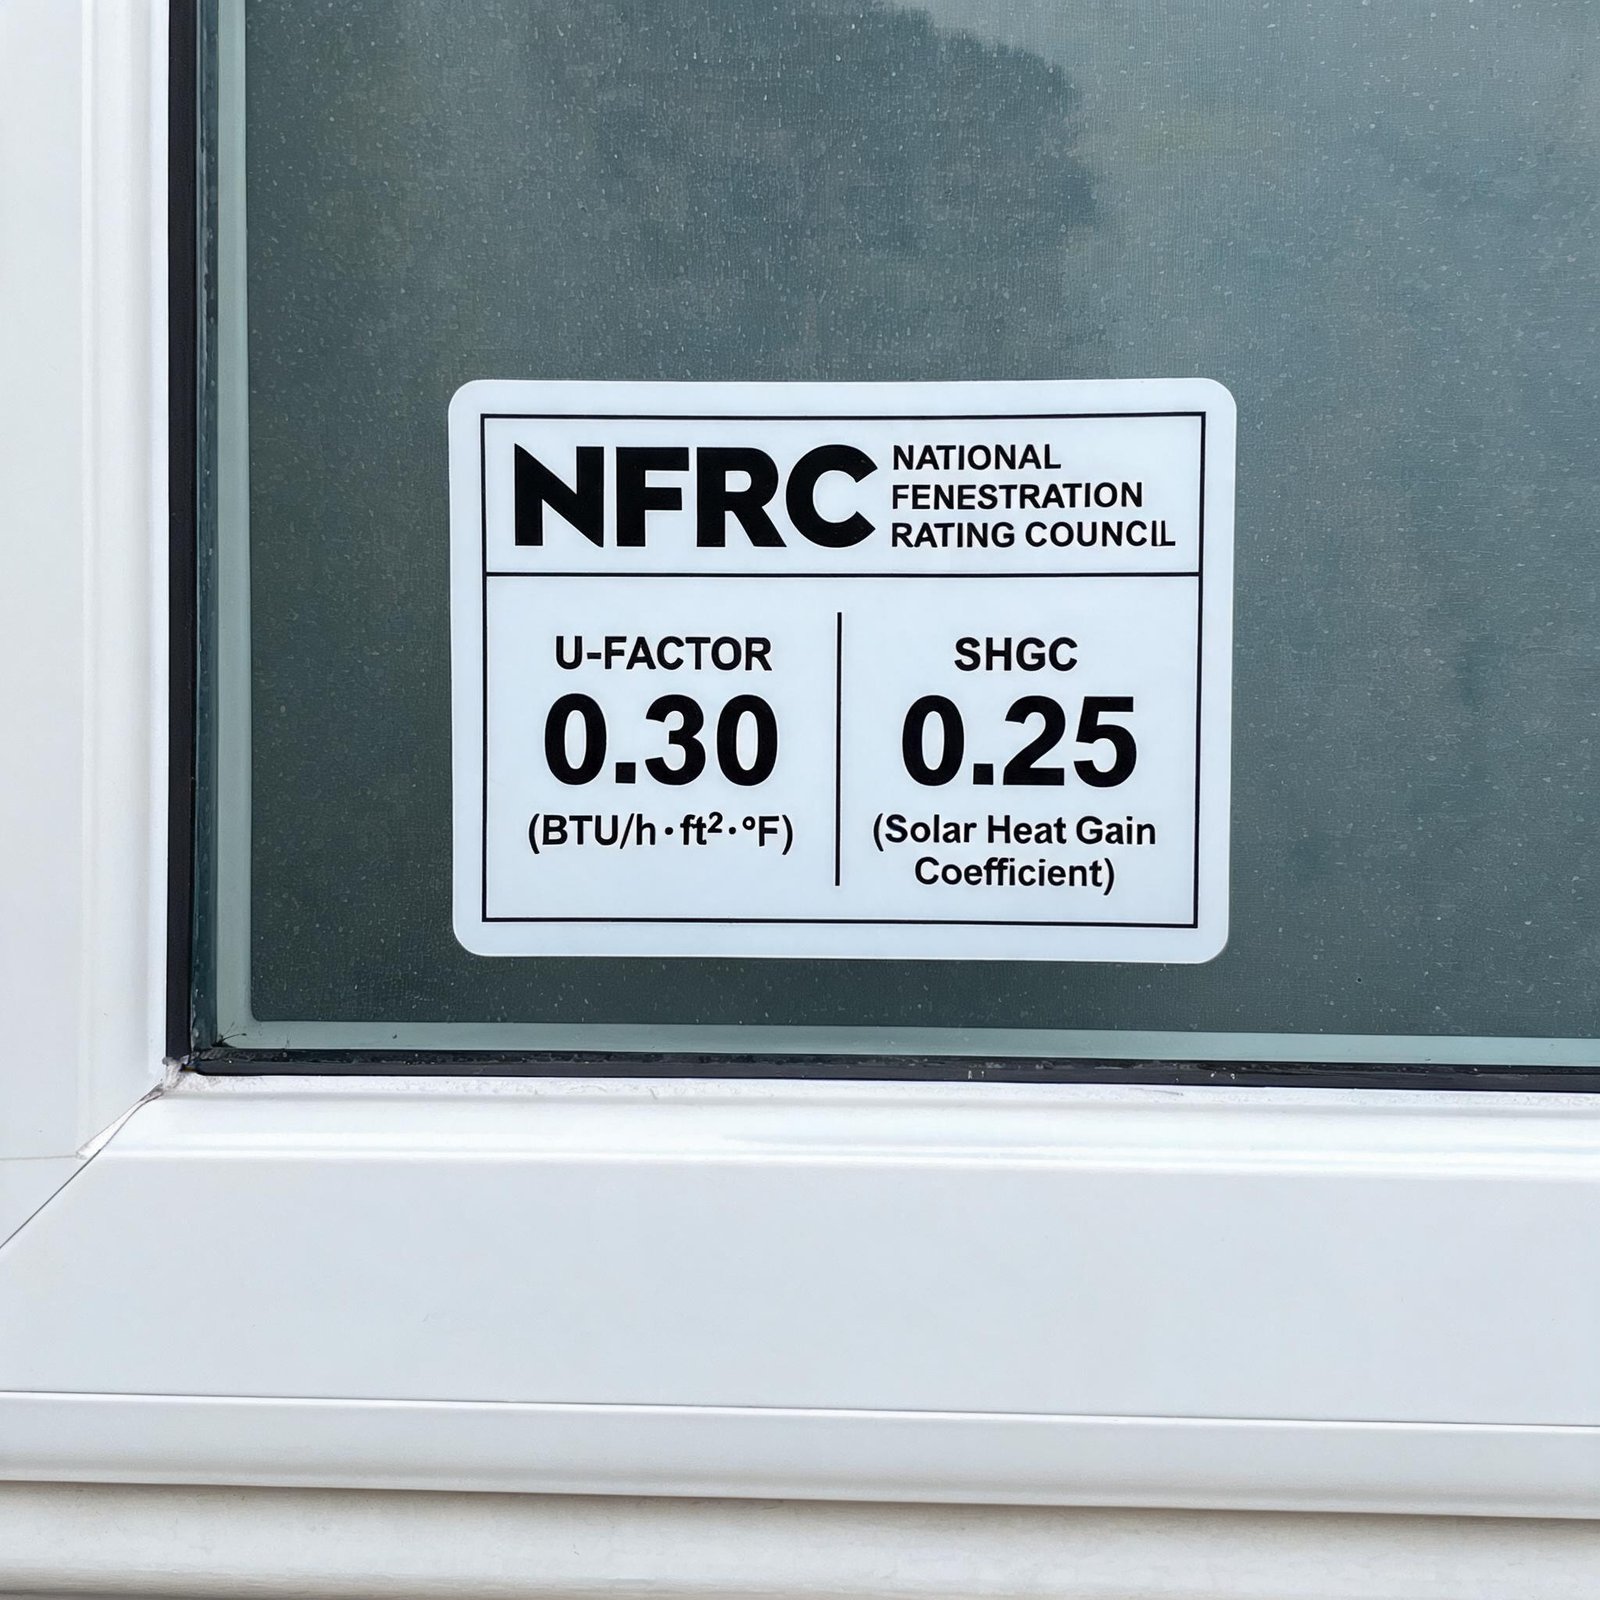
Before diving into installation, it’s worth understanding why vinyl has become the dominant material in the residential window market. Vinyl frames offer superior thermal performance compared to aluminum, require no painting or staining, and resist moisture damage better than wood. Modern vinyl windows also feature multi-chambered frames that improve insulation and reduce condensation.
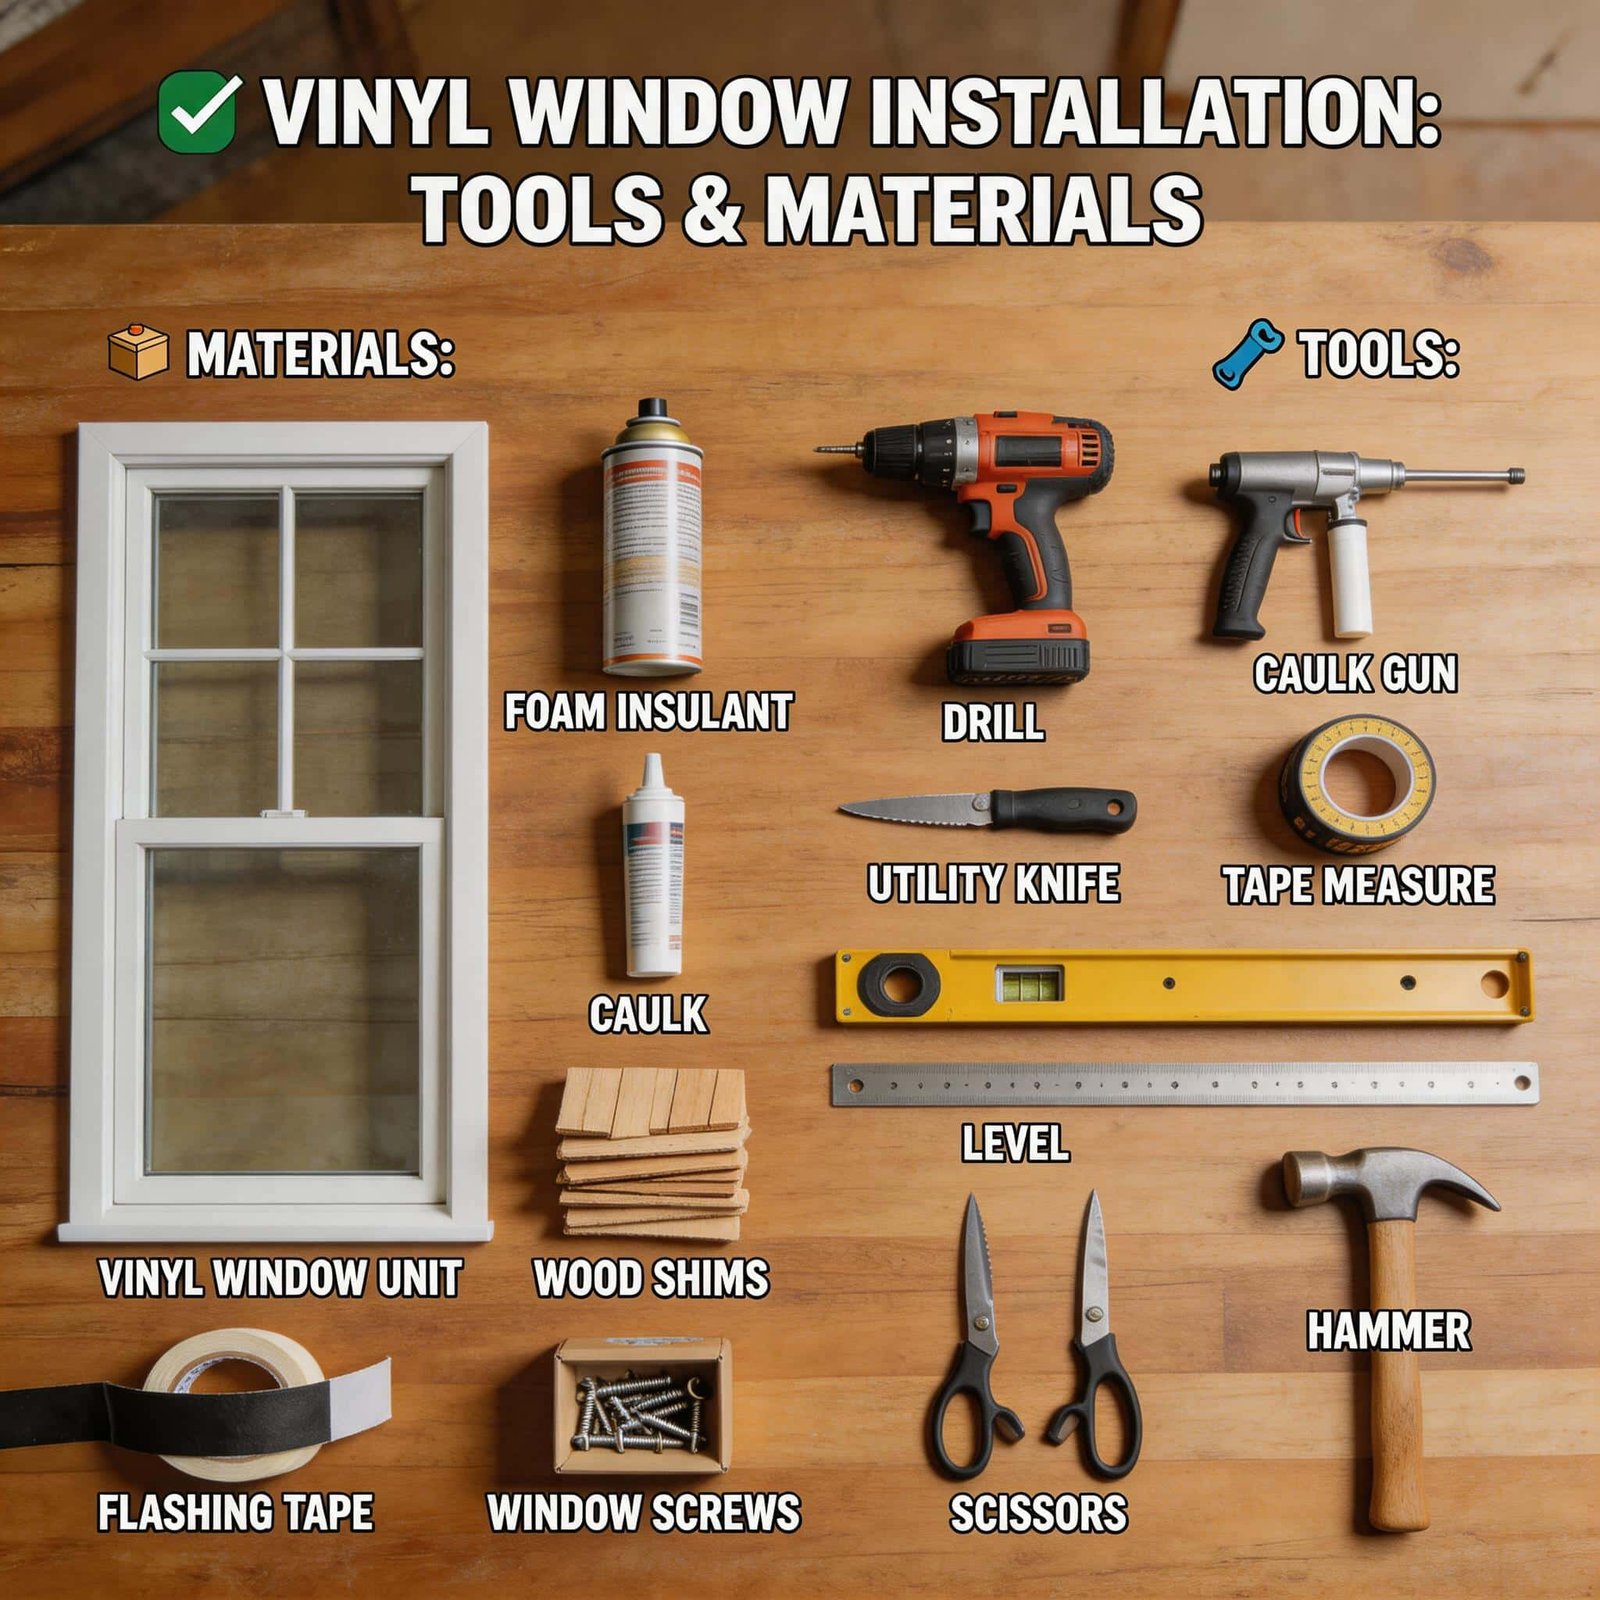
Tools and Materials You’ll Need
A successful installation starts with proper preparation. Here’s what you’ll need:
Essential Tools
- Tape measure and level
- Drill with screwdriver bits and masonry bits
- Utility knife and putty knife
- Caulking gun
- Pry bar and hammer
- Shims (plastic or cedar)
- Safety glasses and work gloves
Materials Required
- Replacement vinyl windows (properly measured)
- Exterior-grade silicone caulk
- Low-expansion foam insulation
- Screws (provided with window or 2-inch exterior grade)
- Interior trim materials (if replacing)
- Backer rod for larger gaps
Step 1: Measure Accurately Before You Begin
The most common mistake DIYers make is incorrect measurement. For replacement windows that fit into existing frames, measure the width at three points (top, middle, bottom) and the height at three points (left, center, right). Use the smallest measurement for ordering. If you’re unsure about your measurements, consult a professional or use our measurement guide.
Step 2: Remove the Old Window Sash
For most replacement installations, you’ll keep the existing frame and remove only the operating sashes. Start by removing any interior stops or trim pieces. Carefully pry the lower sash out, then remove the upper sash if applicable. Clean the frame thoroughly, removing old paint, caulk, and debris. Inspect the frame for rot or damage—if the frame is compromised, you may need a full-frame replacement instead.
Step 3: Prepare the Frame Opening
Once the old sashes are removed, check that the frame is square and level. Use a level to verify both sides and the sill. If the frame is out of square by more than 1/4 inch, you’ll need to address this before proceeding. Apply a bead of exterior-grade silicone caulk along the sill and side jambs where the new window will sit.
Step 4: Dry Fit the New Window
Before applying any sealant, place the new window into the opening without removing the packaging. Check that it fits properly with even gaps on all sides. The window should slide in easily but snugly. If it’s too tight, you may need to trim the frame slightly. If it’s too loose, plan for additional shimming.
Step 5: Install and Level the Window
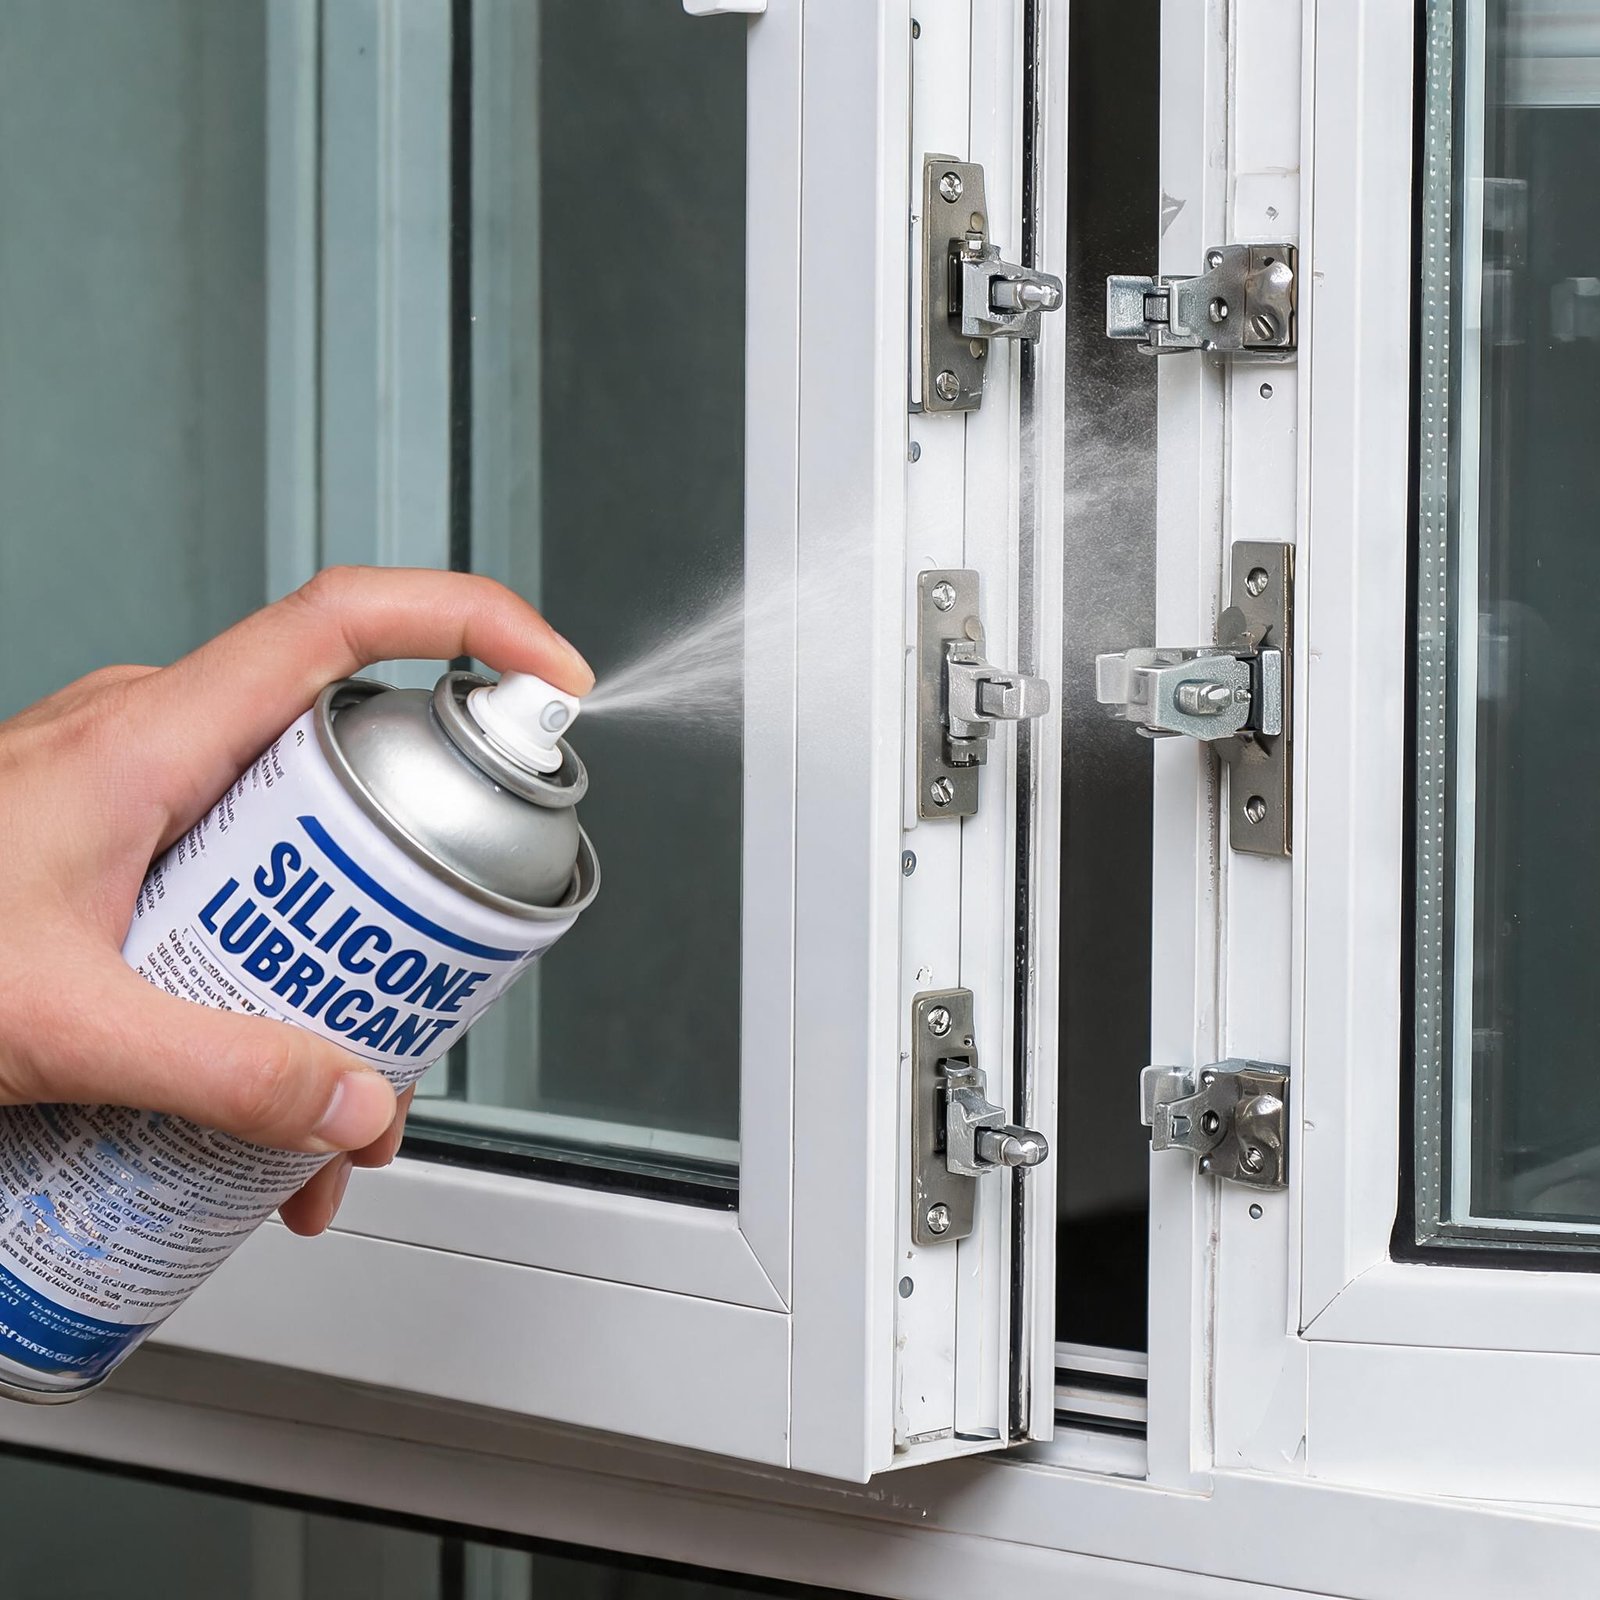
Remove the window, apply caulk to the frame, and carefully position the new unit. Start by inserting the top first, then tilt the bottom into place. Use shims under the sill to level the window both horizontally and vertically. Check with your level in multiple positions. Once level, drive screws through the pre-drilled holes in the frame, starting with the bottom corners. Do not overtighten—this can warp the vinyl frame and cause operational issues.
For those wondering how to install vinyl windows into existing aluminum frames, the process is similar but requires extra care with screw placement to avoid cracking the aluminum.
Step 6: Insulate Around the Window
After the window is secured, fill gaps between the window frame and the rough opening with low-expansion foam insulation. This is critical for energy efficiency. Use foam labeled specifically for windows and doors—standard expanding foam can bow the frame. Apply in small beads and allow it to expand naturally. Do not overfill.
Step 7: Install Interior Trim and Caulk
Once the foam has cured (typically 1-2 hours), install the interior stops or trim pieces. Nail them in place and fill nail holes with wood filler. Apply a thin bead of caulk where the trim meets the wall and where the window meets the frame. Smooth with a wet finger for a professional finish.
Step 8: Seal the Exterior
On the outside, apply a continuous bead of exterior-grade silicone caulk where the window flange meets the siding. This prevents water infiltration. If your window has a nailing fin, ensure it’s properly flashed according to manufacturer instructions. Allow caulk to cure for 24 hours before exposing the window to heavy rain.
Troubleshooting Common Installation Problems
Window Won’t Open or Close Properly
This usually indicates the frame is not square or screws were overtightened. Check your level and adjust shims as needed. Loosen screws slightly if the frame appears distorted.
Gaps Around the Frame
If gaps exceed 1/2 inch, use backer rod before applying foam. For smaller gaps, foam alone is sufficient. Never use expanding foam to fill gaps larger than 1 inch.
Condensation Between Panes
This indicates a failed seal in the insulated glass unit. Contact the manufacturer for warranty replacement. This is not an installation error but a manufacturing defect.
When to Call a Professional
While many homeowners successfully complete replacement window installations, certain situations warrant professional help:
- Second-story installations requiring ladders and safety equipment
- Windows with unusual shapes or sizes
- Homes with stucco, brick, or stone exteriors
- Signs of structural damage around the window opening
Frequently Asked Questions
How long does it take to install a replacement vinyl window?
A single window typically takes 30-60 minutes for an experienced installer. First-time DIYers should allow 1-2 hours per window.
Can I install vinyl windows in winter?
Yes, but avoid installing when temperatures are below 40°F, as caulk and foam may not cure properly. Use cold-weather formulations if necessary.
Do I need a permit to replace windows?
Most municipalities require permits for window replacement, especially if you’re changing the size or type of window. Check with your local building department.
How much can I save by installing windows myself?
Professional installation typically costs $100-$300 per window. DIY installation saves this amount but requires your time and tools.
What’s the difference between replacement and new construction windows?
Replacement windows fit into existing frames and are ideal for renovations. New construction windows have nailing fins and are designed for new openings or full-frame replacements.
How do I know if my old frame is suitable for replacement windows?
Inspect for rot, water damage, or warping. If the frame is sound and square, replacement windows work well. If damaged, consider full-frame replacement.
Can I install vinyl windows into wood frames?
Yes, the process is similar. Ensure the wood frame is dry and treated to prevent future rot. Use corrosion-resistant screws.
Final Thoughts
Learning how to install replacement vinyl windows is a rewarding DIY project that improves your home’s comfort, energy efficiency, and value. By following these steps carefully and taking your time with measurements and leveling, you can achieve professional-quality results. Remember that proper preparation and attention to detail matter more than speed. If you’re ready to start your project, explore our selection of high-quality vinyl windows designed for easy installation and long-lasting performance.