Why Proper Cleaning Matters More Than You Think
Before we dive into the step-by-step process, let’s address something that often gets overlooked. Cleaning your vinyl window frames isn’t just about curb appeal. Regular maintenance directly impacts the longevity of your investment.
Vinyl is a durable material, but it’s still susceptible to environmental factors. Dirt and grime act like sandpaper over time, slowly wearing down the surface finish. Pollutant buildup can cause discoloration that becomes permanent if left too long. Mold and mildew don’t just look unpleasant—they can compromise the seals around your windows and affect indoor air quality.
When you understand that proper cleaning is actually protecting your home’s energy efficiency and structural integrity, it changes how you approach the task. This isn’t busywork. It’s preventive maintenance that pays for itself.
What You’ll Need: Professional-Grade Supplies
The difference between mediocre results and truly sparkling windows often comes down to having the right tools. Here’s what we recommend based on what works best with modern vinyl formulations:
Essential Tools
- Microfiber cloths (at least three) – These trap dirt rather than pushing it around
- Soft-bristled brush – A natural bristle brush is ideal; avoid nylon brushes that can scratch
- Small detailing brush – An old toothbrush works perfectly for corners and crevices
- Garden hose with spray nozzle – Adjustable pressure gives you control
- Bucket – Two buckets are better (one for cleaning solution, one for rinsing)
- Step ladder – Never overreach; safety comes first
Cleaning Solutions That Work
The biggest mistake we see is homeowners reaching for harsh chemicals. Vinyl is sensitive to certain solvents. Here’s what we recommend:
- Mild dish soap and warm water – This is your everyday cleaner and works for 90% of situations
- White vinegar solution – Mix one part vinegar with three parts water for tackling mineral deposits and mild mold
- Isopropyl alcohol – Use sparingly for removing sticky residues like tape adhesive
- Commercial vinyl-safe cleaner – Look for products specifically labeled safe for vinyl windows
What to Never Use
- Abrasive cleaners – Comet, Ajax, or anything with grit will permanently scratch vinyl
- Bleach – It whitens temporarily but degrades the vinyl’s plasticizers, leading to brittleness
- Ammonia-based products – Windex and similar glass cleaners can damage vinyl frames
- Pressure washers – The force can force water behind seals and damage the frame structure
- Steel wool or scrub pads – These leave micro-scratches that collect dirt faster
Step-by-Step Cleaning Process
Step 1: Prepare Your Work Area
Start by removing window screens if possible. This gives you full access to the frame and prevents dirt from getting trapped between the screen and glass. Lay down drop cloths or towels below the window to catch drips, especially if you’re working on upper floors.
Check the weather forecast. Ideally, clean on an overcast day. Direct sunlight causes cleaning solutions to dry too quickly, leaving streaks and potentially damaging the vinyl surface.
Step 2: Dry Dust Removal
Before introducing any moisture, remove loose dirt and debris. Use your soft-bristled brush to sweep across the top of the frame, along the sills, and into corners. Pay special attention to the weep holes at the bottom of the frame—these drainage channels are critical for proper water management and often get clogged with debris.
A vacuum with a brush attachment works exceptionally well for this step, particularly for removing cobwebs and dust from upper corners.
Step 3: Prepare Your Cleaning Solution
Fill your bucket with warm water—not hot, not cold. Warm water activates the cleaning agents without risking damage to the vinyl. Add a few drops of mild dish soap. You don’t need much; excessive soap leaves residue that attracts more dirt.
For frames with visible mold or mildew, prepare a separate bucket with the vinegar solution. Vinegar is naturally antimicrobial and safe for vinyl when properly diluted.
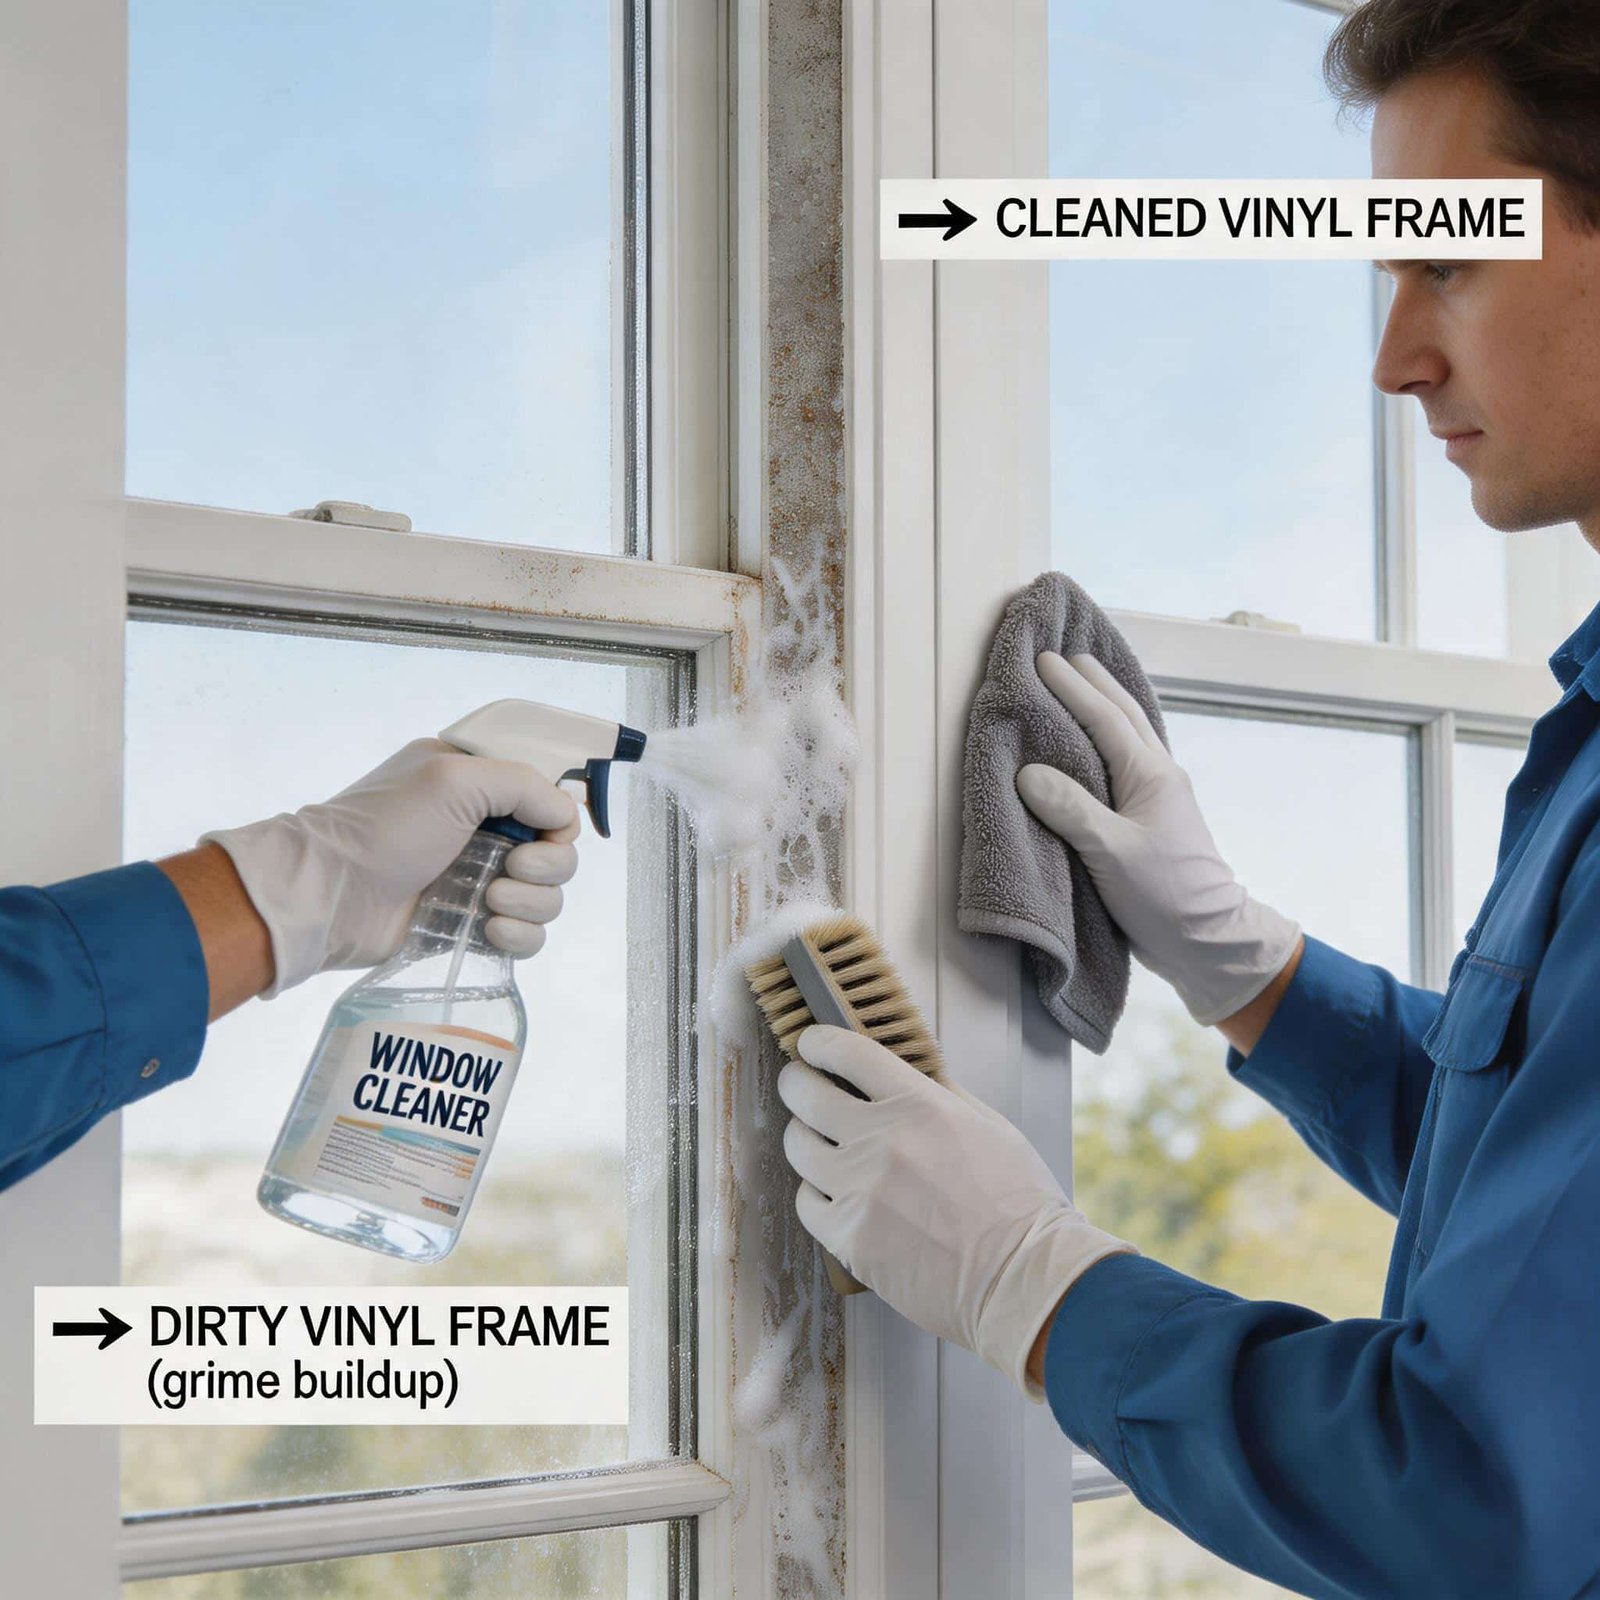
Step 4: Wash the Frame Sections
Work from top to bottom. This prevents dirty water from running over already-cleaned areas. Dip your microfiber cloth in the soapy water, wring it until damp (not dripping), and wipe down the frame in straight, overlapping strokes.
For horizontal surfaces like window sills, use a side-to-side motion. For vertical frame sections, work from top to bottom. Change your cloth regularly—a dirty cloth just redistributes grime.
Step 5: Detail the Crevices and Corners
This is where most cleaning guides fall short. The corners of vinyl frames, particularly around the meeting rails where sash sections join, collect the most stubborn dirt. Use your detailing brush dipped in the cleaning solution to gently scrub these areas.
If you’re dealing with mold in the corners—common in humid climates—apply the vinegar solution and let it sit for five minutes before scrubbing. This gives the acetic acid time to break down the mold structure.
Step 6: Address Stubborn Stains
For grease buildup near kitchen windows, apply a small amount of isopropyl alcohol to a clean cloth and wipe the affected area. Test on an inconspicuous spot first. The alcohol evaporates quickly and lifts greasy residues without damaging the vinyl.
For hard water stains, use the vinegar solution and a bit of elbow grease. If stains persist, a specialized vinyl restoration product may be necessary, but these should be used sparingly.
Step 7: Rinse Thoroughly
This step is non-negotiable. Any soap residue left on the frames will attract dirt and can cause the vinyl to appear dull over time. Use your garden hose with a gentle spray setting to rinse all surfaces thoroughly.
If you’re working on upper floors and can’t use a hose, use a clean microfiber cloth dampened with plain water to wipe away all soap residue. Change your rinse cloth frequently.
Step 8: Dry Completely
Use a dry microfiber cloth to wipe down all surfaces. Don’t let the frames air dry, as this can leave water spots, especially if you have hard water. Pay extra attention to the weep holes and bottom channels where water tends to pool.
Drying also gives you an opportunity to inspect the frames for any damage, cracks, or seal failures that might need professional attention.
Step 9: Clean the Glass
Now that your frames are pristine, clean the glass using a dedicated glass cleaner and a separate microfiber cloth. Avoid getting glass cleaner on the vinyl frames, as the ammonia in many glass cleaners can damage the vinyl over time.
Step 10: Apply Protective Treatment
For homeowners who want maximum longevity, consider applying a vinyl protectant after cleaning. These products contain UV inhibitors that help prevent fading and oxidation. Apply sparingly with a clean cloth and buff to a matte finish.
Avoid silicone-based products, which can attract dust and create a greasy feel. Look for water-based protectants specifically formulated for exterior vinyl.
Common Mistakes That Shorten Vinyl Window Life
Through years of manufacturing and field testing, we’ve identified the most common errors homeowners make:
Using abrasive tools. Even a seemingly soft scrub brush can be too aggressive for vinyl. The surface has a smooth finish that’s easily damaged. Once scratched, those scratches become permanent dirt traps.
Cleaning in direct sunlight. This causes cleaning solutions to evaporate before you can rinse them, leaving chemical residues that can etch the vinyl surface.
Neglecting the weep holes. These small openings at the bottom of the frame are essential for drainage. When clogged, water backs up inside the frame, leading to seal failures and potential water damage.
Using too much pressure when washing. Vinyl frames are hollow and can flex under excessive force. Gentle pressure is all that’s needed.
Skipping regular maintenance. Waiting until frames are visibly dirty means you’re dealing with years of accumulated grime. A quick wipe-down every few months prevents buildup.
Seasonal Maintenance Schedule
Different seasons bring different challenges for vinyl windows. Here’s a professional maintenance calendar:
Spring: Full cleaning after winter grime. Inspect seals for damage from freeze-thaw cycles. Check that weep holes are clear.
Summer: Quick monthly wipe-downs. Pay attention to areas near air conditioning units where condensation can promote mold growth.
Fall: Clean before winter sets in. Remove any leaves or debris from tracks. Apply protectant if you live in an area with harsh winters.
Winter: Spot clean as needed. Avoid cleaning when temperatures are below freezing, as water can freeze in the tracks and cause damage.
When to Call a Professional
While routine cleaning is perfectly manageable for most homeowners, certain situations warrant professional attention:
- Persistent fogging between panes – This indicates a seal failure that requires replacement
- Cracked or warped frames – These need structural repair, not just cleaning
- Extensive mold growth – If mold has penetrated the frame material, professional remediation may be necessary
- Oxidation or chalking – When the vinyl surface begins to deteriorate, specialized restoration products are needed
If you’re unsure about the condition of your windows, it’s always better to consult a professional than to risk causing further damage.
Frequently Asked Questions
How often should I clean my vinyl window frames?
For most homes, a thorough cleaning twice per year is sufficient. However, if you live near a busy road, in a dusty area, or in a humid climate, quarterly cleaning may be more appropriate.
Can I use vinegar on all vinyl windows?
White vinegar diluted with water is safe for most vinyl windows. However, always test on a small, inconspicuous area first. Avoid using vinegar on windows with decorative film or tinting.
What’s the best way to remove mold from vinyl window frames?
The vinegar solution mentioned earlier is effective for surface mold. For deeper mold, a mixture of oxygen bleach and water can be used, but avoid chlorine bleach. Ensure the area is well-ventilated during treatment.
Will cleaning damage my window warranty?
Most manufacturers require regular cleaning as part of warranty maintenance. However, using harsh chemicals or abrasive tools can void your warranty. Always follow the manufacturer’s cleaning guidelines.
How do I prevent water spots on vinyl frames?
The key is thorough drying immediately after cleaning. Hard water spots can be prevented by using distilled water for your final rinse, or by drying with a clean microfiber cloth before water has a chance to evaporate.
Can I paint my vinyl window frames?
Painting vinyl windows is possible but not recommended for most homeowners. The paint may not adhere properly, and dark colors can cause the vinyl to overheat and warp. If you must paint, use a product specifically formulated for vinyl.
Final Thoughts
Clean vinyl windows do more than improve your home’s appearance. They protect your investment, maintain energy efficiency, and extend the life of your windows by decades. The time you invest in proper cleaning pays dividends in reduced repair costs and better home comfort.
Remember that vinyl is a engineered material designed to perform under specific conditions. Treat it with the care it deserves, and it will reward you with years of trouble-free service. Whether you’re preparing your home for sale or simply taking pride in your property, clean windows make a statement about the care you put into your home.
By following these professional methods, you’ll achieve results that rival what we achieve in our manufacturing facility—and your windows will continue to perform at their best for the long haul.