There is no single cause behind a vinyl window that refuses to budge. As a window manufacturer, I have walked thousands of homeowners through the same three letters of frustration — why is my window stuck, and what can I actually do about it? In most cases you can have that sash gliding again in under half an hour, without any special tools. This expanded guide dives deeper than the typical cleaning tutorial. You will learn exactly what happens inside the frame when a window sticks, why common household lubricants make things worse, and how to methodically restore smooth operation even when temperature swings or balance springs are working against you.
What Really Makes a Vinyl Window Hard to Open?
Before you pick up a spray can, it helps to understand the mechanics. The side tracks of a modern vinyl window are designed with tight clearances. When dirt, plant pollen, dust, or even airborne cooking oil settle in those tracks, they form a paste that increases friction. Over time, the vinyl sash itself can swell in extreme heat — a completely normal behavior — pressing even more firmly against the grime. Meanwhile, the hidden balance system inside the frame can lose tension, tilt out of alignment, or fail without any visible sign from the outside. None of these require a replacement window by default, but they all demand a specific, step-by-step approach rather than guesswork.
The Two-Step Fix That Solves Over 80% of Cases
Manufacturers see the same pattern again and again. Roughly 80% of stuck vinyl windows can be freed by deep cleaning followed by the correct type of lubrication. Miss one step, or reach for the wrong product, and the window will either stay jammed or get worse over the following weeks. Let’s walk through each phase with the detail you need to get it right the first time.
Step 1: A Surgical Cleaning of the Window Tracks
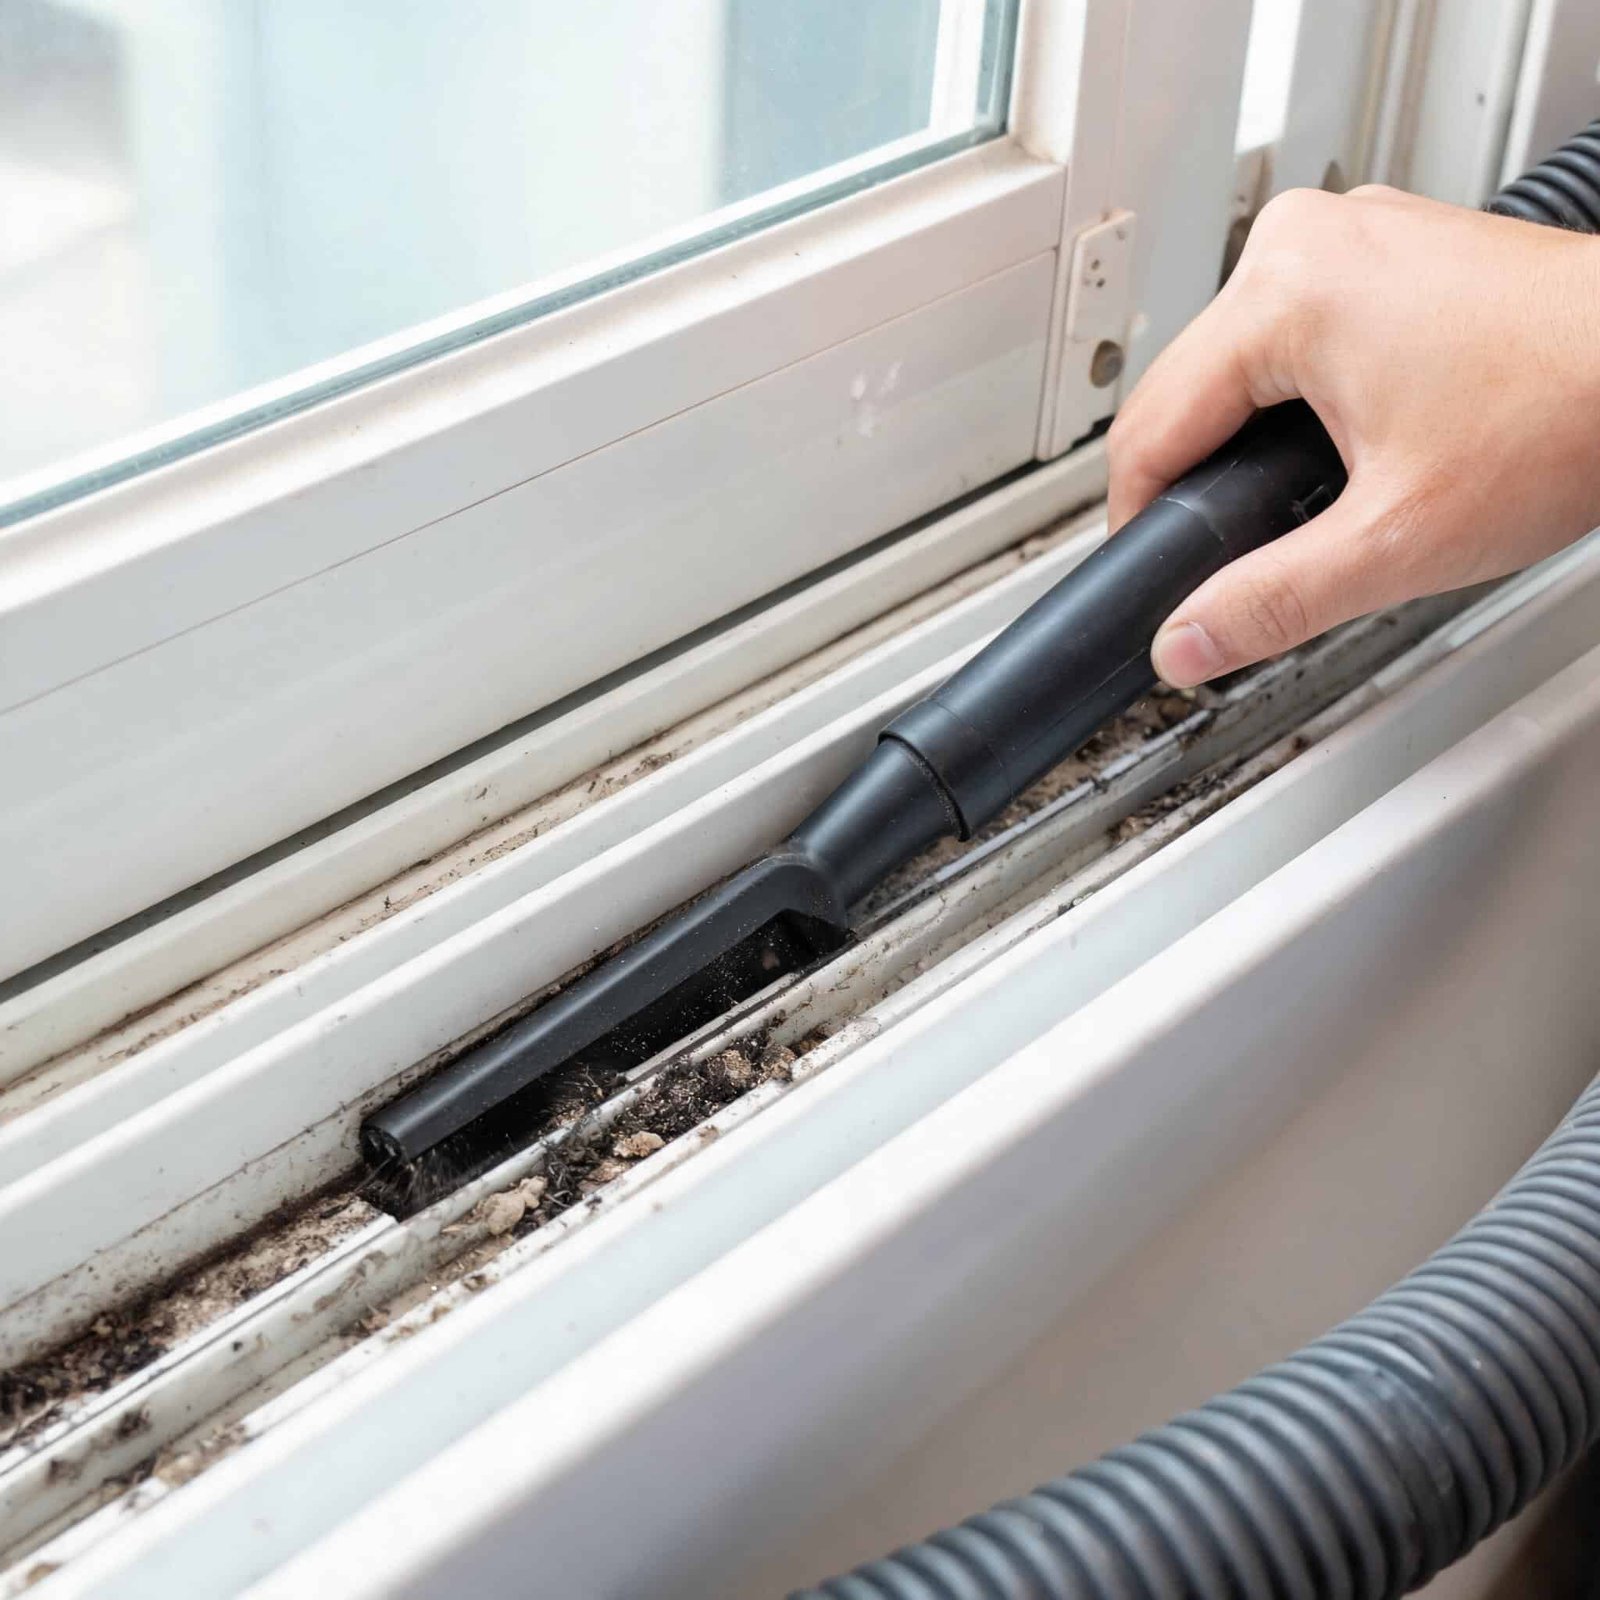
Surface wiping does almost nothing. You need to remove debris from the very bottom of the channels, where the sash rollers or glide pads actually make contact. Start with a vacuum and a crevice tool attachment, running it slowly along every inch of the lower track and upper header. Pay particular attention to the corners — this is where grit accumulates and grinds into the vinyl surface every time someone tries to force the window open.
After vacuuming, use a stiff nylon brush (an old toothbrush works perfectly) dipped in warm water mixed with a few drops of mild dish soap. Scrub the track thoroughly, pushing the bristles into the inner edges. For sticky residues such as tree sap or construction overspray, a plastic scraper or an expired credit card will lift the film without scratching the PVC. Wipe everything dry with a clean microfiber cloth until no brown or black residue transfers onto the cloth. Any dampness left inside the track will later trap fresh dust, so take your time here.
Step 2: Lubricating Correctly (And Why Most People Get This Wrong)
This is where window longevity is made or lost. The biggest mistake we see in the field is the application of oil-based products such as classic WD-40, penetrating oils, or white lithium grease. These formulas leave behind a sticky film that captures airborne particles and bakes into a stubborn, tar-like deposit under direct sunlight. They may free the window for a day or two, but within a month the original sticking returns — often worse than before.
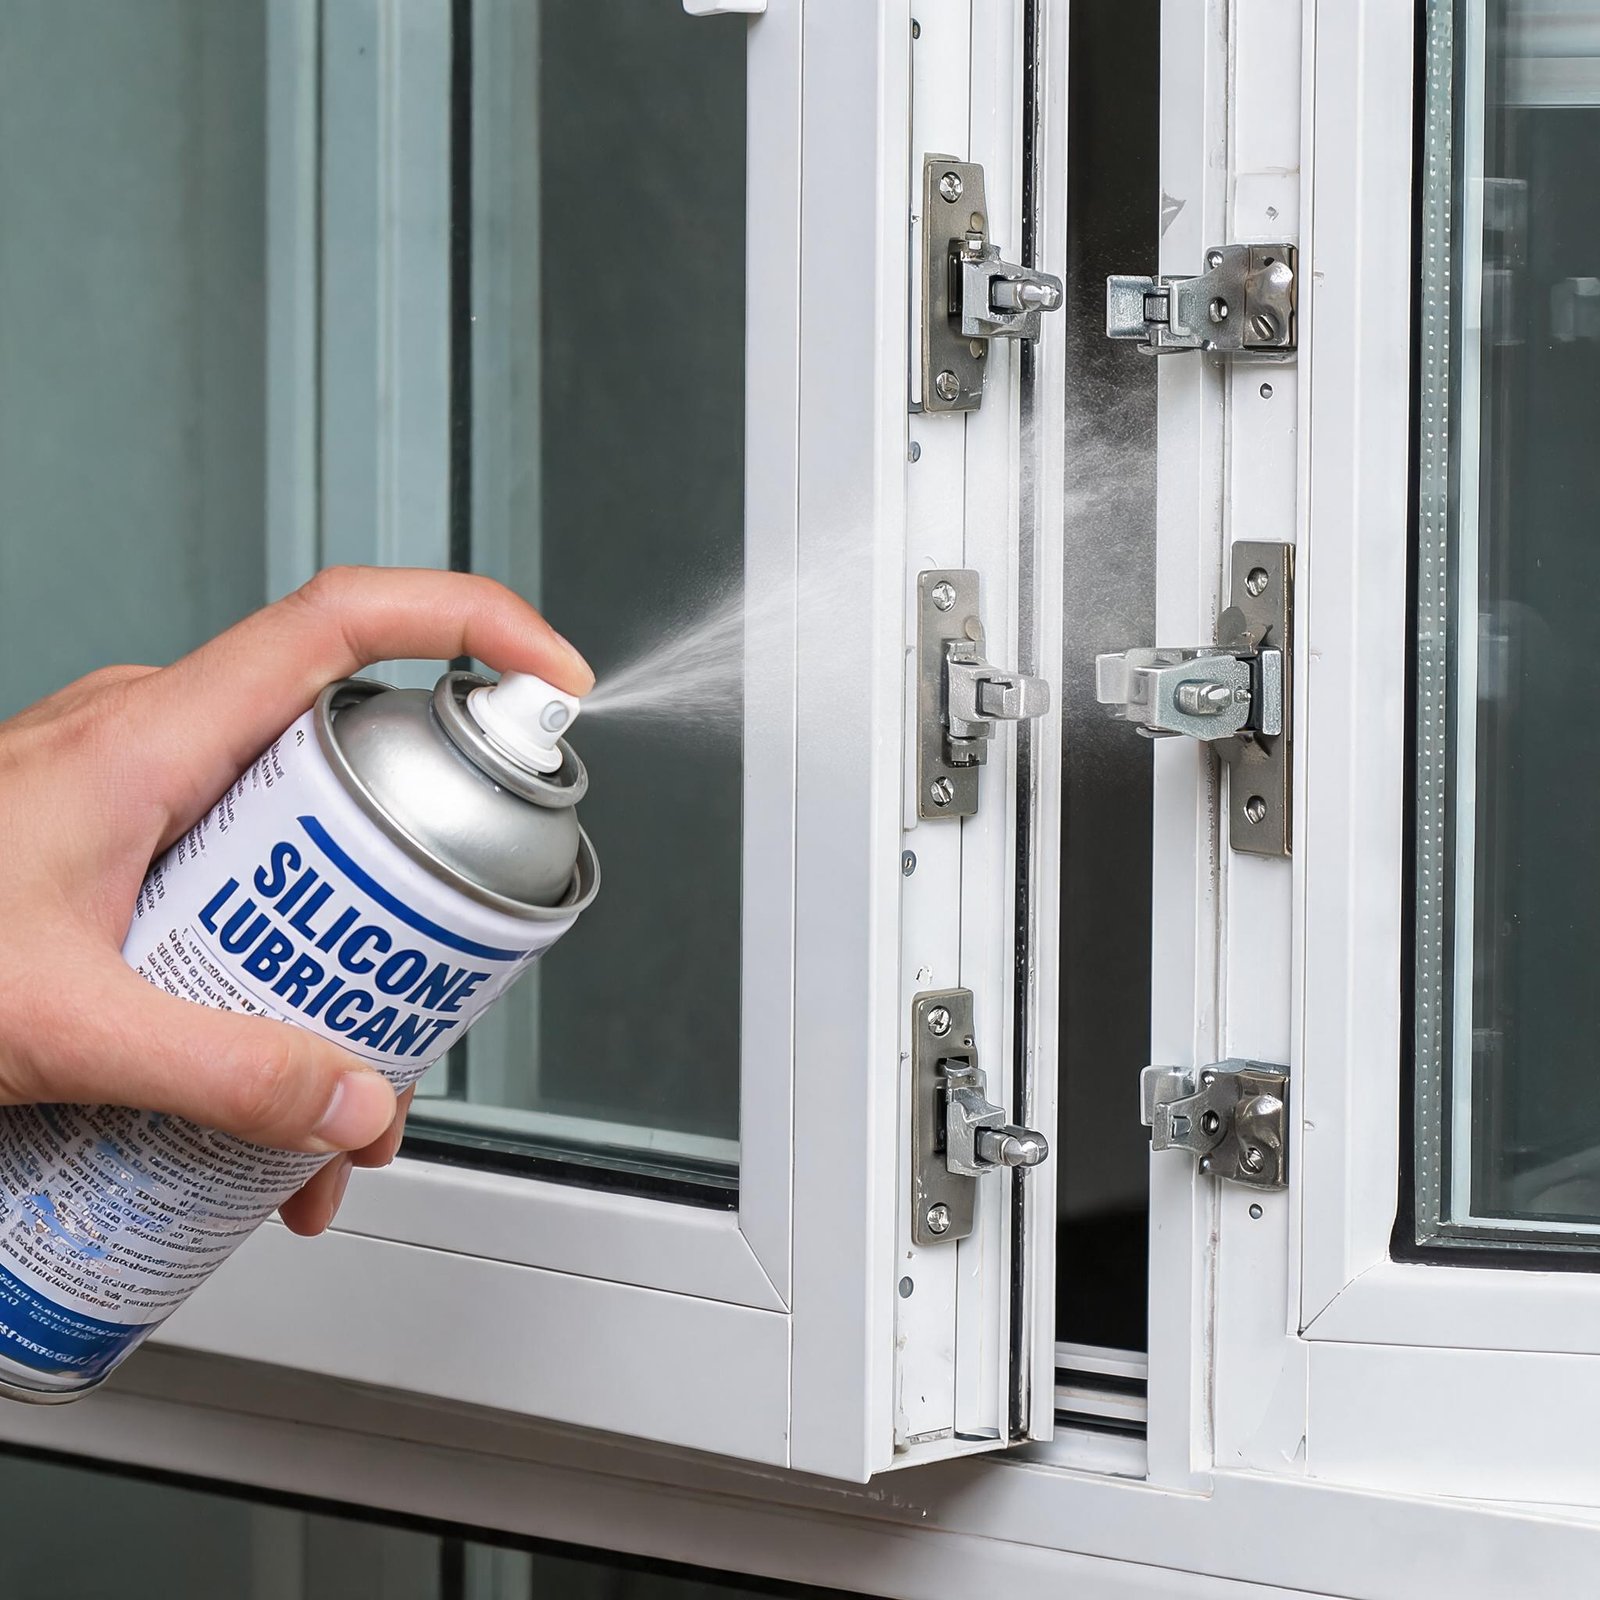
The only lubricants approved for modern vinyl extrusions are 100% silicone spray that contains no petroleum distillates, or a dry PTFE (Teflon) lubricant formulated for plastics. Silicone reduces friction without attracting dust; PTFE bonds to the surface on a microscopic level and continues to lubricate even when the visible carrier has dried. Apply a very light coating to a clean cloth first, then wipe it onto the track surfaces and vertical sash edges. Never spray directly into the tracks because over-spray will fog adjacent glass and collect in the weep holes, where it can block drainage. Work the window back and forth five or six times after application to spread the film evenly.
When Cleaning and Lubrication Aren’t Enough
If the sash still drags after a deep clean and proper lube, the cause almost certainly sits deeper inside the frame. The next phase involves two quick diagnostic steps that many online tutorials skip entirely.
Check the Window Reveal and Alignment
Close the window fully and examine the gap between the sash and the main frame on both sides. The reveal should be even from top to bottom. A wider gap at the top with a pinched gap at the bottom usually means the sash has dropped slightly because a balance shoe has slipped or the pivot bar has moved. In double-hung windows, a tilted sash that was not reset squarely after cleaning is the most common culprit. Open the window a few inches, tilt the sash inward per the manufacturer’s tilt-latch instructions, and then firmly re-seat it back into the frame, making sure both sides click. This alone can resolve many unexplained sticking problems.
Inspect the Balance System
Vinyl windows use either spiral balances, block-and-tackle balances, or constant-force coil balances. While each design looks different, the symptoms of failure are universal: the window becomes heavy to lift, fails to stay open, or jerks during operation. Remove the sash carefully (most tilt-in designs can be completely released) and look at the balance tubes or springs mounted in the side jambs. A broken spring, a detached cord, or a cracked plastic shoe are not repairs you should ignore. A failed balance forces you to muscle the window open, which flexes the frame and can eventually crack the glass. If you spot damaged hardware, pause and read our detailed component compatibility guide before ordering replacements — mixing balance types between manufacturers creates dangerous pressure imbalances.
In advanced cases where the frame itself has distorted due to extreme heat or structural settling, a deeper restoration approach may be necessary. Homeowners occasionally discover that an older window with poor thermal resistance has deformed beyond what cleaning can fix. Before you commit to a full replacement, however, many sticking windows respond beautifully to a step-by-step method that revives the track surface. Our clients frequently search for how to restore vinyl window frames and are surprised to learn that even micro-pitting or light chalkiness can be smoothed with a plastic-safe restoration kit, extending the window’s life by years.
How Temperature and Humidity Secretly Sabotage Your Windows
Vinyl expands and contracts far more than wood or aluminum — that is simply its nature. On a 90°F (32°C) summer afternoon, a dark-colored vinyl sash can gain enough width to bind inside a track that was perfectly free the day before. The solution is not to plane material off the sash, which would create a draft leak in winter. Instead, you need to manage friction so the window can move even when expanded. A fresh application of dry PTFE lubricant specifically designed for high temperatures often eliminates the hot-weather stick. For windows that only bind during damp weather, check the weatherstripping. Compressed, swollen pile or bulb seals can exert enough side force to pinch the sash. Gently lift the weatherstrip out of its groove, clean underneath, and reinstall it; in some cases, replacing it with a lower-profile seal completely solves the problem.
Preventive Maintenance: The 10-Minute Annual Ritual
Once you have the window working smoothly, protecting that result is straightforward. Twice a year — we recommend early spring and late autumn — do a quick dry vacuum of all horizontal tracks and apply a replenishing wipe of silicone or PTFE. While the sash is open, check the visible balance components for rust or white dust that might signal wear. Keep the weep holes clear by sliding a thin plastic straw or a pipe cleaner through them; blocked weep holes hold water, which accelerates track contamination and attracts insects.
When to Repair vs. When to Replace
Most stuck windows can be saved, but there are clear signals that replacement makes more financial sense. If the insulated glass unit has failed and you see persistent fog between panes, combined with a distorted frame, the cost of a new sash and balancing system may approach 70% of a complete unit. Similarly, if the vinyl itself has yellowed badly, developed hairline cracks, or become brittle, no amount of cleaning will restore its structural integrity. For homeowners weighing the economics, a quick consultation can clarify where a single part replacement ends and a full upgrade begins. Understanding what to do when vinyl windows stick repeatedly despite thorough maintenance often reveals that the original installation was subpar, and that modern multi-chamber PVC profiles with better thermal breaks will eliminate the expansion problem entirely.
Frequently Asked Questions
Can I use WD-40 to free a stuck vinyl window?
No. Standard WD-40 is an oil-based penetrant. It may temporarily reduce friction, but it leaves behind a residue that collects dirt and hardens over time, making the sticking worse. If you want a product from the same brand, their Specialist Dry Lube with PTFE is a completely different formulation and can be used safely on vinyl, but never the original multi-use product.
Why does my window only stick during summer?
Vinyl expands in heat. A thin layer of dirt that barely affects movement in cooler weather can become a hard wedge when the sash swells by even a fraction of a millimeter. Deep cleaning and switching to a temperature-resistant dry lubricant typically resolve this seasonal binding without modifying the frame.
What are the signs my window balance needs replacement?
The most reliable indicators are a window that feels unusually heavy to lift, a sash that slowly slides down on its own, or a distinct metallic scraping sound during operation. On double-hung windows, one corner sagging visibly when the sash is partially open also points to balance failure.
Is it safe to sand down a vinyl window that sticks?
Sanding should be a last resort and done only with extreme caution. Removing even a millimeter of material can break the factory seal and lead to air or water leaks. Before sanding, ensure the track is surgically clean and you have tried a proven dry PTFE lubricant. If sanding appears unavoidable, use a 400-grit or finer paper and only address the exact high-friction spots.
How often should I lubricate my vinyl window tracks?
After the initial deep clean and lubricant application, a light renewal every six months is generally enough for most climates. Homes near the ocean, along dusty roads, or in areas with heavy pollen may benefit from checking and wiping the tracks every three months.