Let’s cut straight to it: you’re wiring security cameras, you’ve hit the vinyl soffit, and now you’re staring at your siding wondering if a hole through it will turn into a waterfall every time it rains. I’ve seen this exact scenario on Reddit more times than I can count, and the answer isn’t “don’t do it.” It’s *how to do it right*. If you’re drilling through vinyl siding for security cameras, the margin for error is slim—one missed seal, one wrong angle, and you’re inviting moisture into your attic wall cavity. But with the proper prep, the right tools, and a few tricks from guys who’ve done this on hundreds of homes, you can run your cables cleanly and keep your building envelope dry.
The core issue here isn’t the camera—it’s the *penetration*. Vinyl siding expands and contracts like crazy with temperature swings. A rigid hole that doesn’t account for movement will crack, gap, and leak. Combine that with the need to seal around the cable entry point at your window or wall trim, and you’ve got a recipe for rot if you rush it. That’s where Superwindowhouse’s field-tested approach to weather-resistant sealing comes in. I’m going to walk you through the entire process: from planning the hole location to finishing the seal with materials that hold up through freeze-thaw cycles and 100 mph gusts.
Why Drilling Through Vinyl Siding Is a Different Beast Than Wood or Brick
Vinyl siding isn’t just a decorative cladding—it’s a rain screen system designed to breathe. Water that gets behind the siding is supposed to drain down and out through weep holes at the bottom. The moment you drill a hole through it, you’ve created a potential breach in that drainage plane. If you simply caulk around the cable, you’re blocking the system’s natural drainage. Worse, caulk won’t stretch with vinyl’s thermal expansion, so it cracks within a year.
Here’s what I’ve learned from 15 years of fixing botched DIY camera installs: the secret is a *siding block* or a purpose-made cable entry boot. These products are designed to bridge the gap between the vinyl surface and your cable, providing a flexible seal that moves with the siding. But even with the right boot, you need to drill the hole at the correct angle—slightly upward—so water runs off rather than seeping in. And you *must* avoid drilling into the window jamb or trim, where water intrusion is most likely to compromise your window’s weather seal.
Step-by-Step: How to Drill Safely Without Compromising Your Home’s Weather Barrier
1. Choose the Right Location
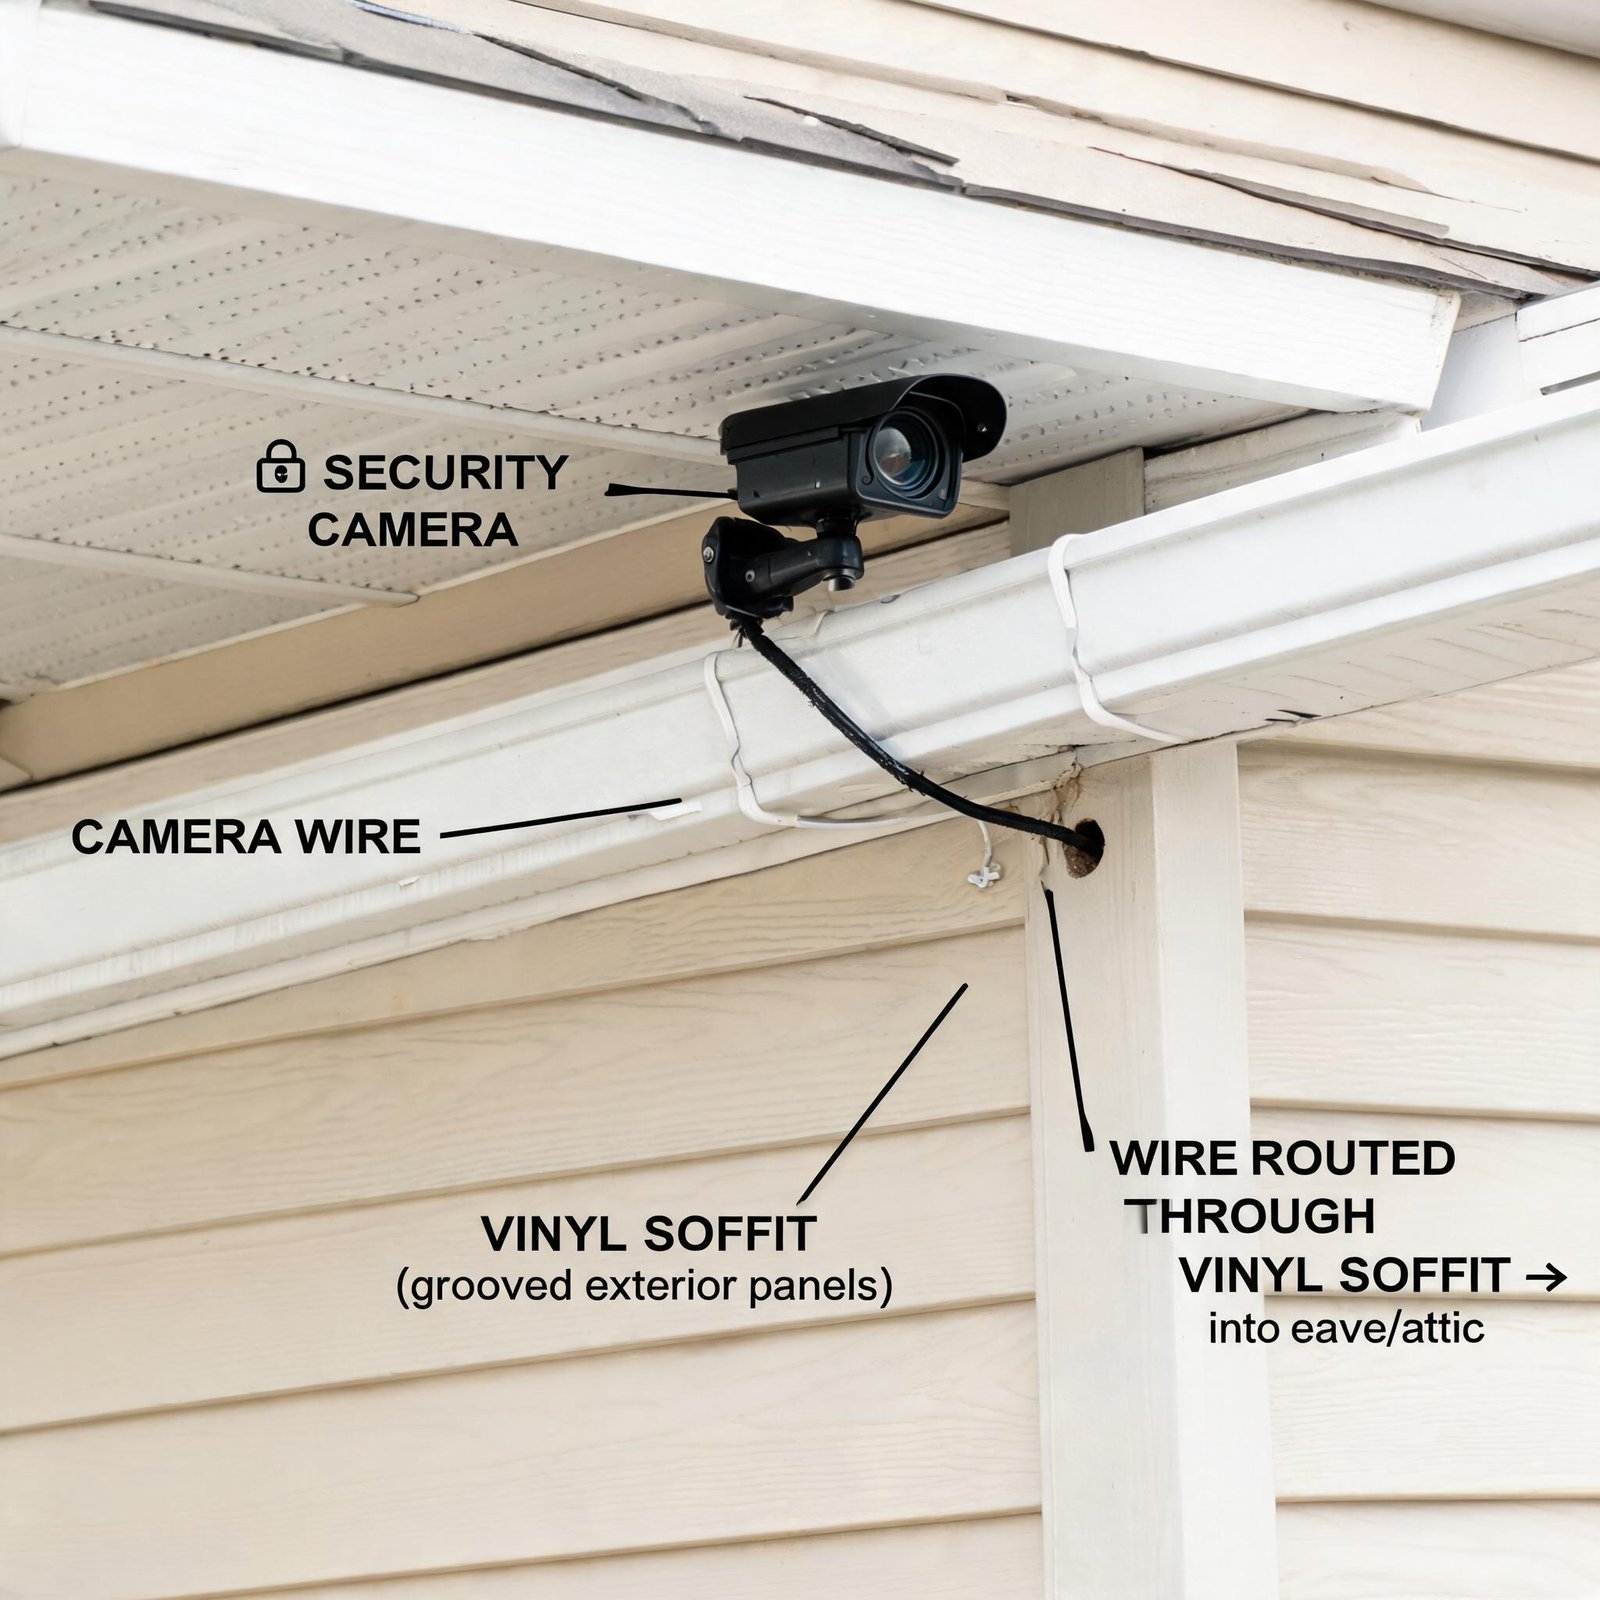
Never drill directly through a siding panel’s face if you can avoid it. Instead, drill through the J-channel or trim piece that wraps around your window or door. If you must drill through a flat panel, aim for the lower portion of the panel so water drains down over the hole rather than pooling above it. For camera wires that need to reach the attic, the best route is often through the soffit itself, but if that’s blocked by structural members or insulation, the next best spot is through the siding just below the soffit line, then into the wall cavity, and up into the attic via a top plate hole.
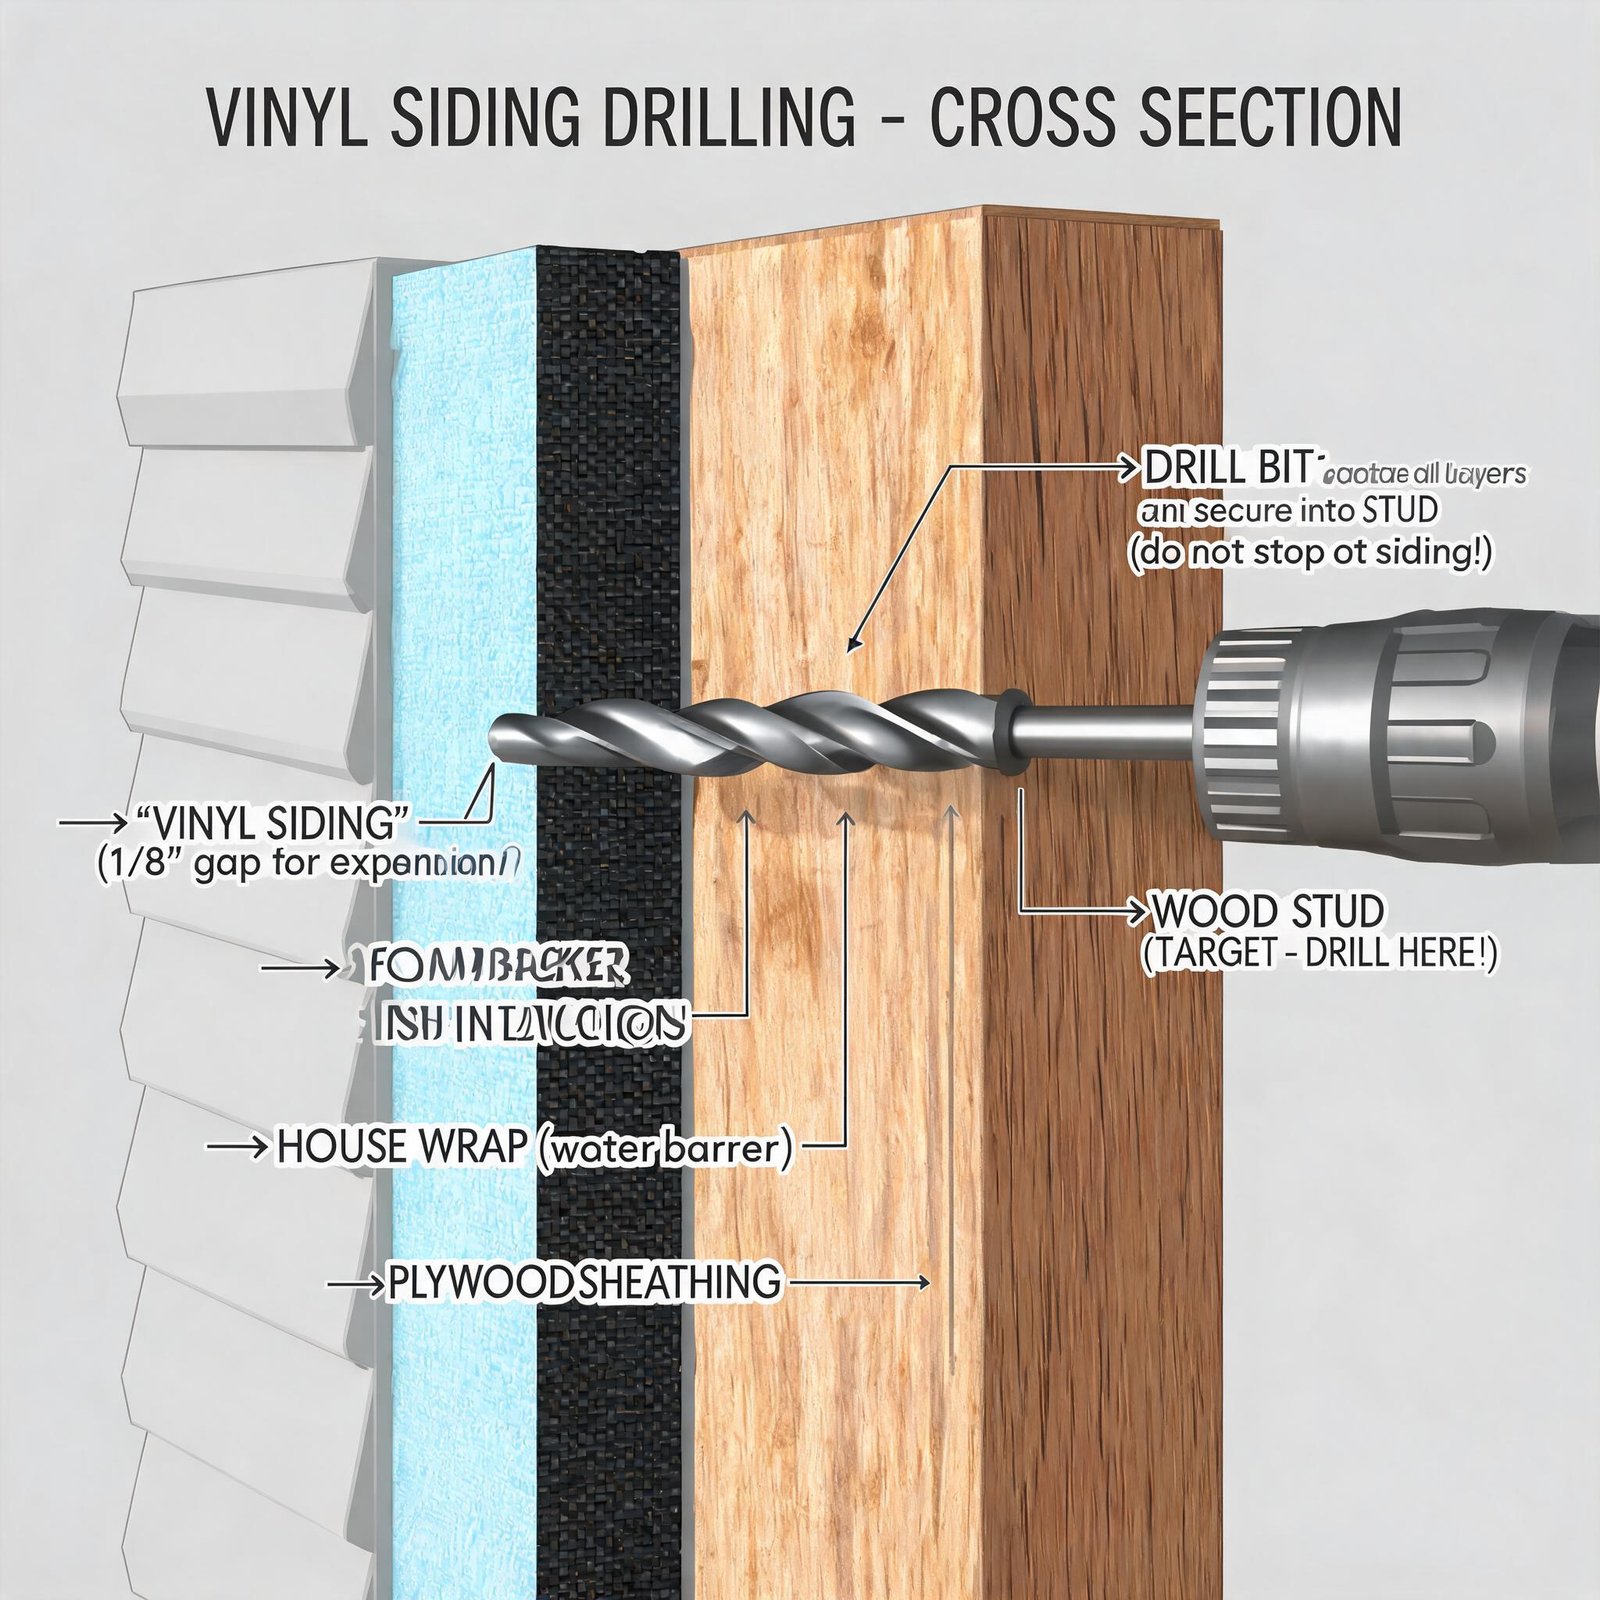
2. Use the Correct Drill Bit and Technique
For vinyl siding, a standard high-speed steel bit works fine, but I prefer a carbide-tipped bit because vinyl can be gummy and melt if you spin too fast. Use a low RPM setting (500-800 RPM max) and don’t force it. If the bit starts smoking, you’re going too fast—back off and let the tool do the work. Drill at a slight upward angle (5-10 degrees) so the hole is self-draining. The hole should be just slightly larger than your cable diameter—don’t oversize it.
3. Install a Siding Block or Cable Penetration Boot
This is non-negotiable. A $5 siding block from a big-box store is better than caulk, but for a pro-grade result, use a *cable entry boot* designed for vinyl siding. These boots have a flexible rubber gasket that grips the cable and a rigid flange that screws into the siding with stainless steel fasteners. Apply a thin bead of high-quality polyurethane sealant (like OSI Quad or Sikaflex) between the flange and the siding—not too much, or you’ll trap water. Then tighten the screws evenly. Do not overtighten: you want the flange flush but not compressing the vinyl.
4. Seal the Interior Side Too
Inside the attic, the hole through the top plate needs to be sealed with fire-rated expanding foam. This isn’t just for insulation—it’s for air sealing, which prevents warm, humid attic air from condensing on cold surfaces and dripping back onto your drywall. I’ve seen more moisture damage from unsealed attic penetrations than from the exterior siding hole itself.
The Connection Between Camera Wiring and Window Weather Performance
Here’s where this directly ties into your windows. If you’re running a cable through the wall adjacent to a window, you’ve just introduced a potential path for water migration that can end up compromising your window’s rough opening seal. The flashing tape at the window’s sill pan is designed to be watertight, but any new hole within 6 inches of the window frame creates a vulnerability. That’s why Superwindowhouse’s vinyl sliding windows use extruded, fusion-welded frames with integrated drainage channels that don’t rely on secondary sealants—but you *still* need to respect the 6-inch rule.
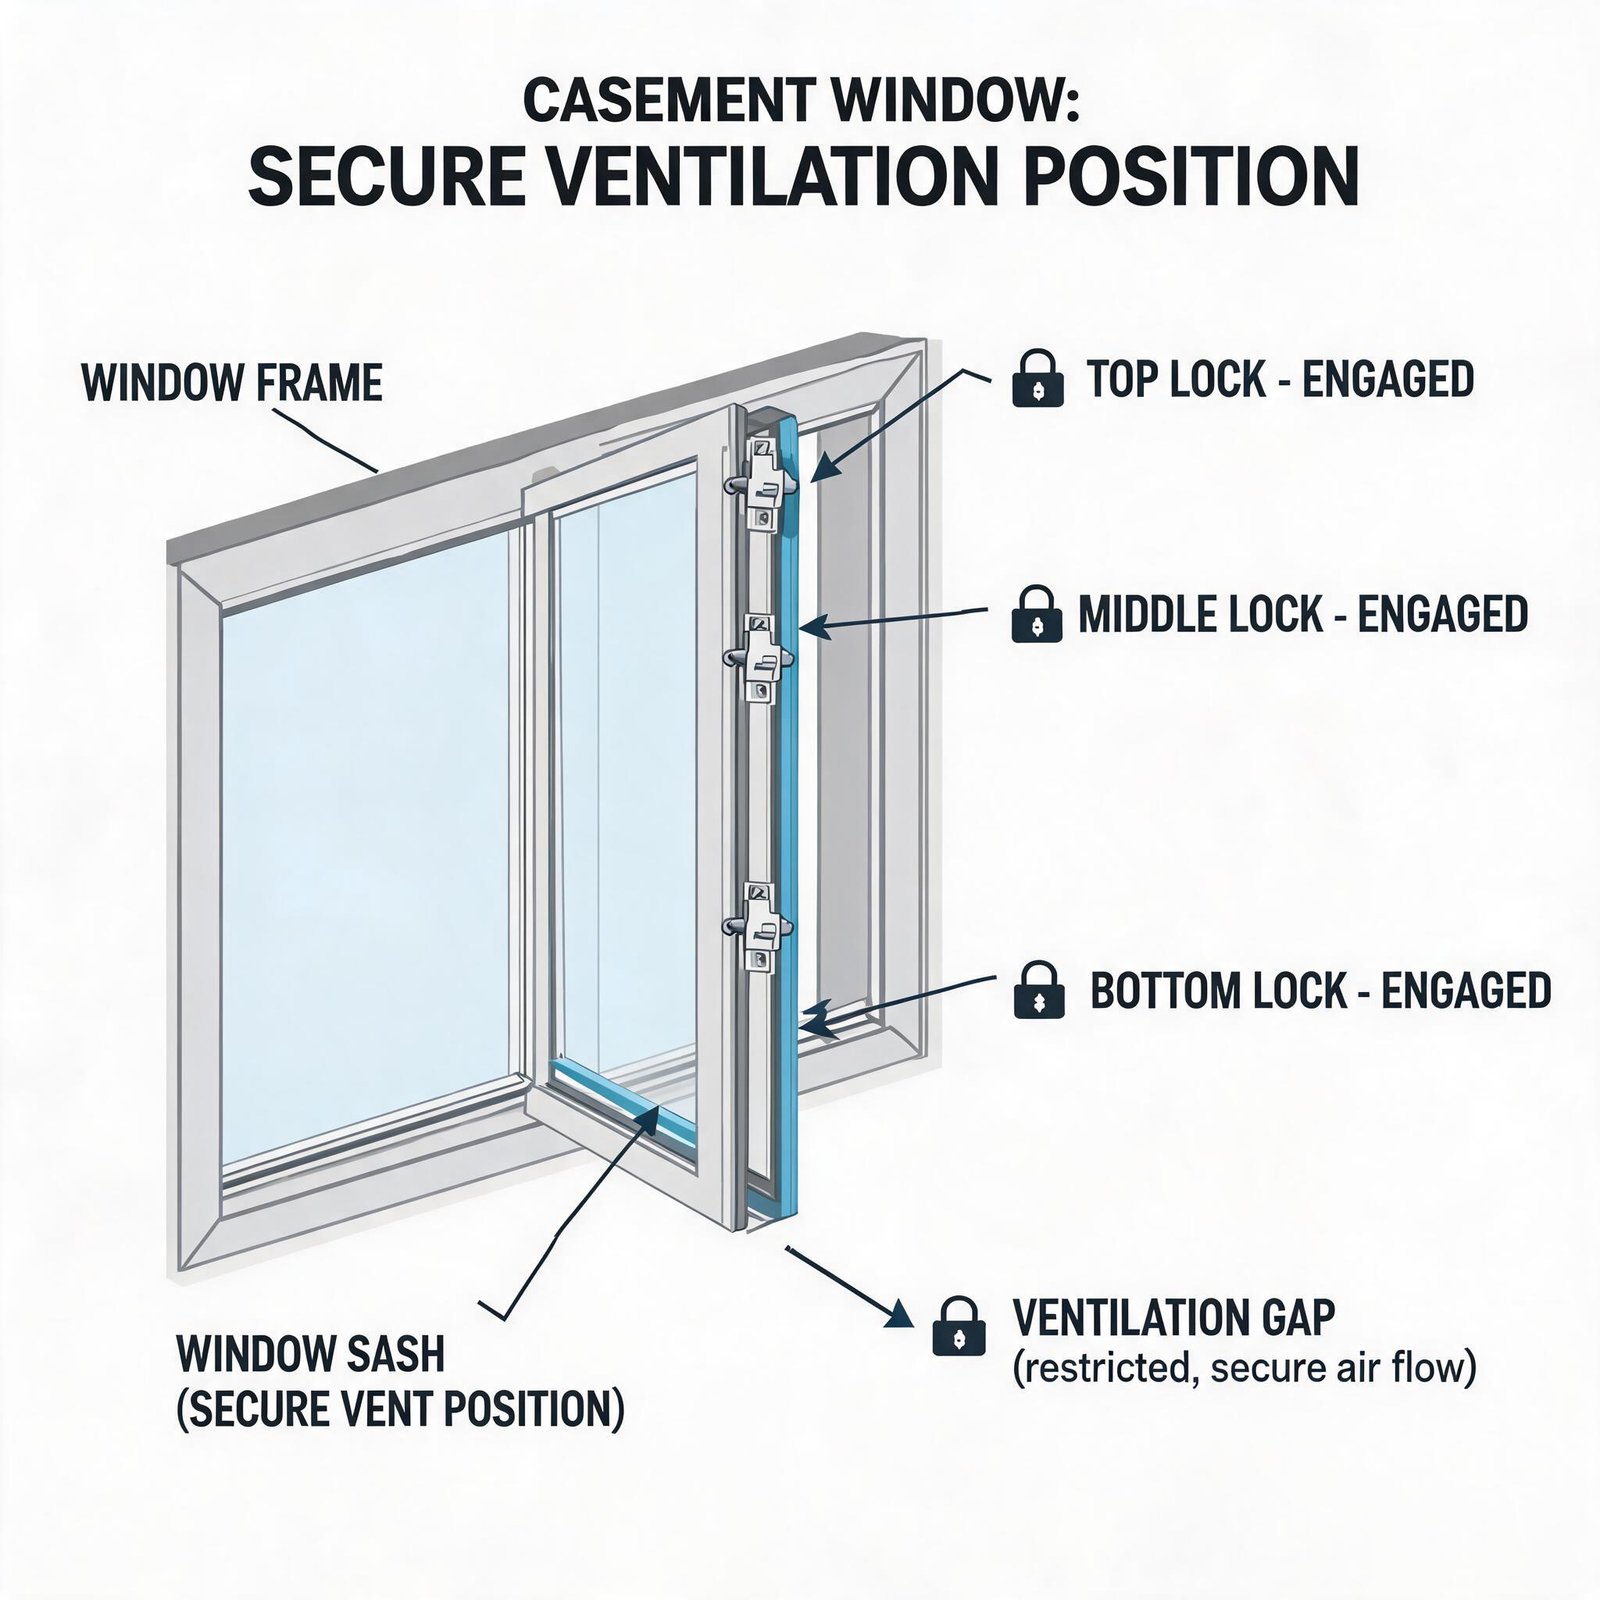
For homeowners upgrading both security and weather resistance, pairing your camera installation with a window replacement is smart. If your existing windows are single-pane or drafty, the money you’re spending on cameras and wiring is better leveraged by investing in high-performance vinyl casement windows, which offer a factory-sealed installation that eliminates the kind of site-made penetrations we’re discussing here. A properly installed casement window has continuous sealing gaskets and a welded frame that simply doesn’t need aftermarket caulking.
How to Repair Siding After a Camera Install (or a Botched One)
Even with careful planning, situations arise where you need to patch existing holes—from old cable runs, satellite dishes, or previous camera installations. Here’s the Superwindowhouse-approved method for vinyl siding repair:
- For holes under 1/4 inch: Fill with flexible, paintable sealant. Use a backer rod for deeper holes. Avoid silicone, as it won’t accept paint.
- For holes up to 1 inch: Cut a patch from scrap siding of the same color and profile. Clean the area, apply adhesive, and press the patch into place. Use a seam roller to blend the texture.
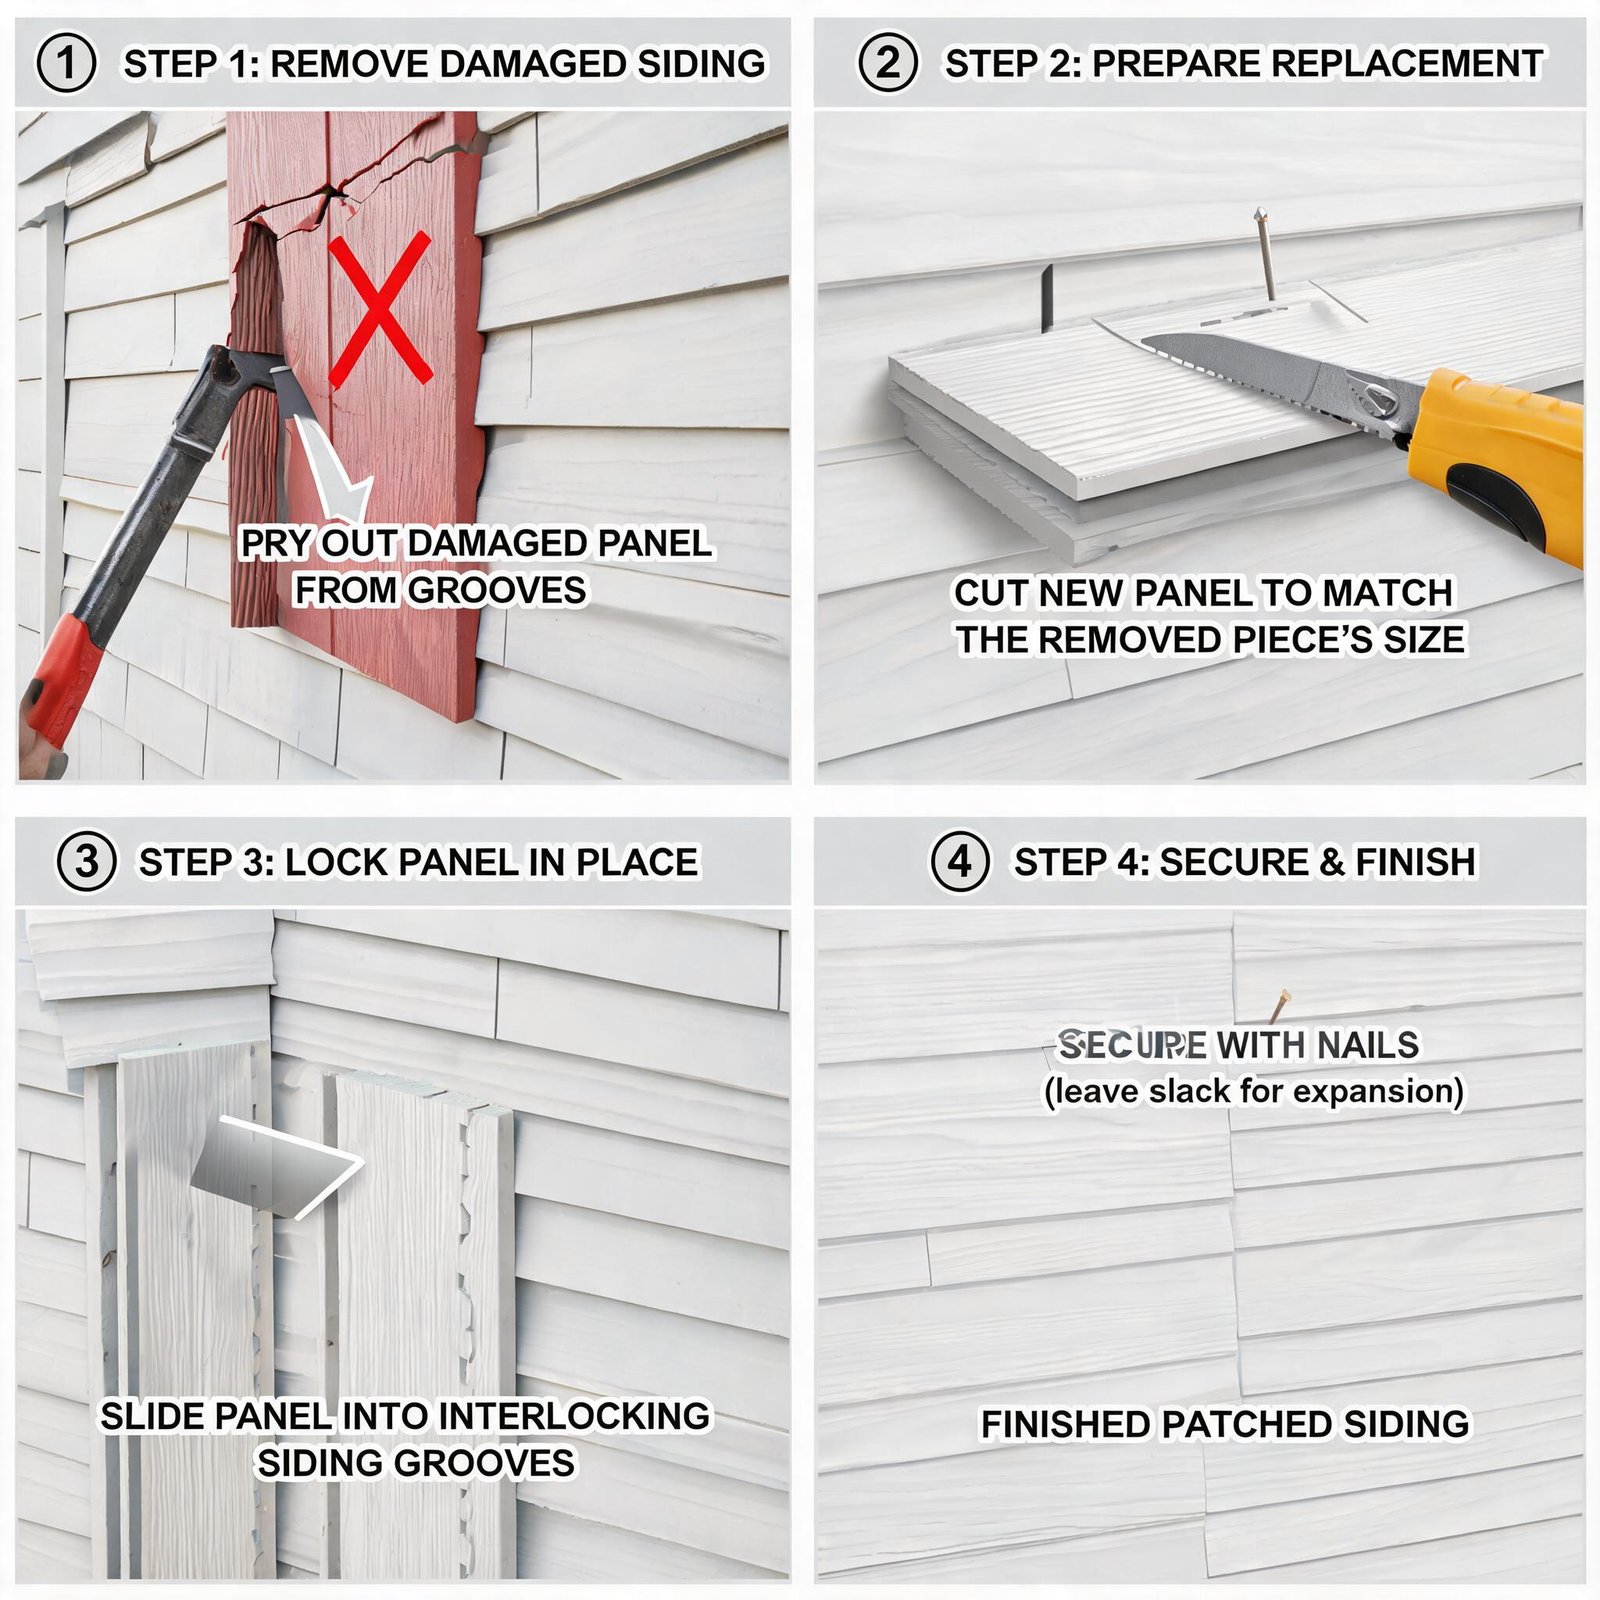
- For larger holes or cracked panels: Replace the entire siding panel. It’s easier than you think—just unzip the bottom J-channel, remove the fasteners, and slide a new panel in. Match the nail slot alignment so the panel can expand freely.
Weather-Resistant Windows: The Ultimate Complement to Your Security Upgrade
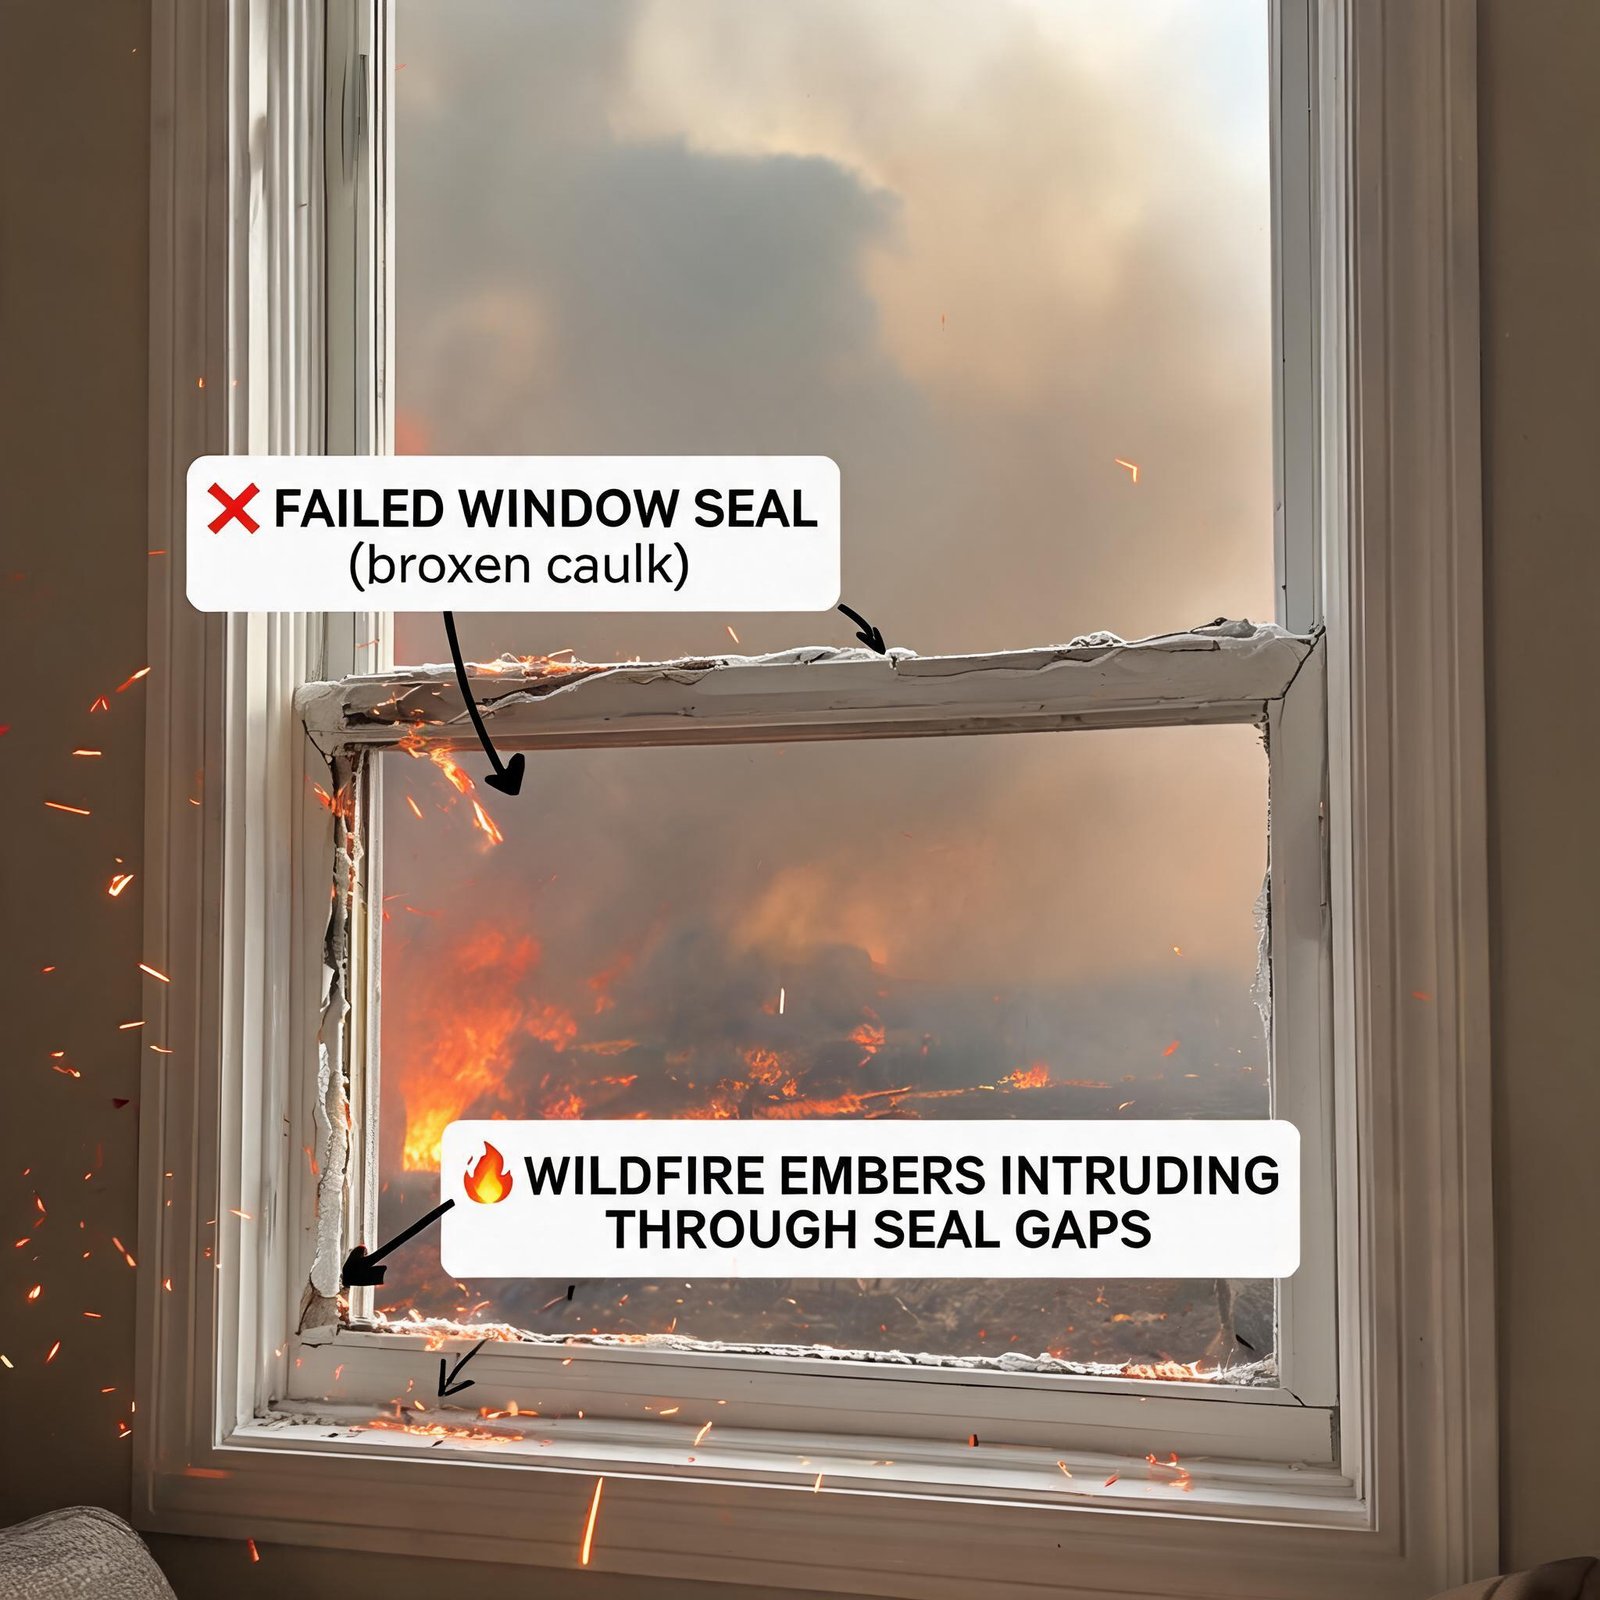
Let me be blunt: running camera wires through vinyl siding is a band-aid if your windows themselves are leaky. A top-tier security system is only as good as the envelope it’s mounted on. If your windows have failed seals, rotting frames, or gaps at the rough opening, water will find its way in regardless of how carefully you drill your camera holes.
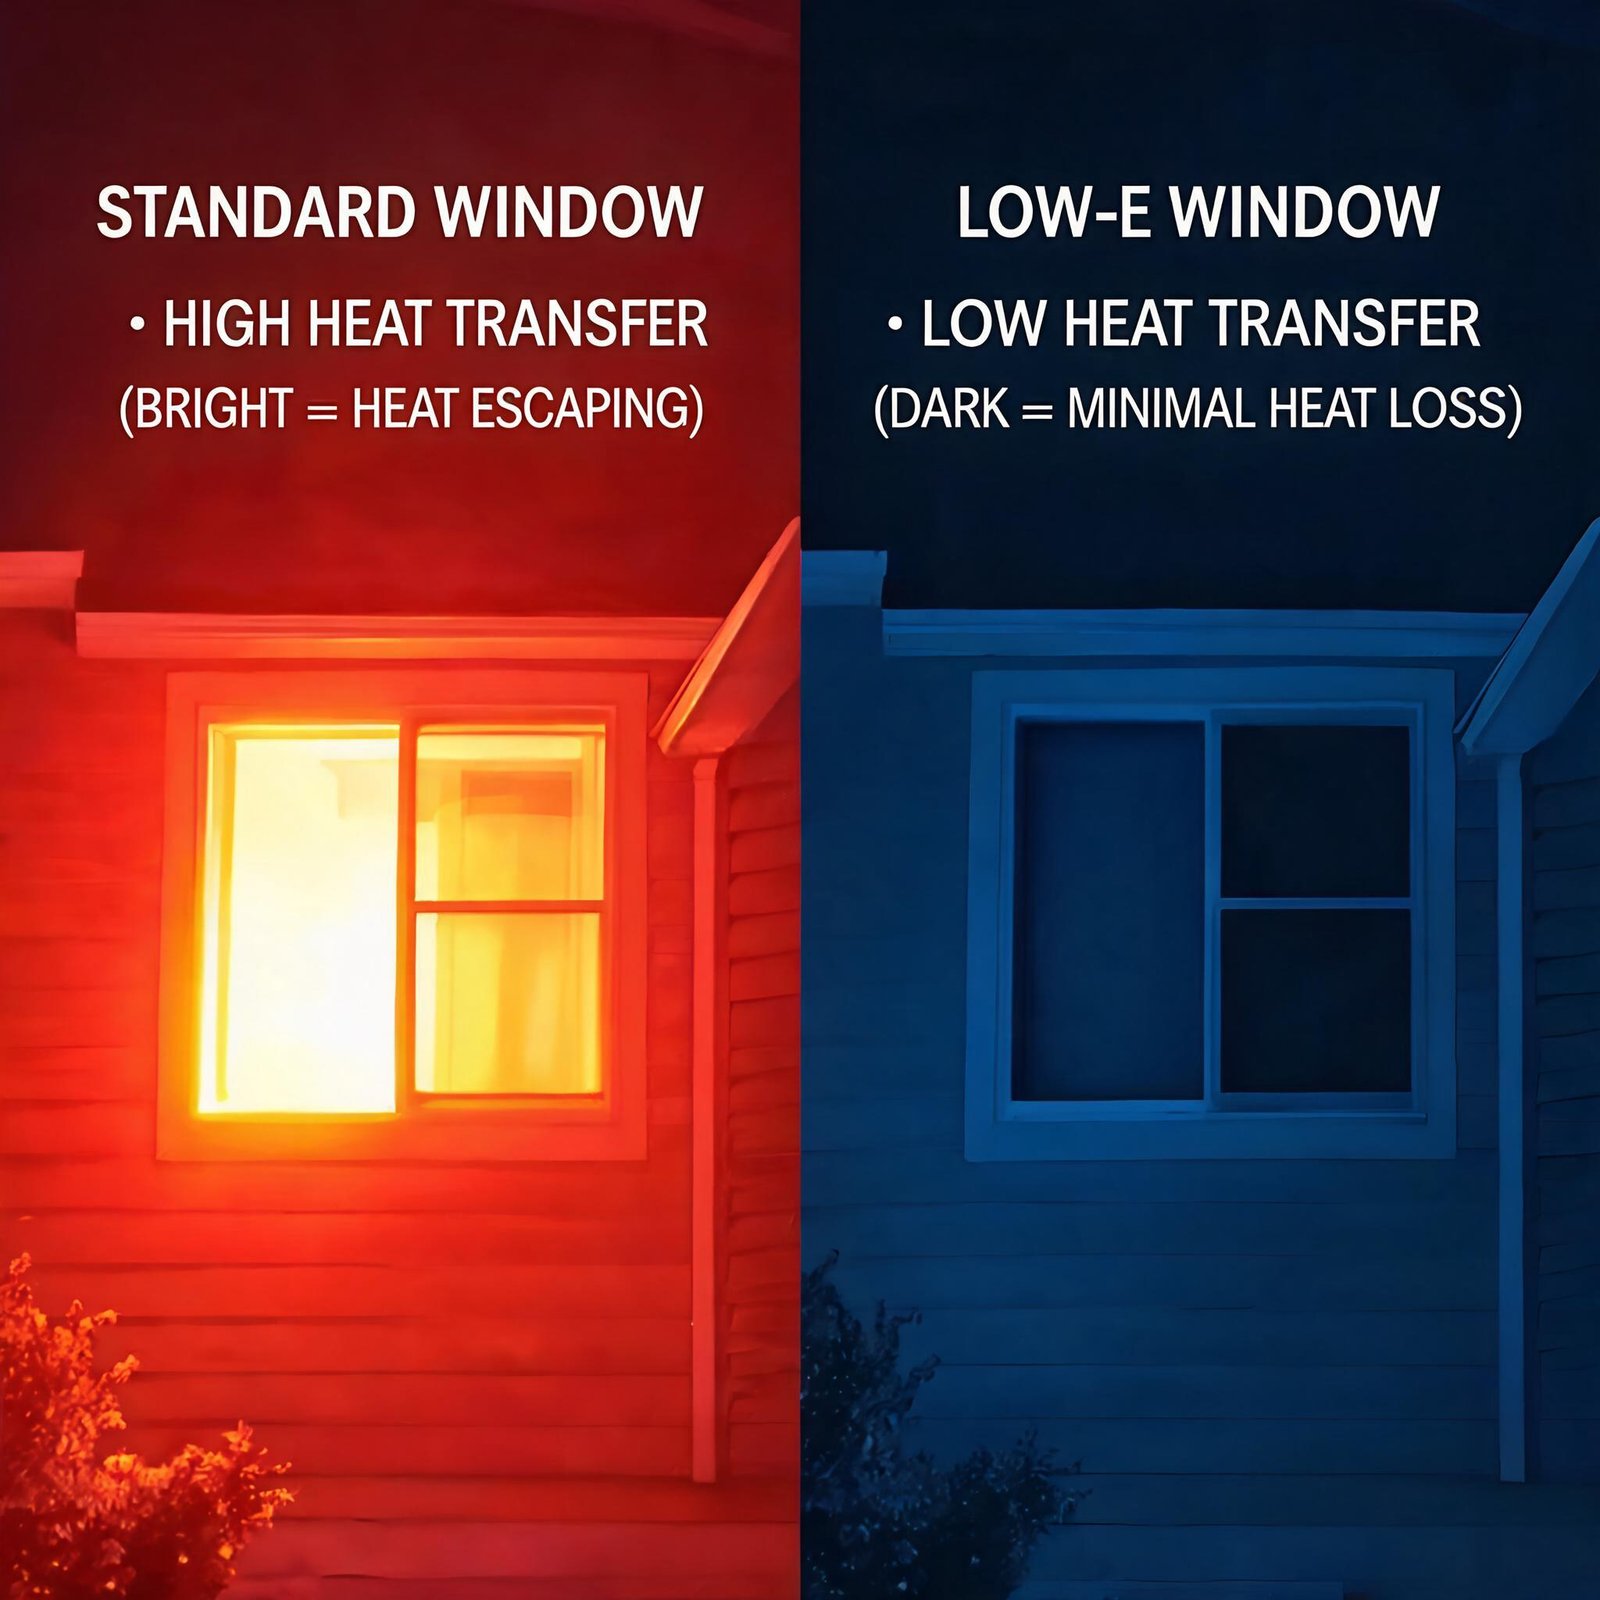
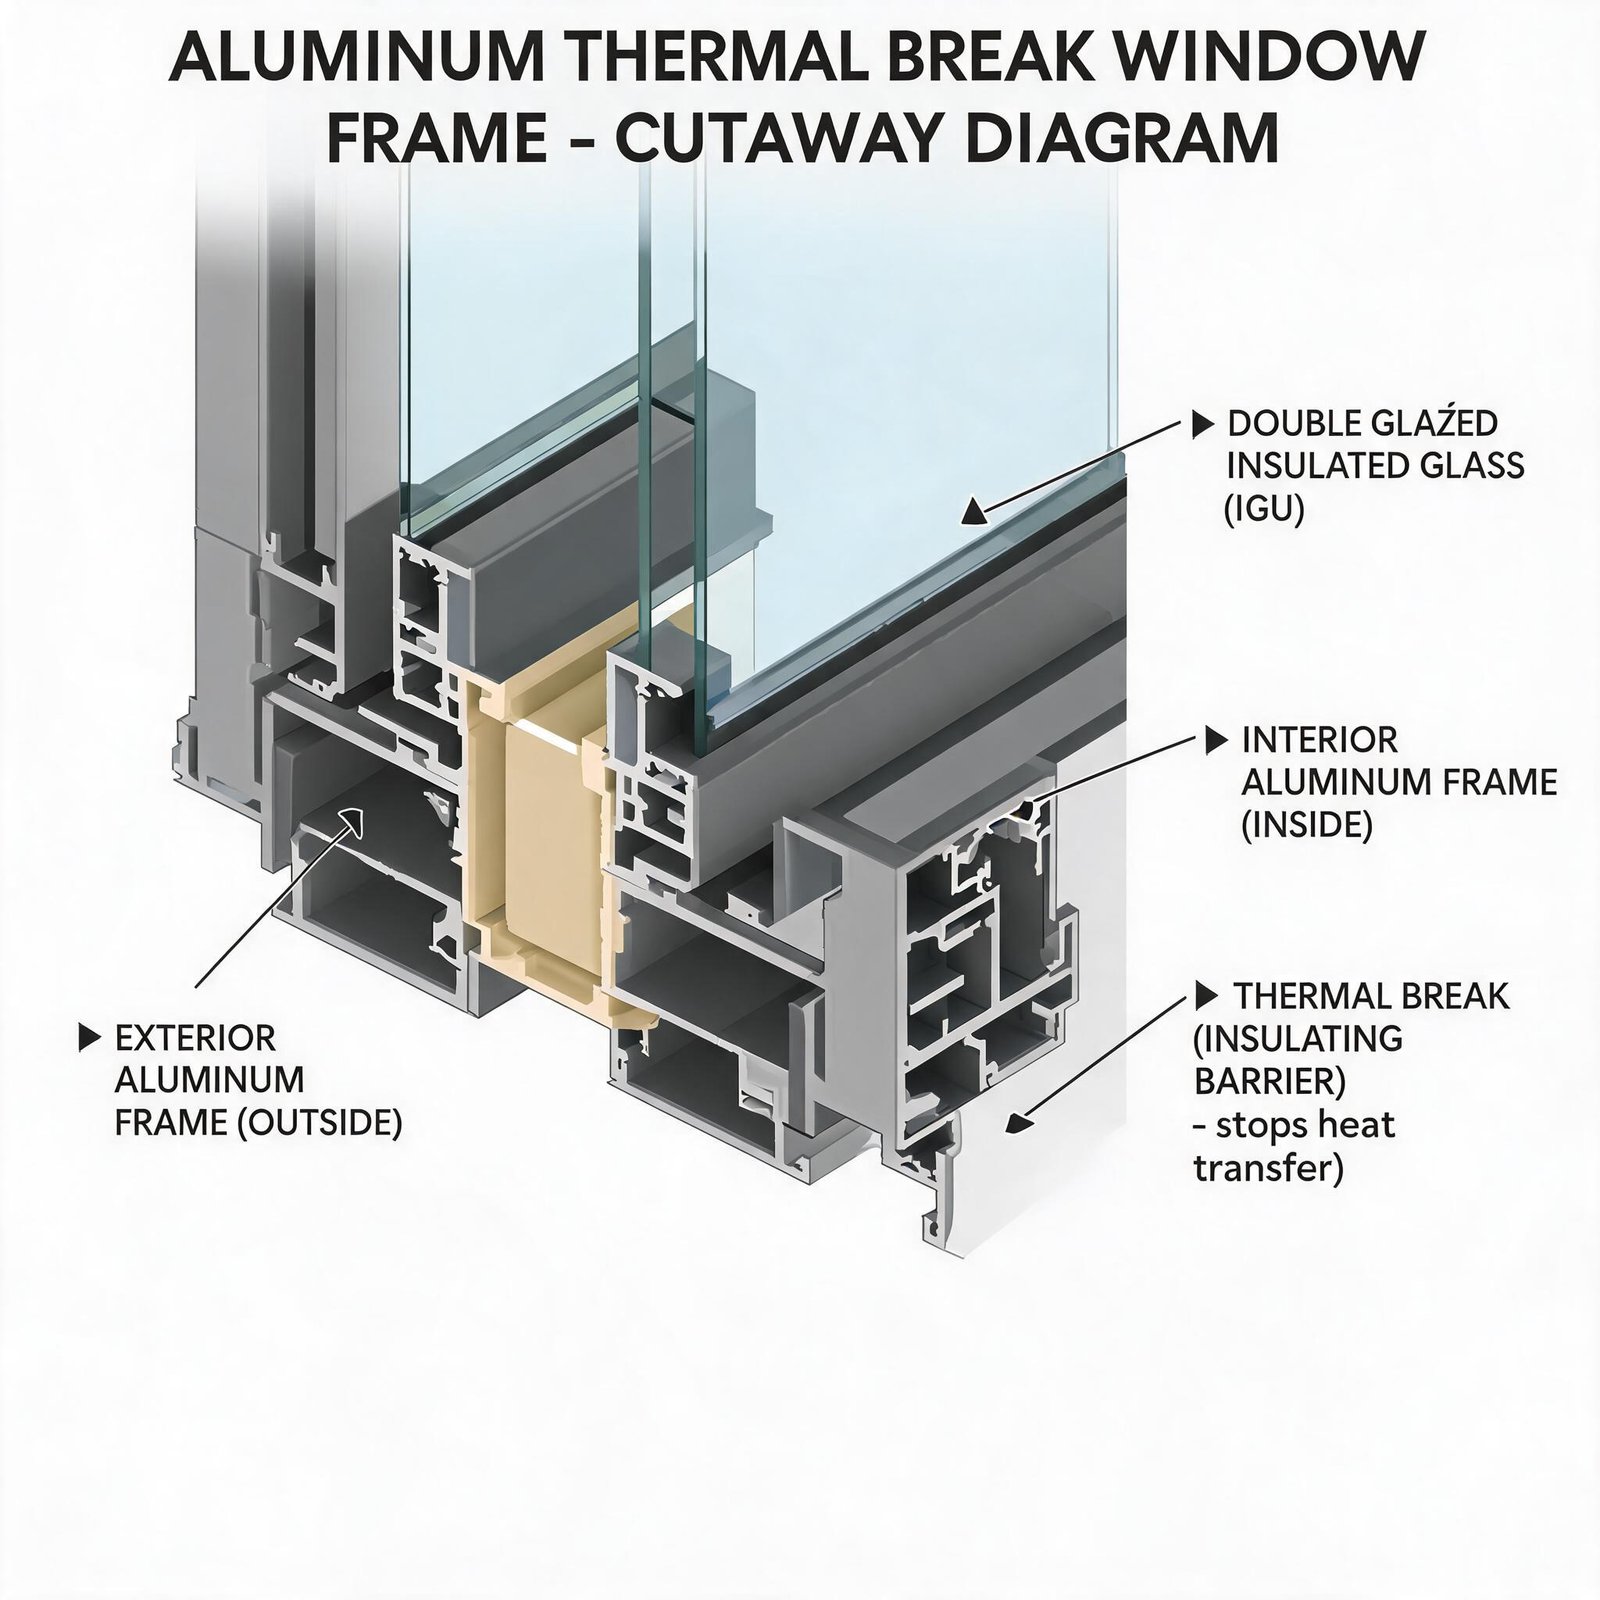
That’s why homeowners who take security seriously often pair their install with a window upgrade. Superwindowhouse’s energy-efficient vinyl sliding windows feature multi-chambered frames that prevent condensation and thermal bridging—critical in areas where camera cables penetrate the wall. And if you’re in a storm-prone region, the impact-resistant storm hung windows offer aluminum-reinforced frames that can handle the same kind of brutal wind loads your cameras are designed to withstand.
The beauty of choosing factory-built, third-party-certified windows from Superwindowhouse is that every single joint is engineered for 50 years of service. You’re not relying on field-applied caulking that degrades in UV rays. You’re buying a system that was tested in independent labs to AAMA standards. That same engineering mindset should apply to your cable penetrations: don’t just drill and hope. Use the right hardware, the right sealants, and the right technique.
Final Checklist Before Drilling Your Vinyl Siding
Before you touch that drill, run through this short list:
- Verify there’s no electrical wiring or plumbing in the stud cavity where you’re drilling (use a stud finder with wire detection).
- Choose a siding boot or block that matches your cable diameter and siding profile.
- Use polyurethane sealant—not silicone or acrylic latex.
- Drill at an upward angle to shed water.
- Seal the interior attic penetration with fire-rated foam.
- Allow sealant to cure for 24-48 hours before running cable under tension.
If you follow these steps, your camera will be rock-solid and leak-free for years. If you’re ever in doubt, remember: the cost of a window replacement is often less than the cost of water damage repair from a single bad penetration. Invest in quality materials upfront, and your home—and your security system—will thank you.
About the Author: A 15-year general contractor specializing in residential envelope performance, window installation, and weatherproofing. Currently serving as Chief Technical Advisor at Superwindowhouse.com, where the focus is on building windows that complement—not compromise—modern home security upgrades.