If you’ve been staring through a foggy, cracked, or drafty double pane vinyl window, you already know the frustration. That view is supposed to bring in light, not condensation between the panes. As a window manufacturer with decades of engineering experience, I’ve seen homeowners waste money on partial fixes and incorrect replacement approaches, especially when dealing with vinyl frames. Vinyl windows aren’t just a plastic version of wood or aluminum—they behave differently, seal differently, and require a distinct method when replacing the insulated glass unit (IGU).
This guide walks you through everything you need to know about how to replace glass in double pane vinyl windows, from understanding what’s inside the sash to safely executing the job yourself and knowing when it’s smarter to call in a glazing professional. You won’t find vague advice here; you’ll get the practical, factory-informed detail that most competitor pages leave out.
Understanding Your Vinyl Window and Insulated Glass Unit
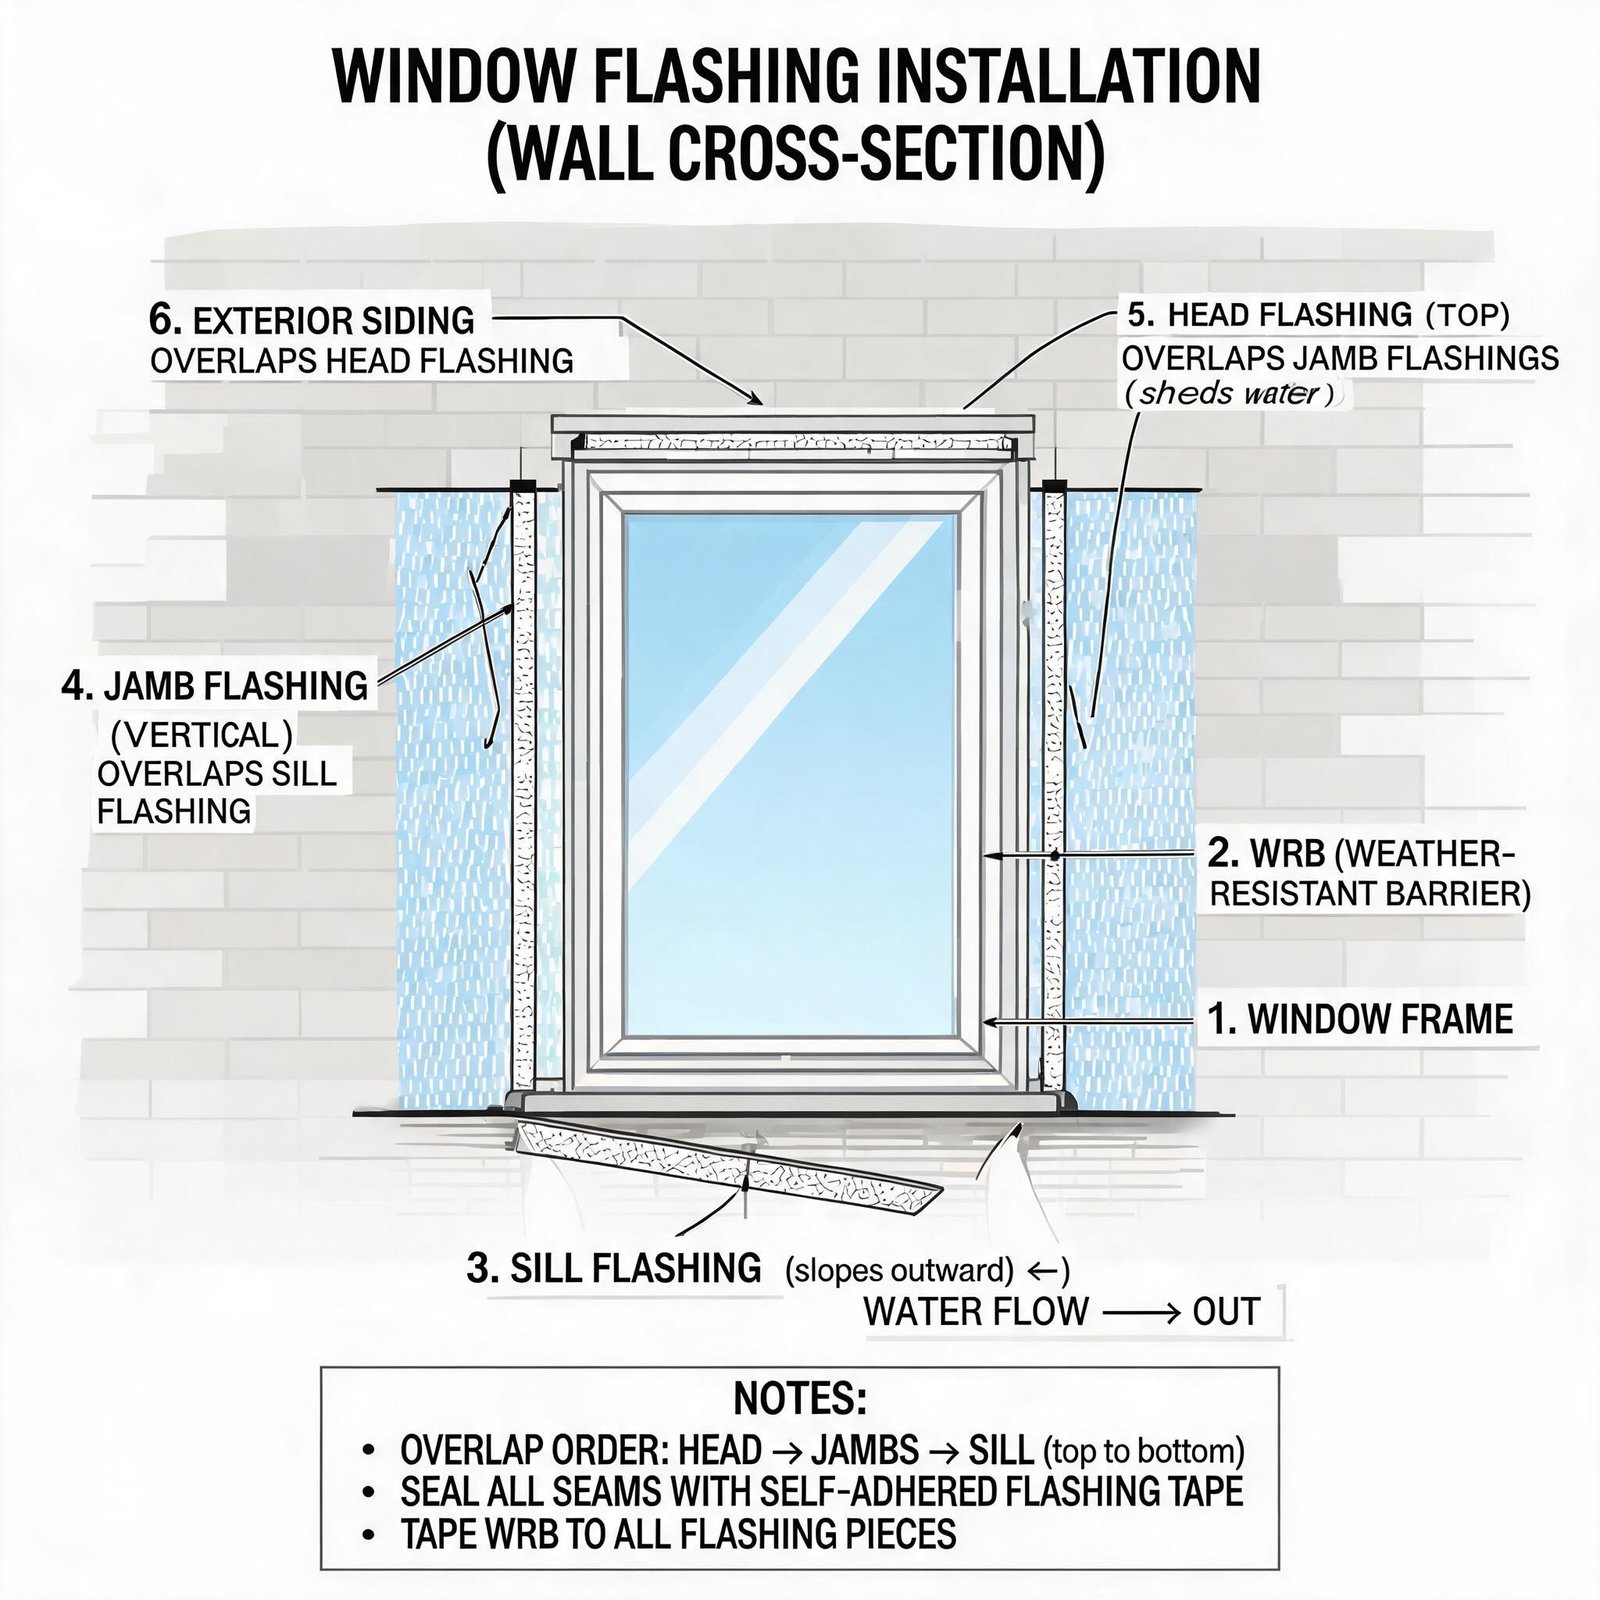
Before you touch a single glazing bead, you need to know exactly what you’re dealing with. A vinyl window frame is manufactured from polyvinyl chloride (PVC) profiles that contain multiple air chambers. These profiles form the sash—the movable or fixed part that holds the glass. Vinyl expands and contracts with temperature changes, so the way the glass is secured inside the sash relies on a precise friction fit, flexible glazing beads, and a carefully sized pocket.
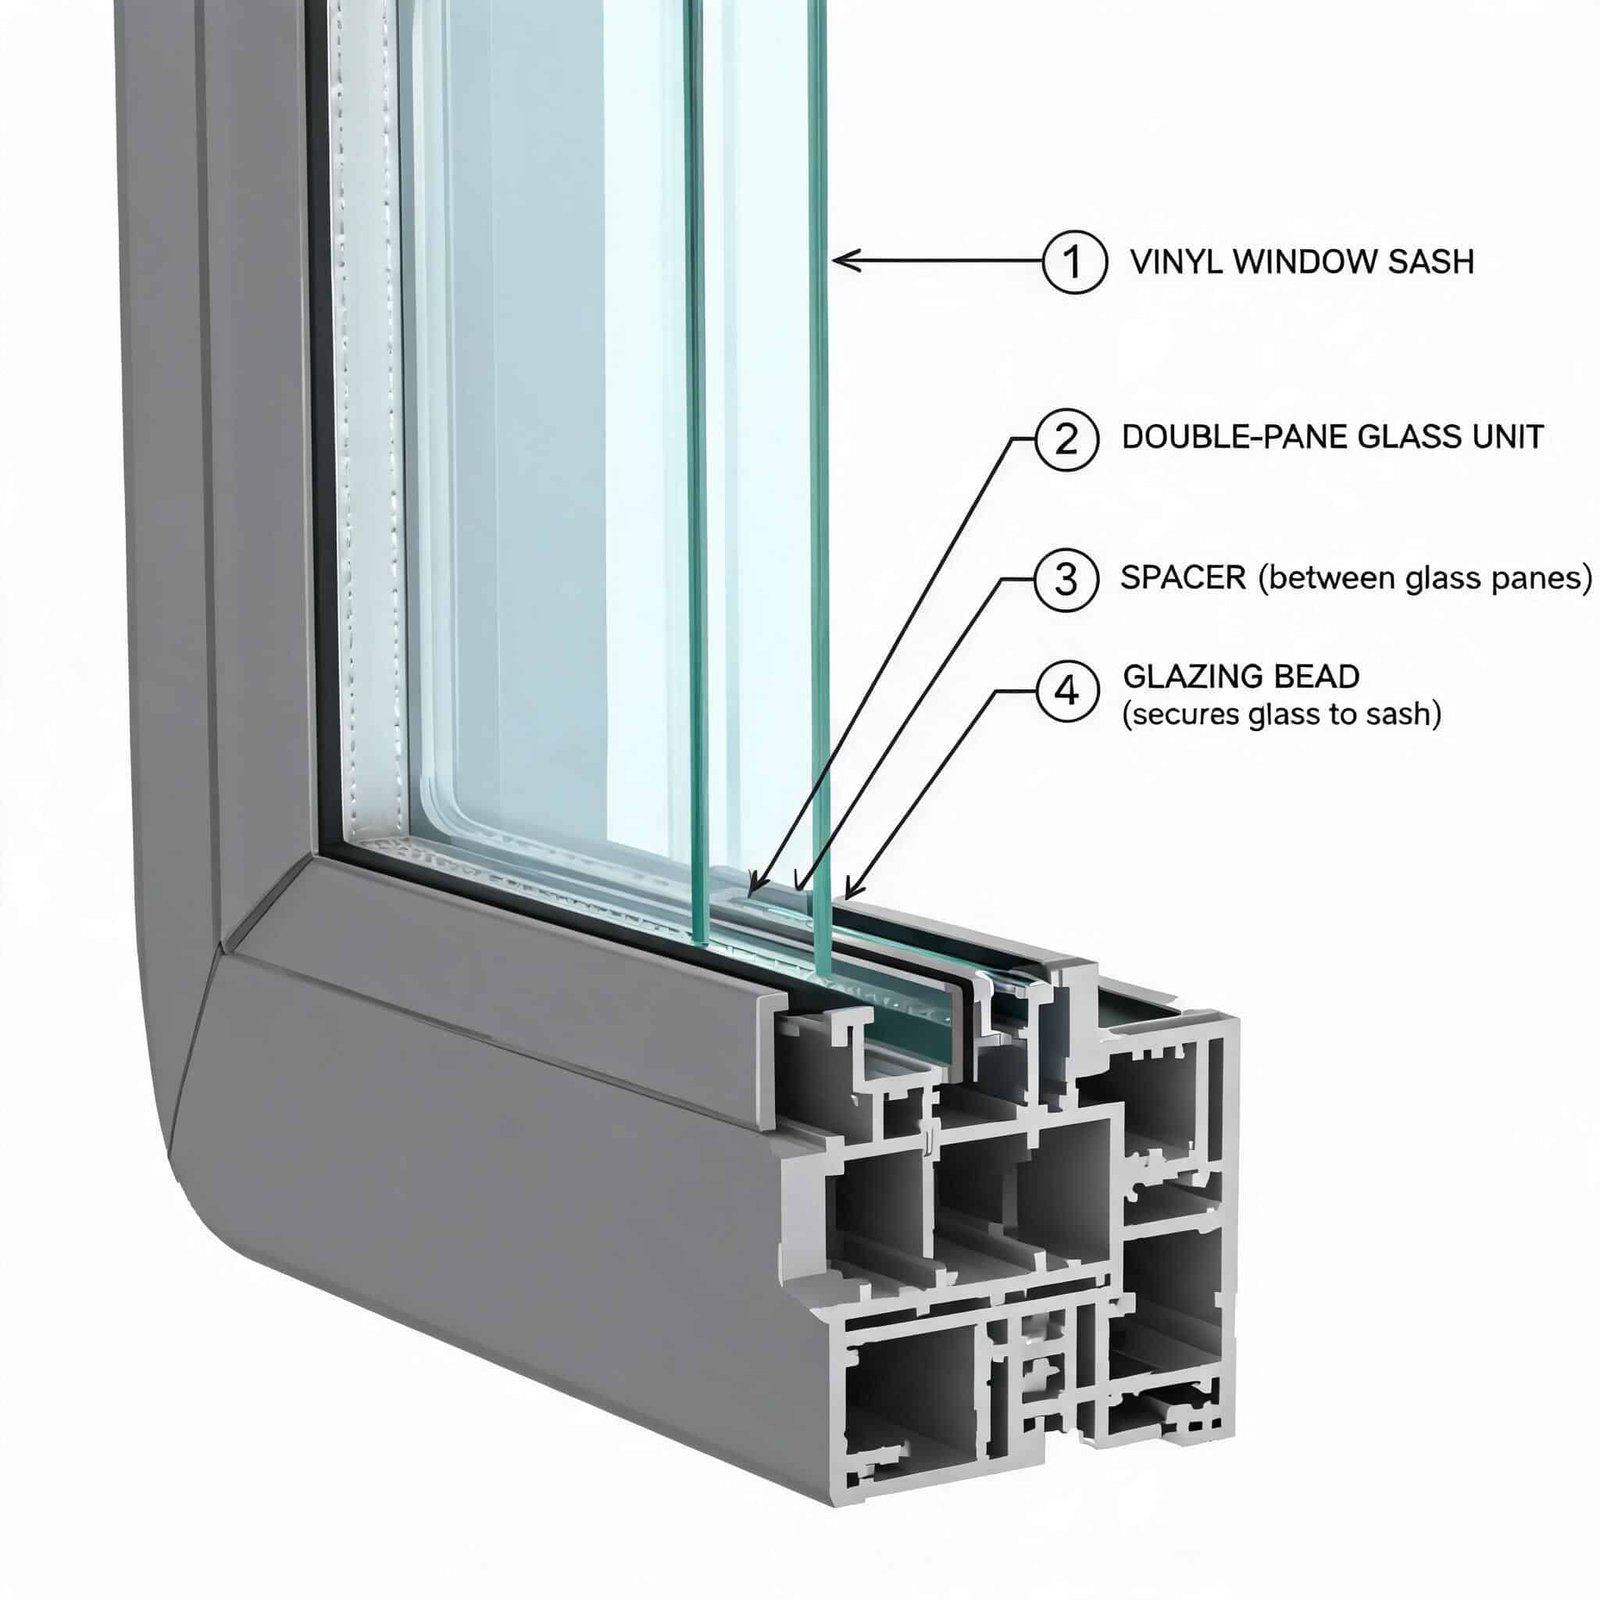
The star of this operation is the insulated glass unit, or IGU. An IGU isn’t simply two single panes stuck together. It’s a factory-sealed sandwich consisting of:
- Two sheets of glass – often one with a low-emissivity (low‑E) coating positioned on the inner surface facing the air gap.
- A perimeter spacer bar – typically made of aluminum, warm-edge composite, or stainless steel, containing a desiccant material that absorbs any residual moisture trapped inside during manufacturing.
- A primary and secondary seal – a polyisobutylene (PIB) inner seal and a silicone or polysulfide outer seal that create a flexible, weather-tight bond.
- An insulating gas fill – usually argon or krypton, which outperforms dry air at slowing heat transfer.
When the seal fails, moisture enters, the desiccant saturates, and you get that classic fog that doesn’t wipe away. In a vinyl window, that failed IGU can often be replaced without disturbing the frame’s structural integrity—but only if you approach the job with the right technique.
Signs That You Need to Replace the Glass, Not the Whole Window
Not every window problem calls for glass replacement. Here’s how to tell when the IGU is the culprit:
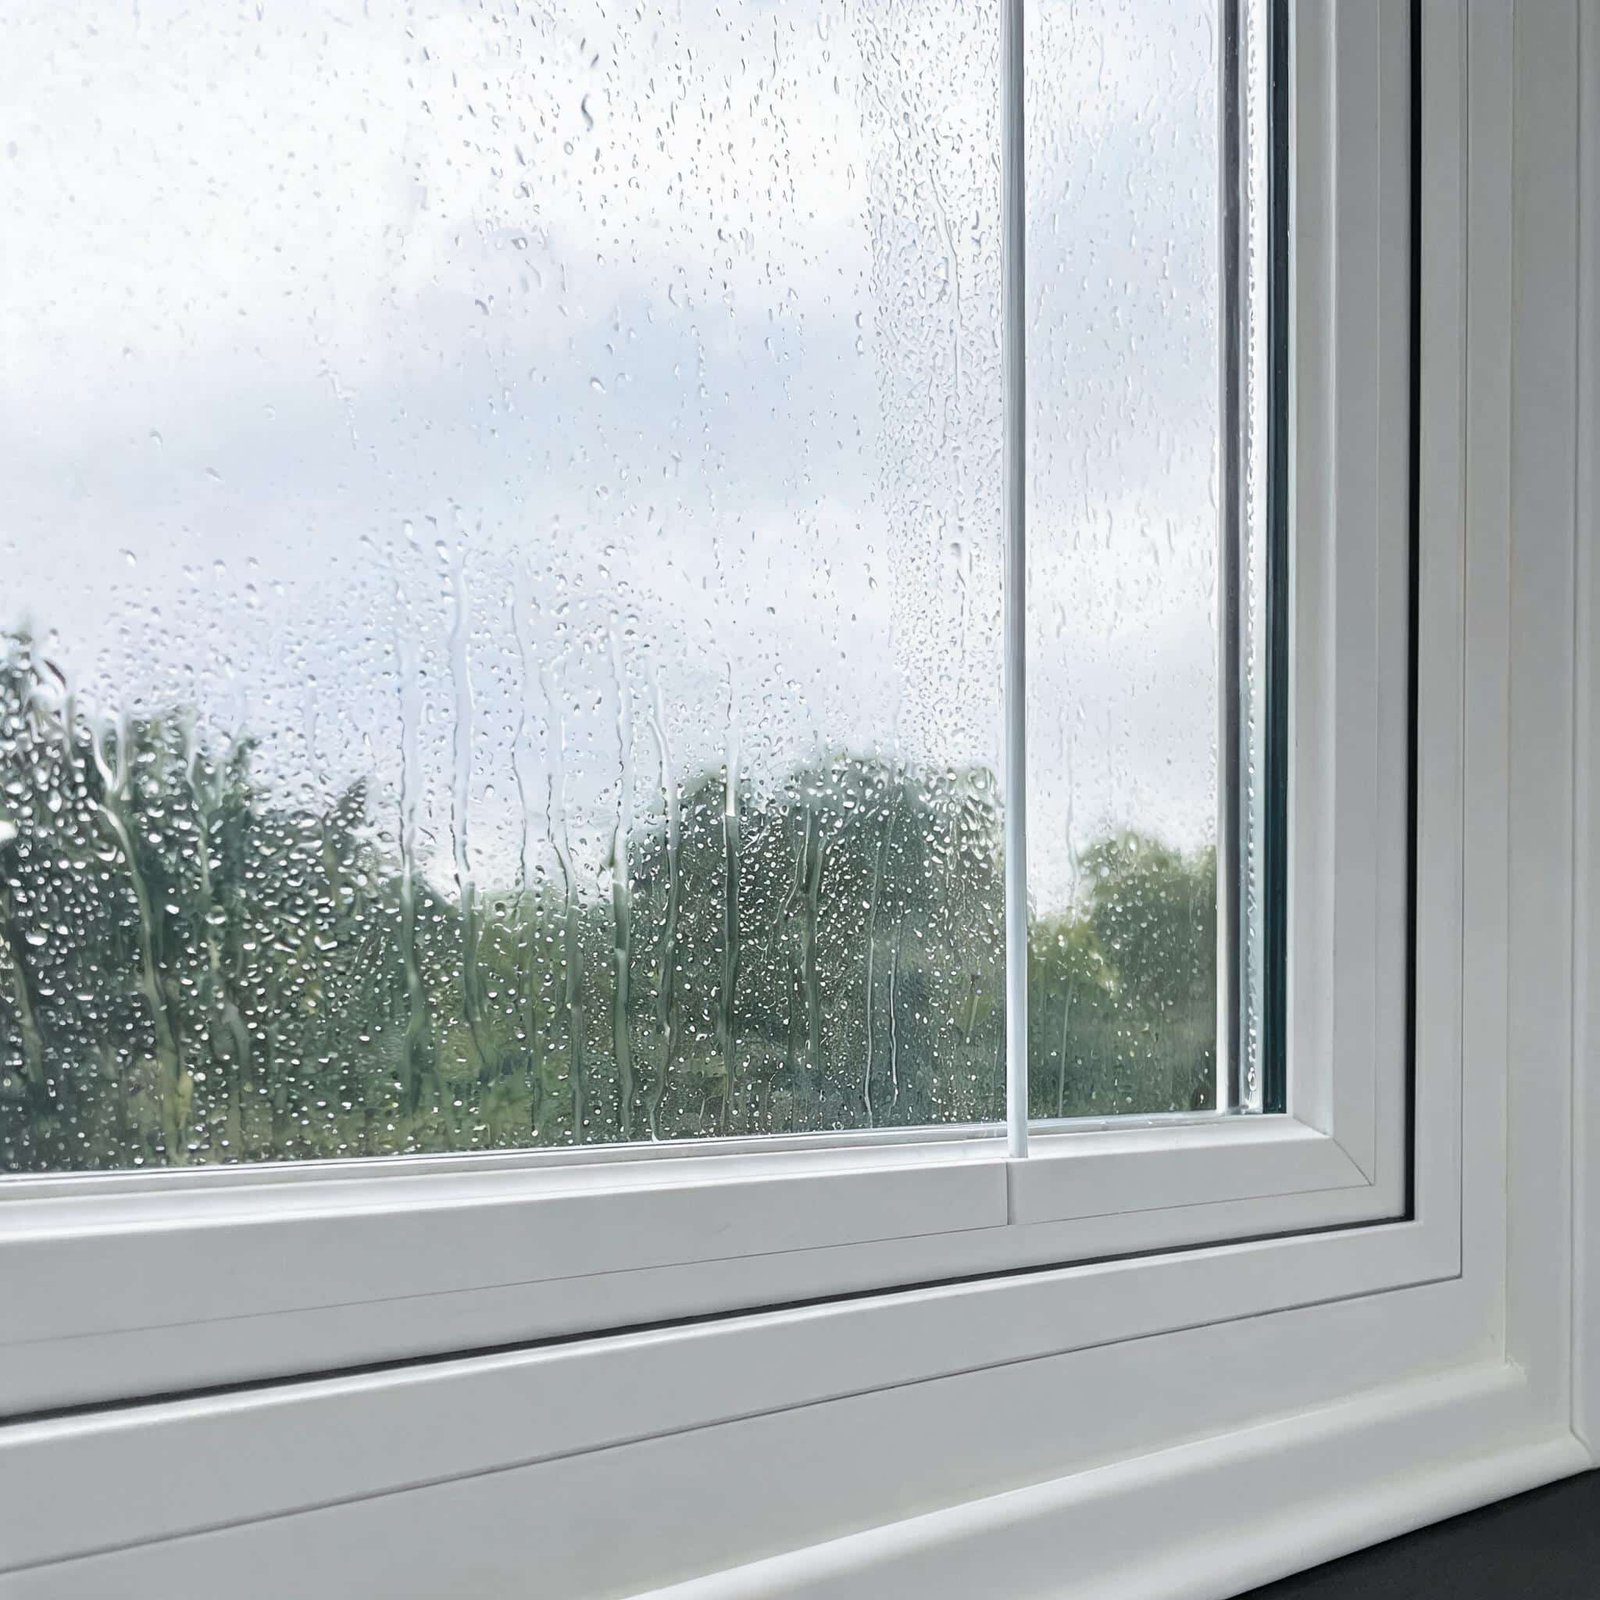
- Permanent fogging or condensation between the panes – the unmistakable sign of a blown seal.
- Cracked or shattered outer or inner pane – even if the second pane is intact, the unit’s seal is compromised.
- Visible white film or mineral deposits on the interior glass surfaces – evidence of repeated moisture intrusion and evaporation.
- Sudden increase in outside noise – the argon fill that dampens sound has escaped.
- Drafts that don’t come from the frame perimeter – cold air might be slipping through a failed edge seal.
- The vinyl frame operates smoothly and is free from warping, rot, or cracks – if the frame is distorted, full window replacement is the correct long-term solution.
If your frame is square, crack-free, and the hardware works, replacing just the glass keeps costs down and avoids major exterior wall disruption.
Can You Replace Broken Glass in a Vinyl Window?
Yes, you absolutely can. But understanding what “replacing the glass” means in the context of modern double pane windows will save you from a serious mistake. When people ask, “can you replace broken glass in a vinyl window?” they often picture swapping out a single cracked pane while leaving the other pane and the spacer in place. That isn’t how insulated glass units work. The two panes, spacer, and seals form a hermetic unit that cannot be field-separated without destroying the thermal performance and immediately failing again.
What you’re actually replacing is the entire IGU—the complete sealed unit—custom-ordered to the correct thickness, width, and height. This is true for vinyl sashes, wood sashes, and aluminum sashes alike. The difference lies in how that IGU is held in the vinyl sash and how you gain access to it without splitting the frame.
Tools and Materials You’ll Need
- Safety glasses and cut-resistant gloves
- Putty knife (stiff and flexible) or a purpose-made glazing bead removal tool
- Plastic pry bars or non-marring nylon wedges
- Suction cups (double cup handle recommended for large IGUs)
- Tape measure accurate to 1⁄16 inch
- Notepad and pencil
- Thin-blade scraper or razor scraper for old sealant
- Isopropyl alcohol and lint-free cloths for cleaning
- Setting blocks (rubber or hard plastic shims)
- High-quality neutral-cure silicone sealant (at least 1/8-inch bead capability)
- Replacement IGU with identical glass type, overall thickness, and gas fill specifications
- Torx or Phillips screwdriver, if your sash has corner screws
- Masking tape and a marker
Step-by-Step Guide: How to Replace the Glass in a Vinyl Window
If you’re ready to take on the project, the following steps break down how to replace the glass in a vinyl window without causing damage to the frame. Move deliberately, and never force a vinyl part when it resists—heat from a hairdryer can soften stiff vinyl enough to let beads release without snapping.
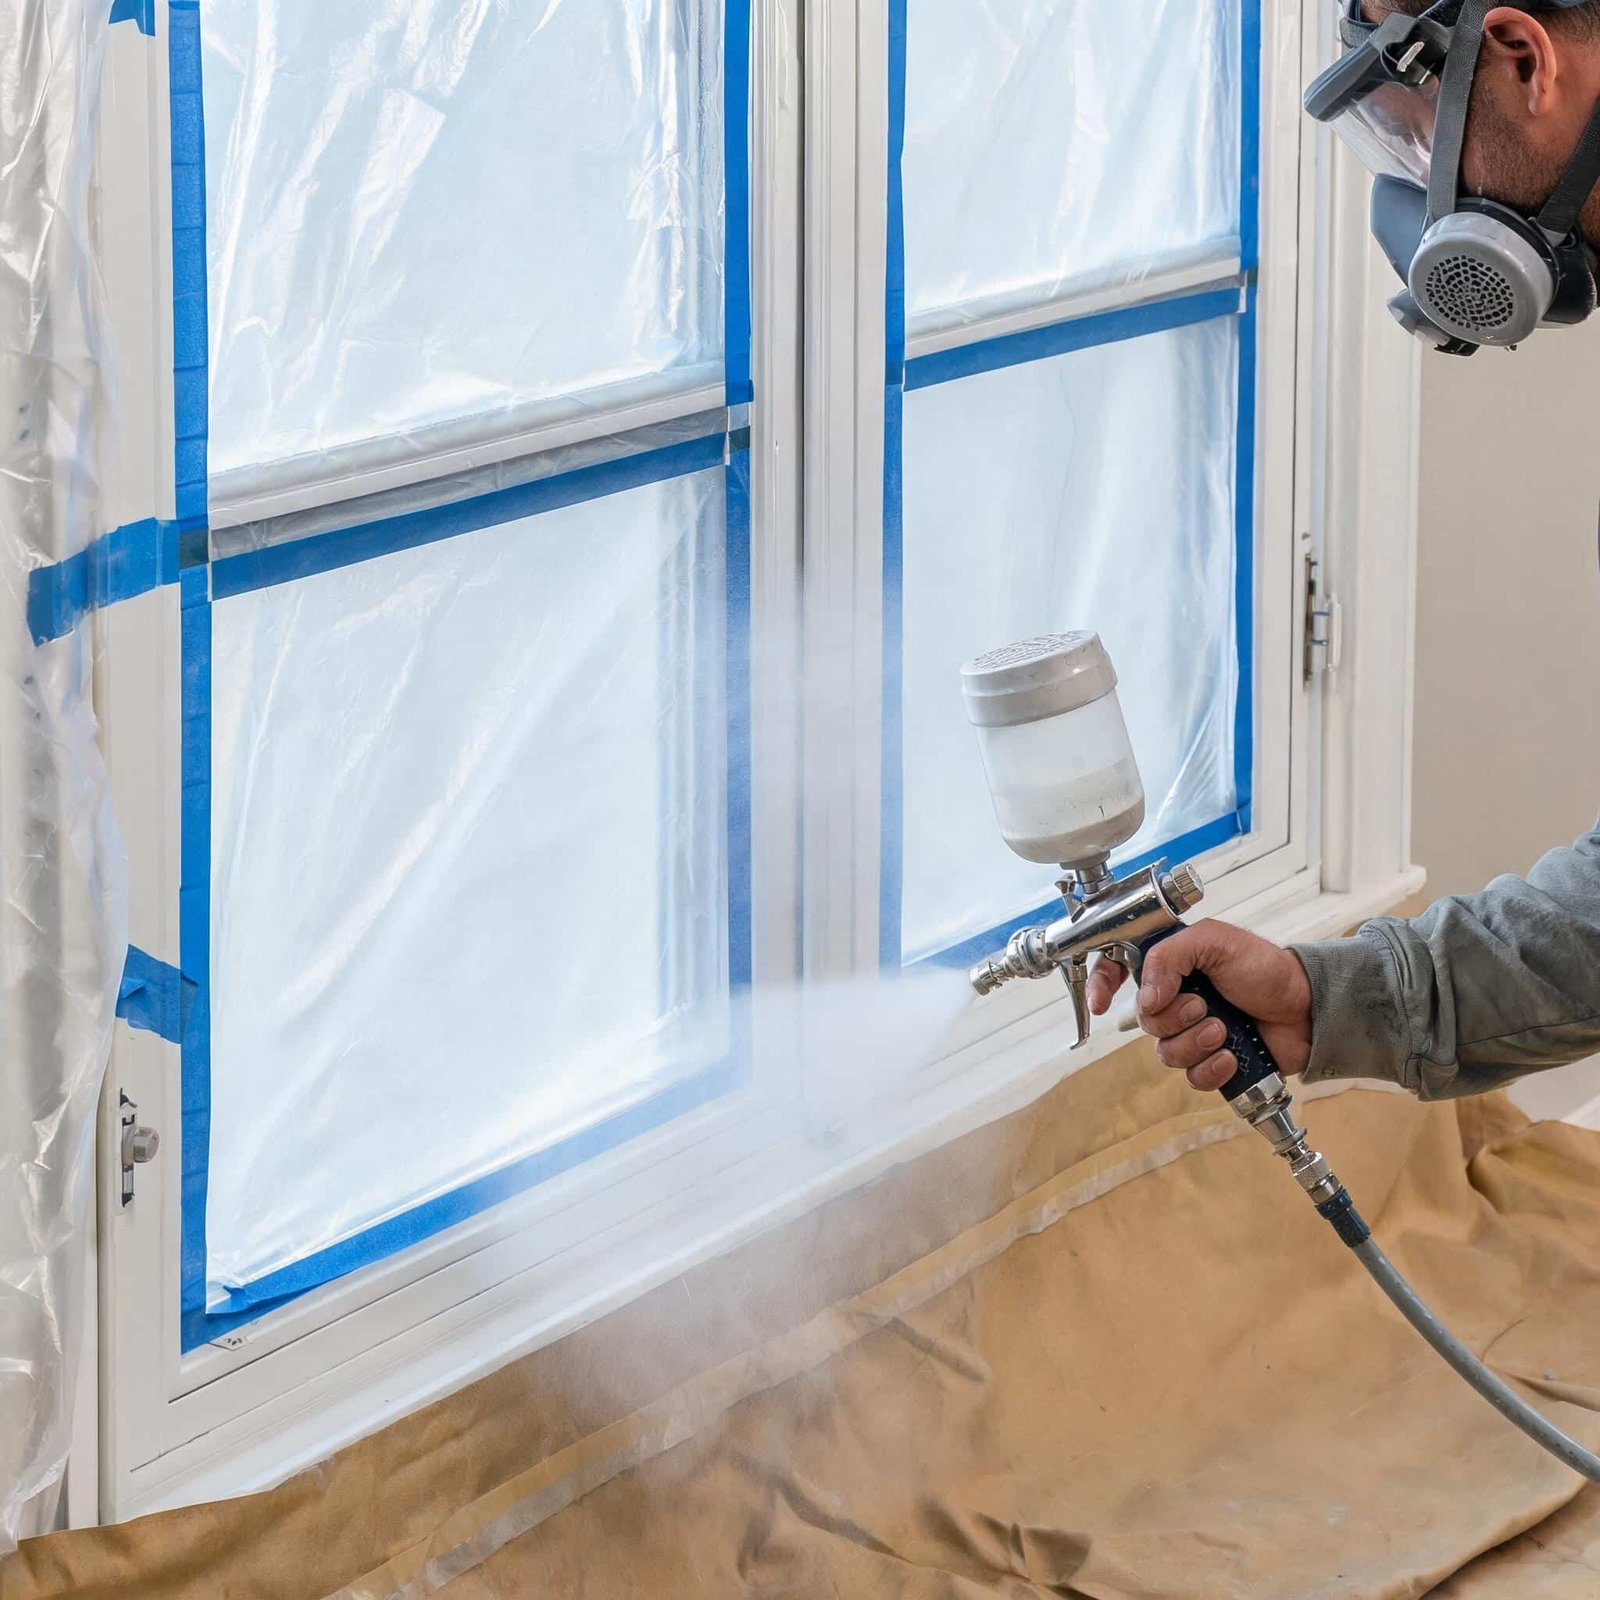
1. Safety and Preparation
Work on a flat, stable surface indoors if possible. Lay down a moving blanket. If the sash can’t be removed, protect the floor with a drop cloth and tape the surrounding trim. Always wear gloves when handling broken glass; the shards can be razor-sharp.
2. Remove the Window Sash
For double-hung windows, tilt the sash inward on modern tilt-latch mechanisms or slide it to the removal position. Casement sashes require disengaging the operator arm and hinge track. Most vinyl sashes lift out without tools, but consult your window’s manual if clips or anti-torque blocks are present.
3. Detach the Glazing Beads
Vinyl glazing beads are the slim strips that snap into a groove around the interior or exterior perimeter of the sash, holding the IGU in place. Use a stiff putty knife or a dedicated bead removal tool, starting at a corner or the center of the longest bead. Gently wedge the blade between the bead lip and the sash frame, twist slightly, and slide along the edge until the bead pops free. Repeat for all four sides, marking each bead’s location with masking tape (top, bottom, left, right). They are not necessarily interchangeable.
4. Remove the Old Insulated Glass Unit
With the beads off, the IGU will be sitting on setting blocks at the bottom rail. Attach suction cups to the glass face and gently lift the unit out. If the glass is broken, tape the cracked areas thoroughly before attempting removal to control fragments. Keep the old IGU intact long enough to verify thickness and any corner etch that shows low‑E and safety glass markings.
5. Clean the Frame and Inspect Seals
Scrape away residual adhesive or old double-sided glazing tape from the sash channel. Wipe the entire glazing pocket with isopropyl alcohol. Check the condition of the sill weep holes and clear any debris. Ensure the inner drain system functions, because trapped water will damage new seals.
6. Measure and Order a Replacement IGU
Accurate measuring is the make-or-break step. Measure the height and width of the inside sash pocket (the opening where the glass sits) at multiple points, subtract the manufacturer’s recommended clearance—often 1/8 inch total (1/16 inch per side) for vinyl expansion. Confirm overall glass thickness with a caliper; a typical double pane IGU for residential vinyl windows ranges from 7/8 inch to 1 inch overall thickness. Order a unit that matches:
- Glass thickness (3mm or 4mm lites)
- Low‑E location (surface #2, #3, or #4)
- Spacer type and color
- Gas fill (argon is standard)
- Any tempered or laminated requirements for code compliance near doors or close to the floor
7. Install the New IGU with Setting Blocks and Sealant
Place new 1/4-inch thick setting blocks at the quarter points of the bottom rail. Lift the IGU into the opening using suction cups, centering it for even side gaps. Use lateral spacer blocks to maintain consistent perimeter clearance. For a drainable system, apply sealant only where specified by the window manufacturer; for face-sealed systems, run a continuous bed of neutral-cure silicone along the interior glazing leg before setting the IGU, then tool it flush.
8. Reinstall Glazing Beads
Starting with the top bead, press it into the groove by hand, working from the center outward. Use a rubber mallet with a soft face or a padded block to tap the bead fully home without denting the vinyl. Proceed with side beads, then the bottom bead last. If a bead resists, check that setting blocks haven’t shifted.
9. Final Checks and Adjustments
Rehang the sash and check for smooth operation. Inspect the newly installed IGU from multiple angles for any visible distortion or sealant gaps. Perform a simple draft test with a smoke pen on a windy day to confirm the perimeter seal is tight. The window should lock without force, and the gap between sash and frame should stay uniform.
DIY Replacement vs. Hiring a Professional
Replacing an IGU in a vinyl window is approachable for a careful DIYer, but it’s not a casual project. Consider these factors before you commit.
DIY advantages:
- Lower out-of-pocket cost for labor
- Immediate scheduling on your terms
- Valuable skill for future maintenance
DIY challenges:
- Incorrect measurement leads to a useless IGU and no refund
- Vinyl profiles can crack if beads are pried aggressively
- Warranty on the IGU may be voided if not professionally glazed
- Handling large, heavy glass units alone is risky
Professional glaziers bring optical-quality alignment tools, automated sealant application, and the leverage of manufacturer warranties that don’t extend to consumer installations. If the window is on an upper floor, over a stairwell, or requires fall protection, hiring a pro is the only safe choice.
Factors That Influence the Cost of Replacement Glass
The price of a custom IGU for a vinyl window varies widely based on:
- Size and shape – rectangular units are affordable; arches or trapezoids increase cost.
- Glass type – clear float is the base cost; tempered, laminated, or energy‑selective low‑E add increments.
- Spacer material – warm-edge spacers cost slightly more but dramatically cut edge condensation.
- Gas fill – argon is standard; krypton for thin profiles raises the price.
- Coating complexity – triple‑silver low‑E and solar‑control films push the bill higher.
- Labor and travel – if you hire out, local rates apply.
A ballpark range for a common 24×36 inch clear IGU with low‑E and argon might start around $150–$250 for the unit alone. Professional supply and installation often lands between $300 and $600 per sash. Complex or oversized units can exceed $1,000. Always obtain multiple quotes with detailed spec sheets.