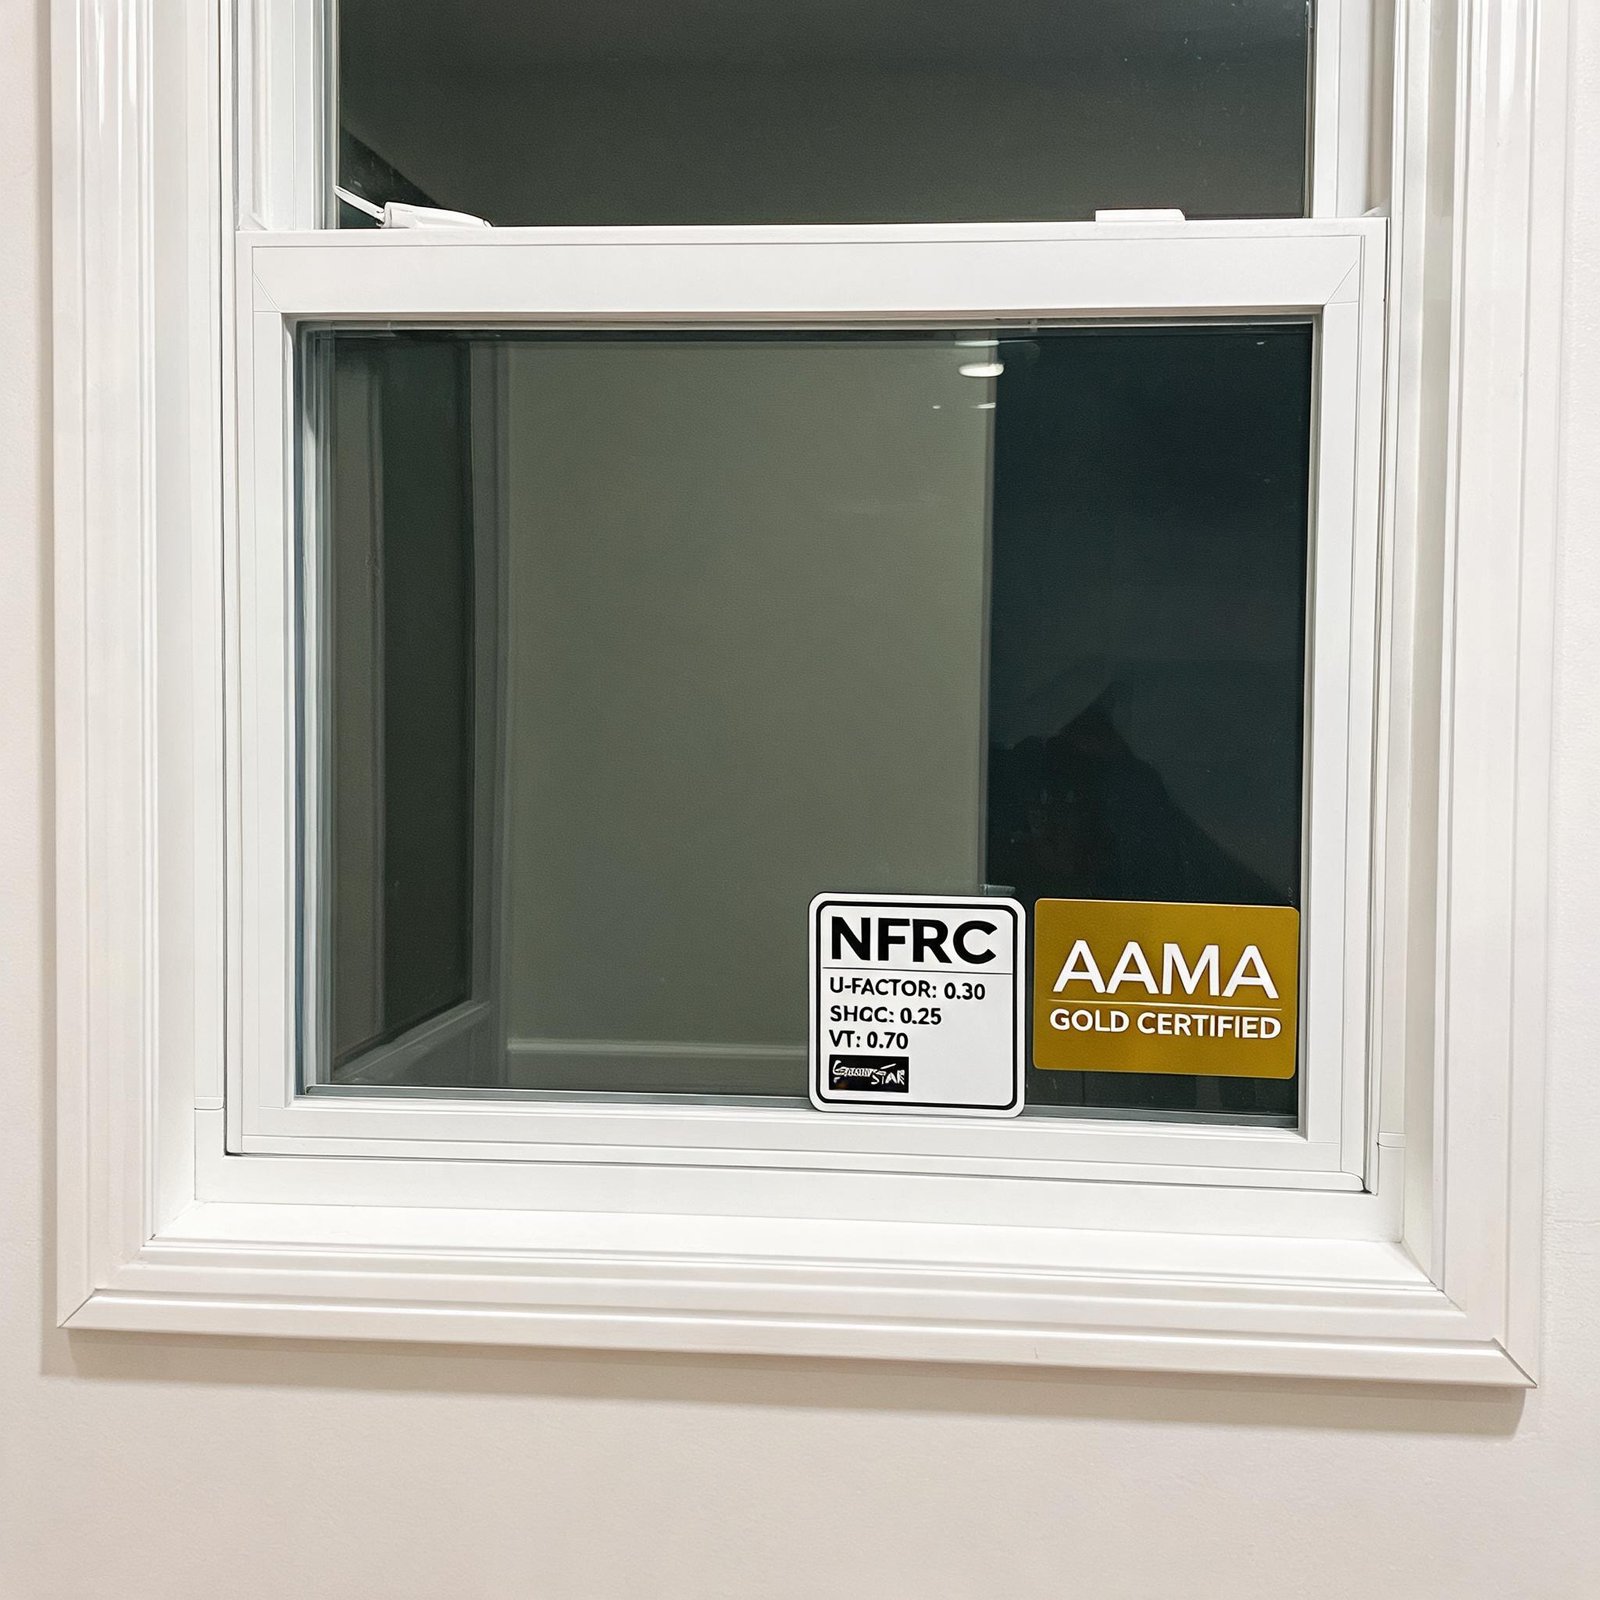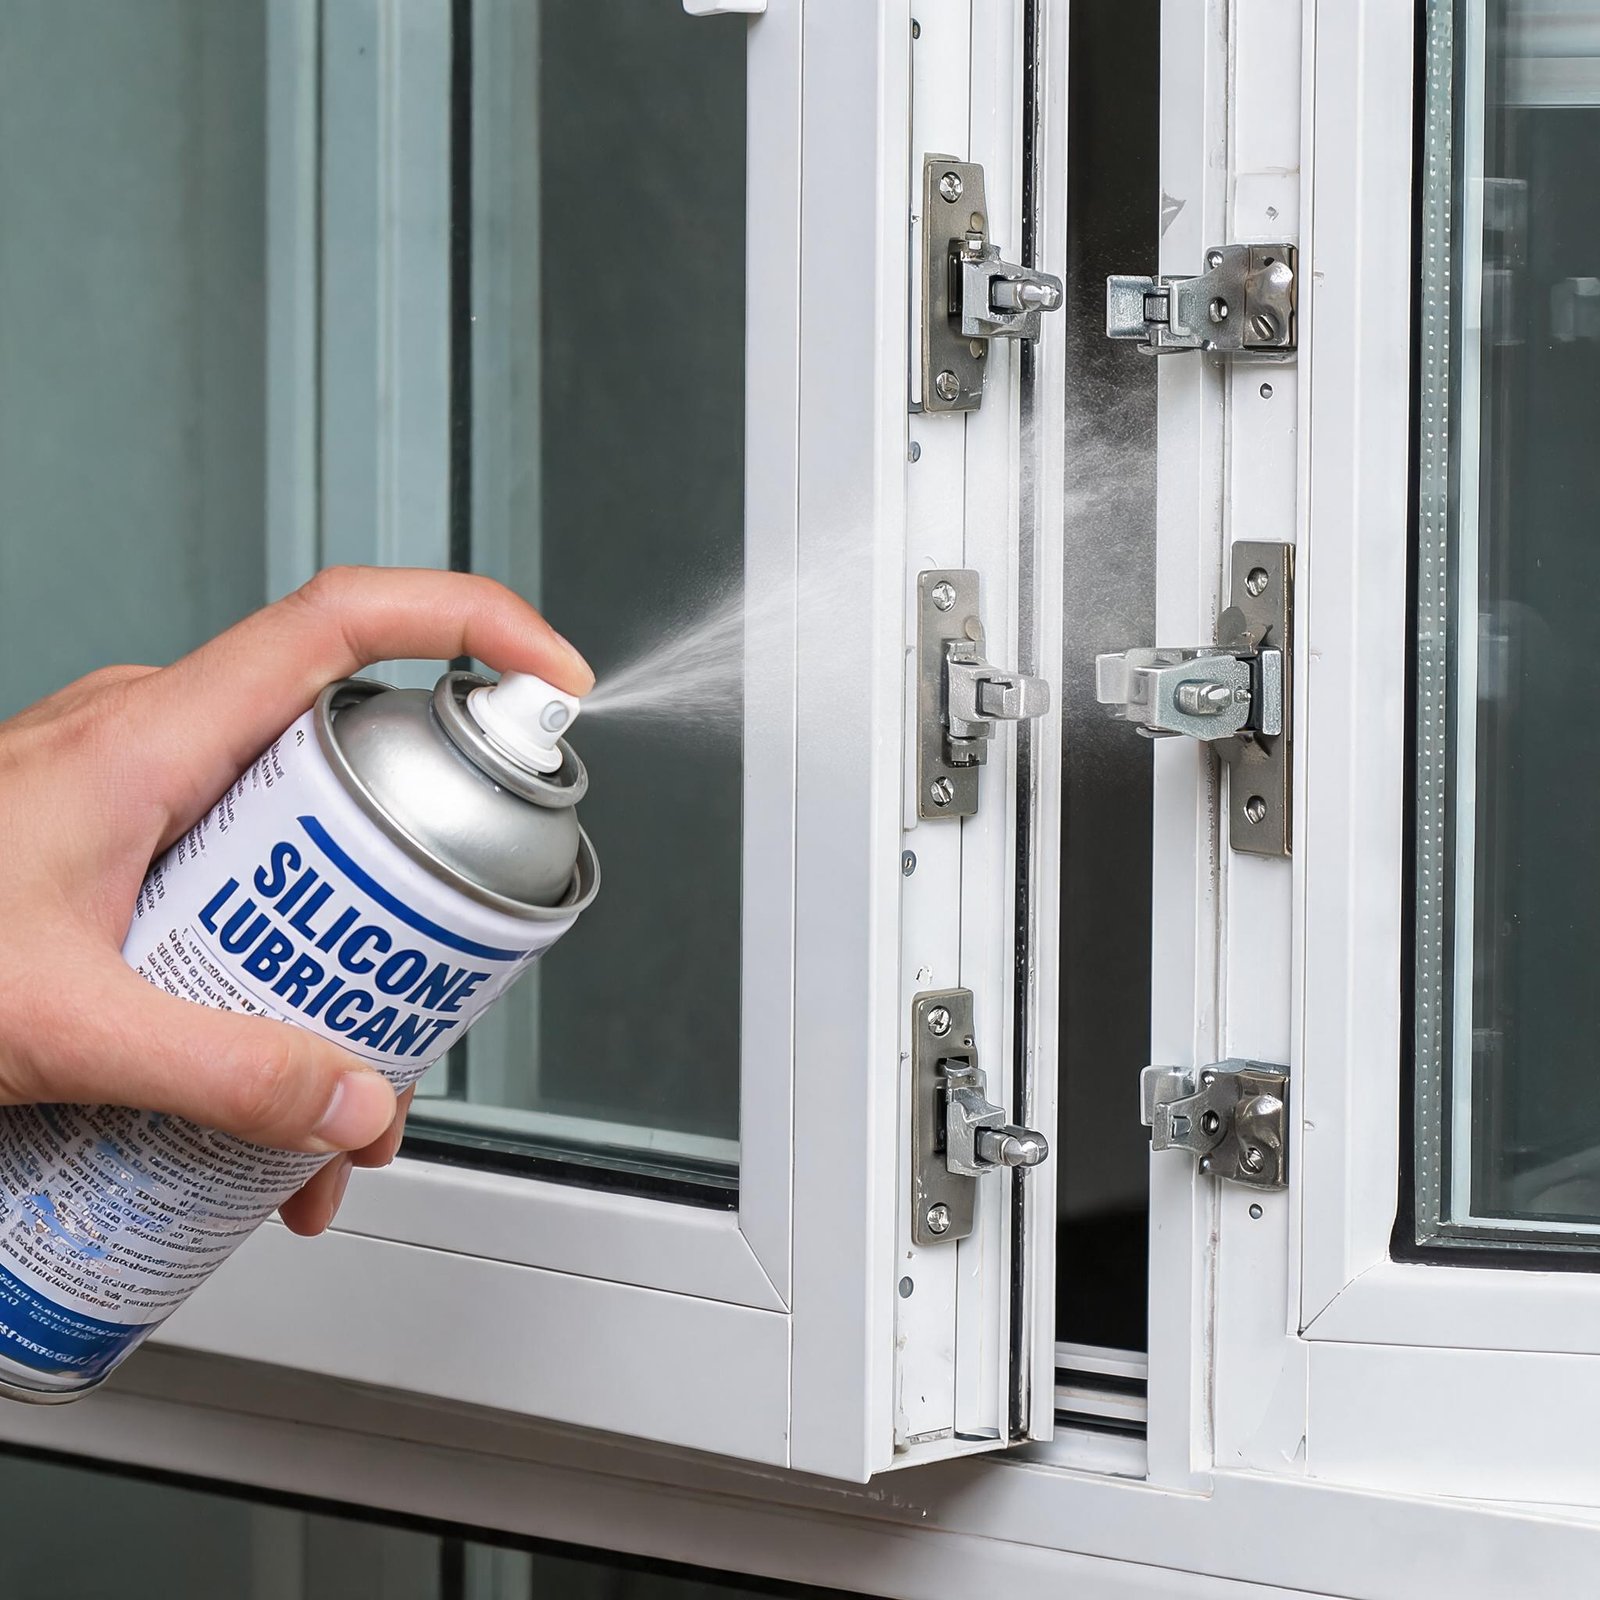
For architects, general contractors, and commercial builders who demand precision, performance, and code compliance, vinyl casement windows deliver superior airtightness, thermal efficiency, and emergency egress functionality—but only when specified and installed with engineered flashing details and proper structural support. Unlike double-hung or slider units, casement windows rely on a crank-operated, side-hinged mechanism that compresses the sash against a multi-point locking system, achieving air infiltration rates as low as 0.05 cfm/ft² when tested to AAMA/WDMA/CSA 101/I.S.2/A440 standards. For commercial apartment buildings and residential projects alike, the right vinyl casement window eliminates thermal bridging, meets 2024 IECC prescriptive U-factor requirements of ≤0.30, and provides code-compliant egress openings of at least 5.7 ft² with a minimum clear width of 20 inches.
The Best Applications for Vinyl Casement Windows
Vinyl casement windows aren’t just another window type—they’re an engineered solution for specific architectural and performance challenges. Understanding where they excel helps you specify the right product for every project.
Residential Applications: Where Casements Outperform
For single-family homes and townhouses, vinyl casement windows shine in several key areas:
Bedrooms and Egress Requirements
– Casement windows provide the largest clear opening area of any operable window type, making them the preferred choice for sleeping rooms requiring emergency escape and rescue openings
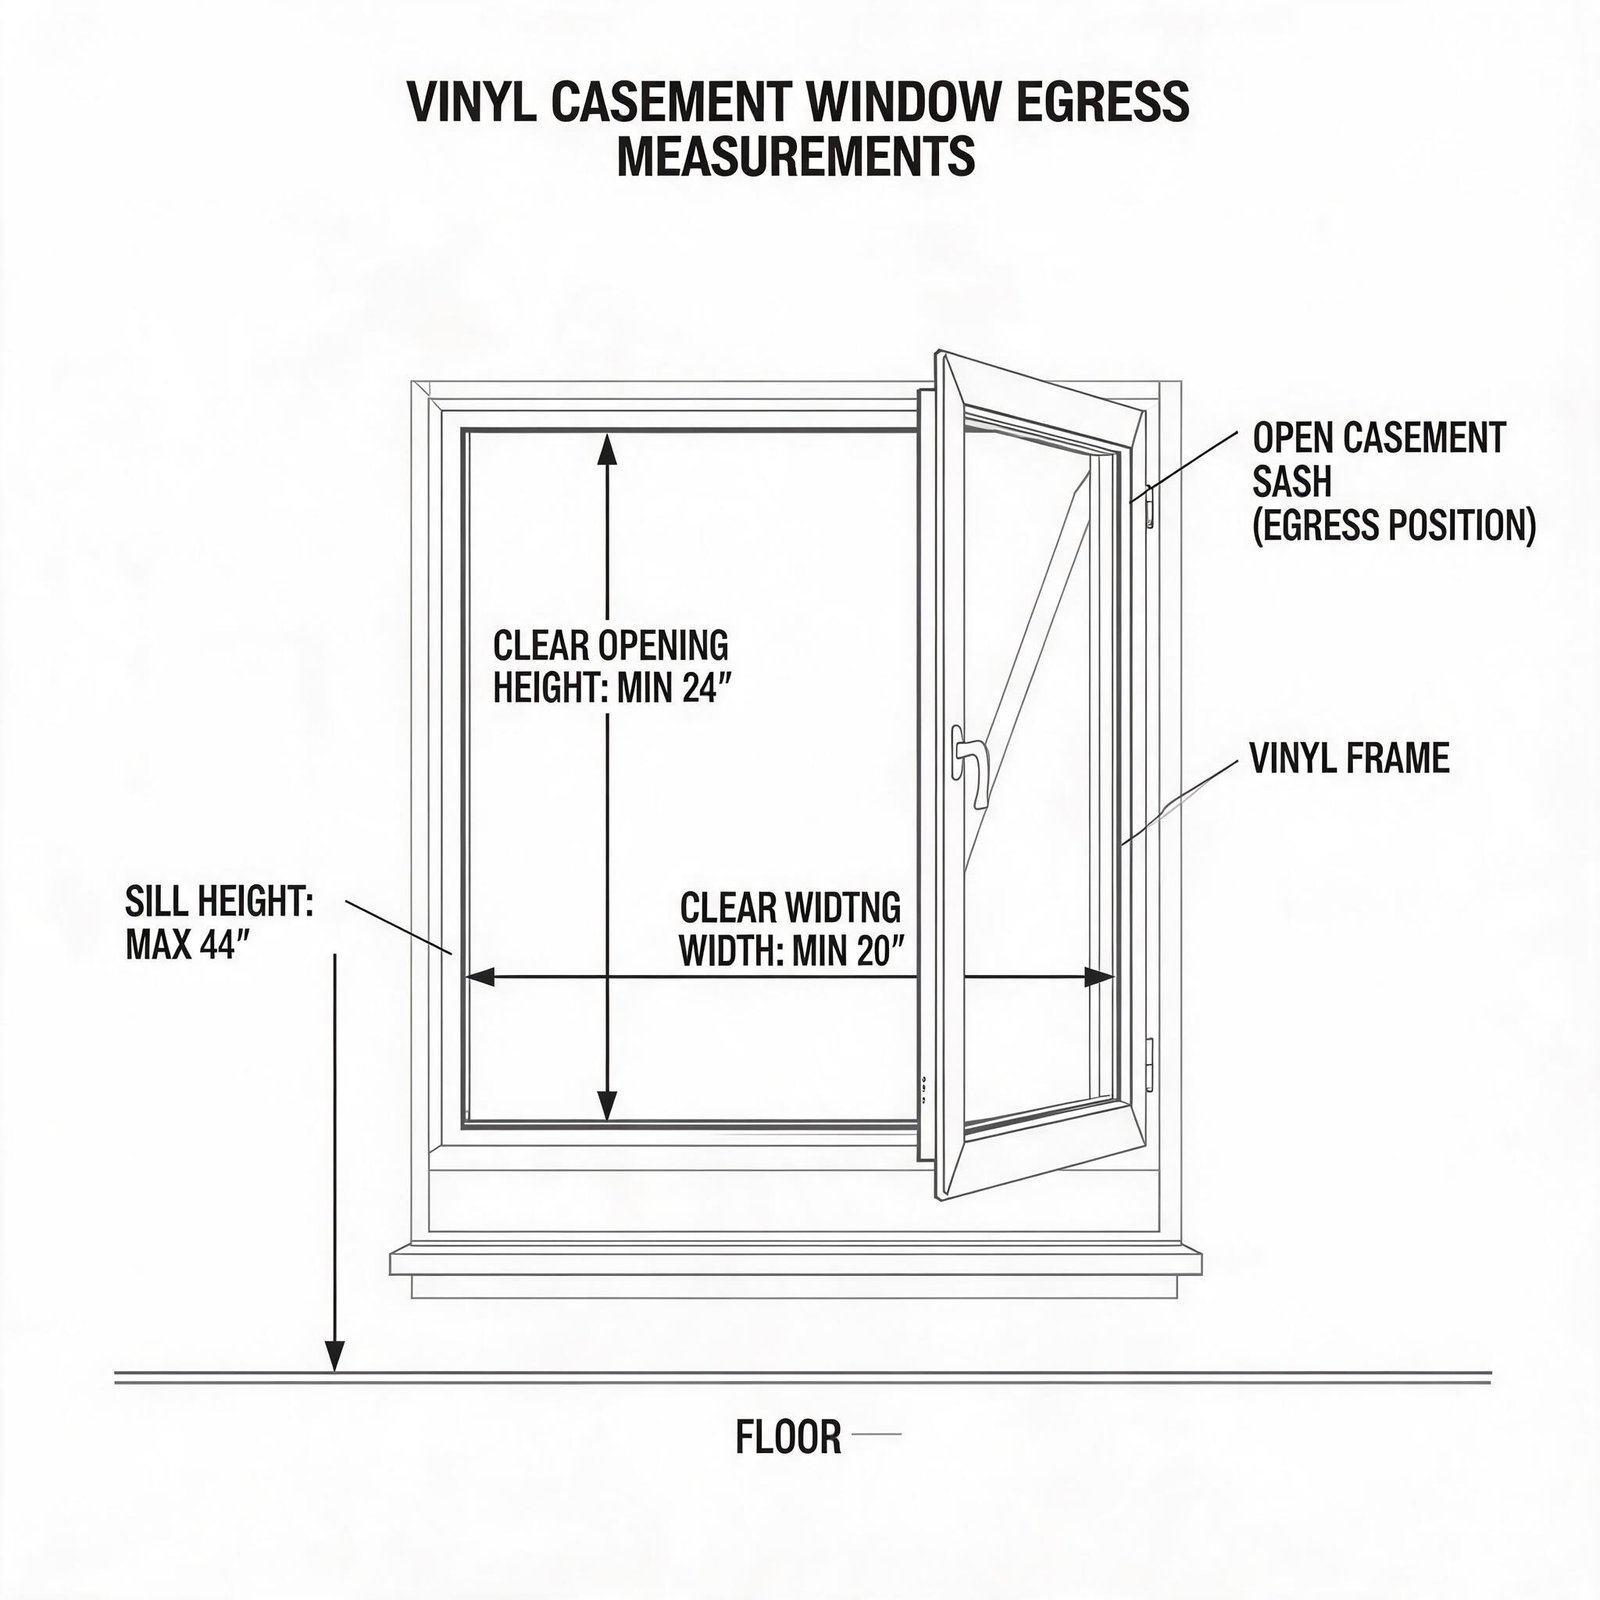
– The 2024 International Residential Code (IRC) mandates minimum net clear opening of 5.7 ft² with 24-inch minimum height and 20-inch minimum width—dimensions easily achieved with a standard 36″ × 48″ vinyl casement
– Unlike double-hung windows that lose 50% of their opening to the meeting rail, casements offer nearly 100% unobstructed egress
Hard-to-Reach Locations
– Over kitchen sinks, stairwell landings, and high clerestory applications, the crank operation means you don’t need to lift or push
– Electric actuator options allow integration with smart building automation systems for commercial and high-end residential projects
High-Wind and Coastal Zones
– Casement windows naturally compress the sash against the frame when closed, creating a positive seal that resists wind-driven rain
– For projects in Florida or hurricane-prone regions, specify casement windows tested to ASTM E1886/E1996 for missile impact resistance and DP ratings of 50 or higher
Commercial and Multi-Family Applications
For commercial apartment buildings and mixed-use developments, vinyl casement windows offer distinct advantages:
| Application | Key Consideration | Recommended Specification |
|---|---|---|
| Garden-style apartments (2-4 stories) | Wind load, acoustic isolation | DP50, STC 35+, 3/4″ insulated glass |
| Mid-rise commercial (5-8 stories) | Structural support, thermal performance | Heavy-duty reinforced frame, U-factor ≤0.28 |
| Mixed-use residential | Fire code egress, noise compliance | Tempered glass, NFRC-certified assemblies |
| Healthcare facilities | Infection control, easy cleaning | Smooth vinyl surfaces, removable sash |
| Education buildings | Durability, safety glazing | Impact-resistant laminated glass, security locks |
When specifying vinyl casement windows for commercial projects, the choice of vinyl casement windows designed for heavy-duty commercial service eliminates the performance gaps that plague builder-grade products. Our frames feature multi-chambered extrusions with fused corners, not mechanically joined, ensuring structural integrity under continuous operation.
Vinyl Casement Window Architectural Details: What Contractors Need to Know
Let’s cut through the marketing claims and get to the engineering specifications that matter for your next project.
Frame Construction and Thermal Performance
The days of single-chamber vinyl extrusions are over. Modern high-performance vinyl casement windows use:
- Multi-chamber profiles – 5 to 7 separate chambers within the frame reduce convective heat transfer, achieving center-of-glass U-factors as low as 0.18
- Fusion-welded corners – Unlike mechanically fastened corners, welded seams eliminate air and water infiltration paths at the frame’s weakest structural points
- Integral weatherstripping – Bulb-type EPDM or silicone gaskets on both the sash and frame create two continuous seal lines
Energy Performance Matrix for Commercial-Grade Vinyl Casements
| Performance Metric | Standard Builder Grade | Superwindowhouse Commercial Grade | Energy Star Most Efficient 2024 |
|---|---|---|---|
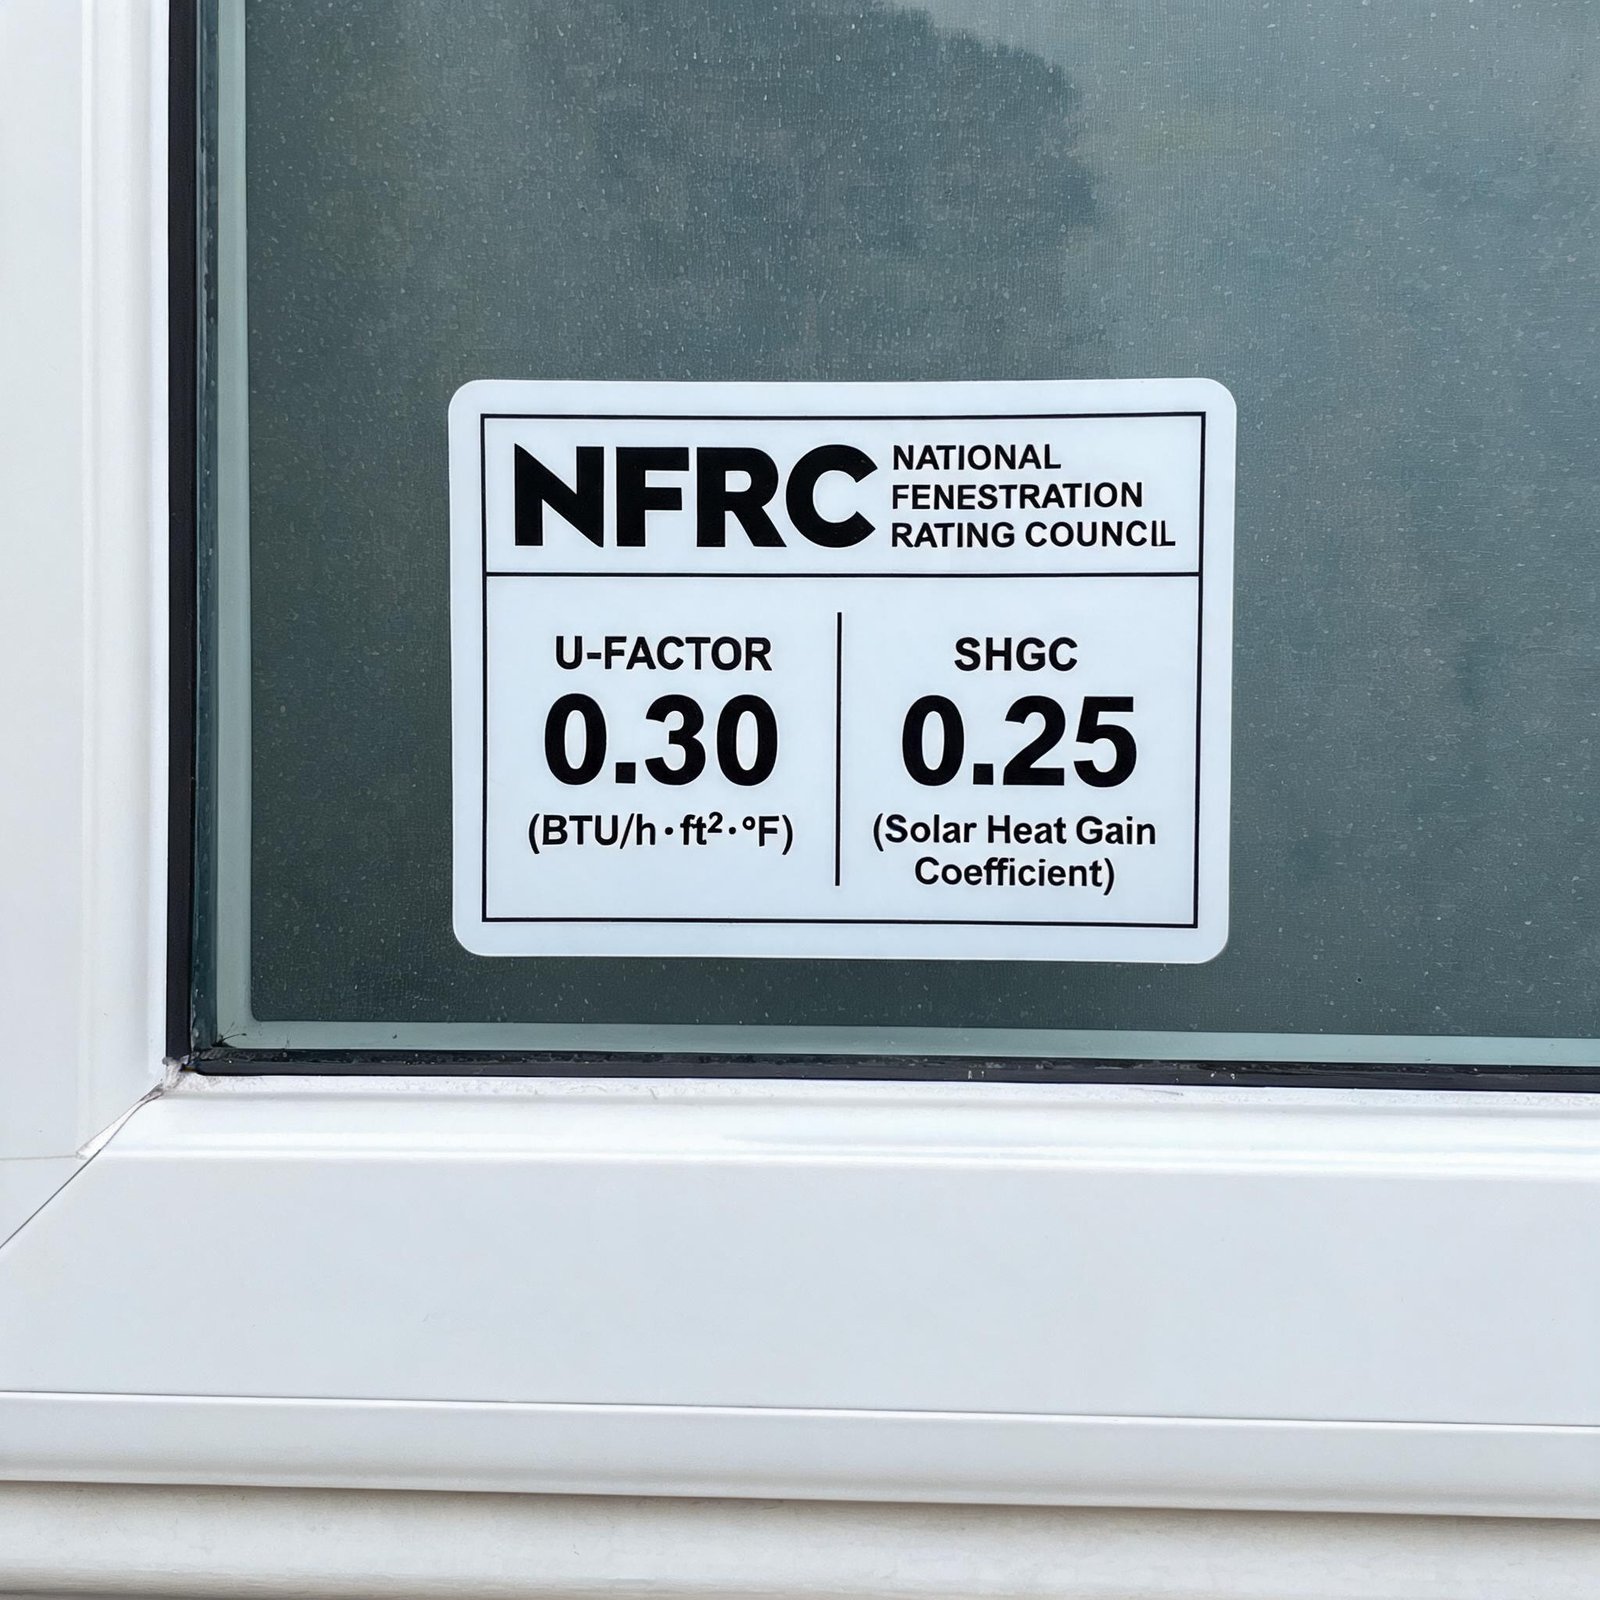
| U-Factor (NFRC 100) | 0.35 – 0.40 | 0.26 – 0.30 | ≤0.28 |
| SHGC | 0.30 – 0.40 | 0.22 – 0.28 (selective Low-E) | ≤0.25 |
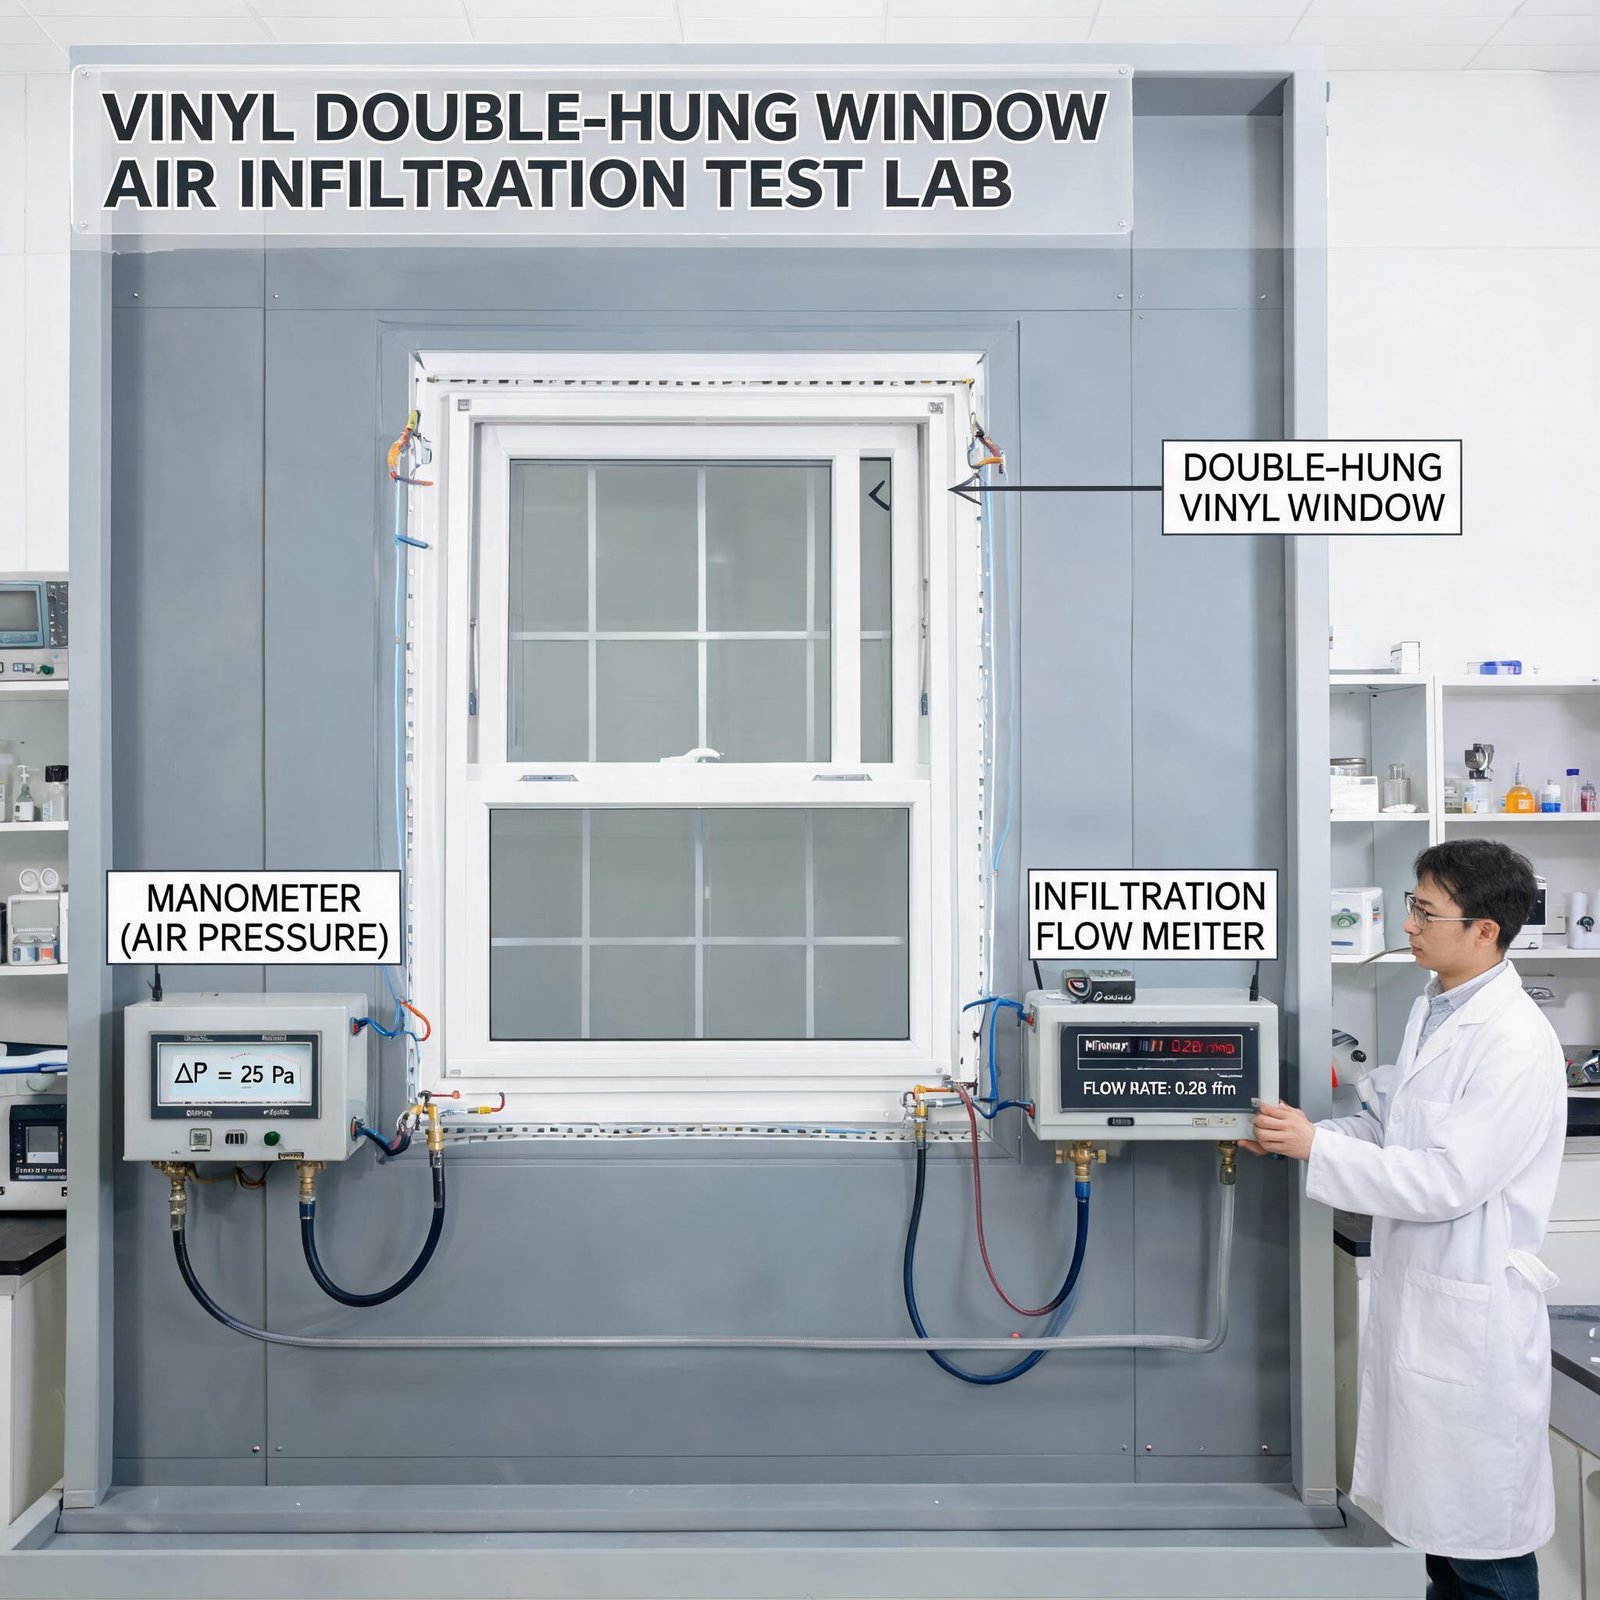
| Air Infiltration (cfm/ft²) | 0.30 | 0.05 – 0.10 | ≤0.15 |
| Structural DP Rating | 35 – 40 | 50 – 65 | N/A |
| Condensation Resistance (CR) | 45 – 55 | 65 – 75 | ≥60 |
Flashing Details and Water Management
A contractor’s guide to installing vinyl windows must address the single most common point of failure: the rough opening-to-frame interface. Proper flashing isn’t optional—it’s the difference between a 40-year service life and a call-back in year one.
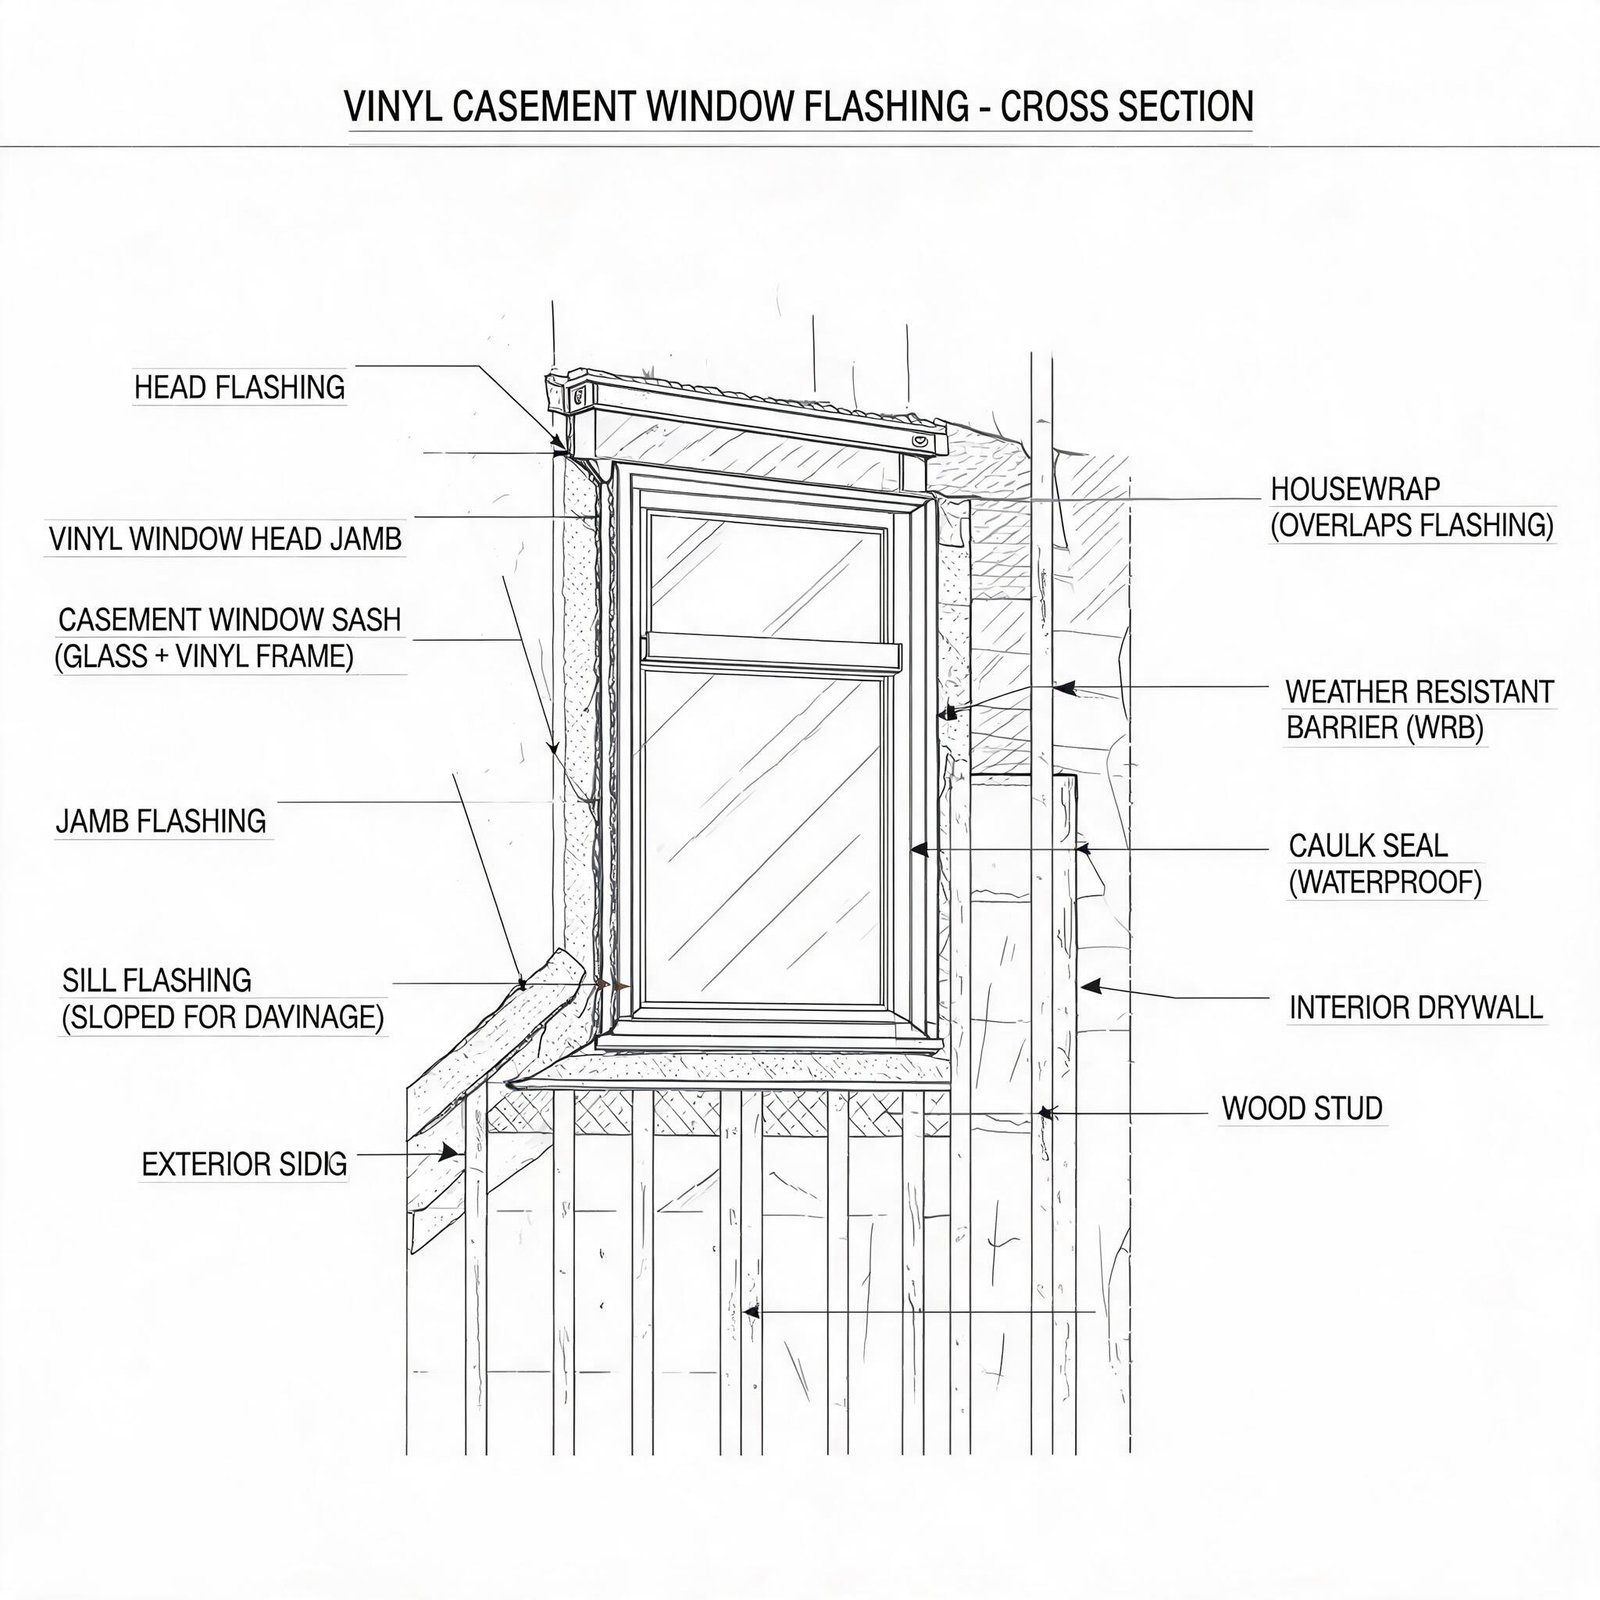
The Superwindowhouse Flashing Protocol for Casement Windows
- Sill pan fabrication – Form a continuous waterproof sill pan using 24-gauge galvanized metal or pre-formed PVC. Extend 6 inches beyond each side of the rough opening. Slope the pan 1/4″ per foot away from the building.
- Self-adhered membrane application – Apply a fluid-applied or peel-and-stick membrane to the sill, extending 8 inches up each jamb. This creates the critical waterproofing layer beneath the window.
- Window frame placement – Set the window on the pan, leveling with composite shims placed under the frame—never under the nailing fin. The frame should bear on solid material, not shims.
- Jamb flashing – Apply self-adhered flashing tape over each jamb nailing fin, starting at the bottom and lapping each subsequent layer by 3 inches minimum.
- Head flashing – Install a Z-profile head flashing that overlaps the top nailing fin by 2 inches and extends 1/2 inch into the siding J-channel. Caulk only the side and top edges of the flashing—never seal the bottom edge, which must act as a weep path.
Critical Note for Commercial Projects: For multi-story apartment buildings, incorporate a 1-inch rigid insulation strip between the window frame and the rough opening. This eliminates thermal bridging at the frame edge, maintaining interior surface temperatures above the dew point and preventing condensation damage to adjacent drywall.
Contractor Guide to Installing Vinyl Casement Windows
Whether you’re a general contractor managing a 200-unit apartment project or a builder installing windows in a custom home, the installation protocol varies by application type.
New Construction Installation with Nailing Fins
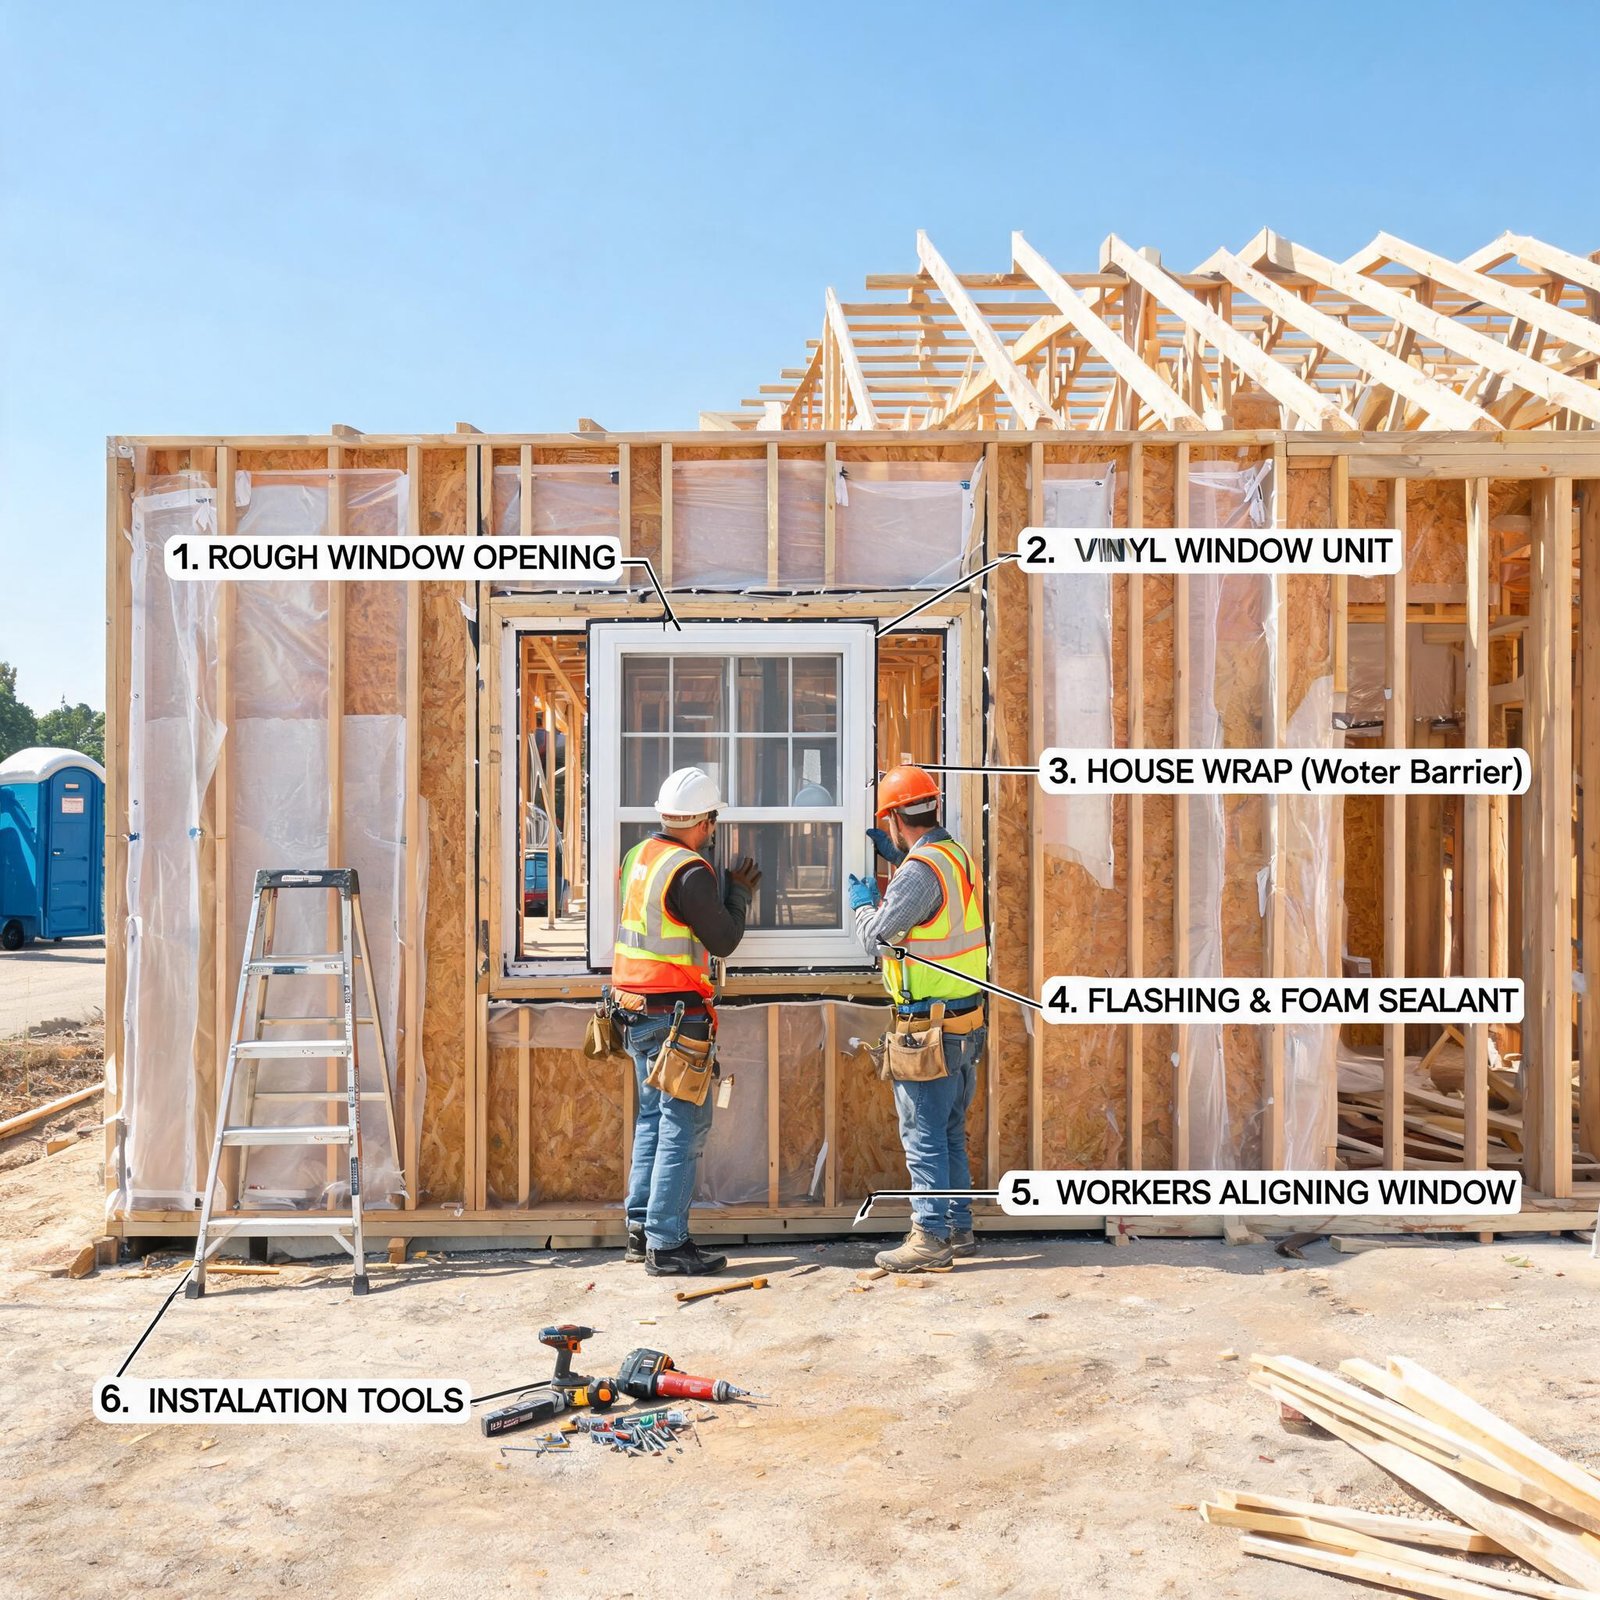
For new construction, the nailing fin (or flange) remains the most common attachment method. Follow these steps exactly:
Step 1: Rough Opening Verification
– Confirm rough opening dimensions: Allow 1/2″ to 3/4″ clearance on each side and at the top, and 1″ clearance at the sill
– Check for square: Diagonal measurements must be within 1/8″
– Ensure the rough sill is level and extends past the jambs
Step 2: Frame Preparation
– Remove any temporary shipping braces
– Install a continuous bead of butyl or polyurethane sealant on the back of the nailing fin at the sill and jambs—this is the primary water seal
– Do not seal the back of the head fin; this area must drain
Step 3: Frame Installation
– Place the window in the opening, centered and level
– Shim behind the frame at the sill only—use fiber cement or vinyl shims, never wood
– The nailing fin must be flush with the exterior sheathing
Step 4: Fastening Sequence
– Drive corrosion-resistant fasteners through the nailing fin holes, starting at the sill, then jambs, then head
– Space fasteners 12 inches on center for high-wind zones, 16 inches for standard applications
– Never over-tighten: the nailing fin should compress against the weather barrier, not deform the frame
Step 5: Flashing — The Non-Negotiable Step
– Apply flashing tape over the jamb nailing fins first
– Install head flashing with drip edge
– Refer to the flashing details above for commercial-grade installation
Step 6: Interior Air Seal
– Apply expanding foam sealant between the window frame and rough opening on all four sides
– Use low-expansion foam designed for windows and doors—high-expansion foam can bow the frame
– Trim excess foam after curing, then install interior trim
Replacement and Retrofit Applications (Without Nailing Fins)
Many replacement projects don’t permit nailing fin installation because existing siding stays in place. For these applications, use the block-frame or pocket installation method:
- Fastening method: Through-frame screws via pre-drilled jamb holes into the existing framing
- Fastener type: #14 or #10 stainless steel pan-head screws with neoprene washers
- Spacing: No more than 4 fasteners per jamb, placed at least 6 inches from corners
- Void fill: Inject expanding foam around the perimeter before final tightening
- Trim: Install interior and exterior trim to cover the gap, ensuring weep paths remain open at the sill
Special Consideration for Egress Compliance
When replacing a window in an egress bedroom, verify that the new casement window’s clear opening meets code. The operating sash must achieve:
- Minimum net clear opening: 5.7 square feet
- Clear width: At least 20 inches
- Clear height: At least 24 inches
- Sill height: No more than 44 inches from the finished floor
For a standard 36″ × 48″ casement with a crank handle, the clear opening varies by sash depth and hinge position. Always measure the actual clear opening—not the nominal frame size.
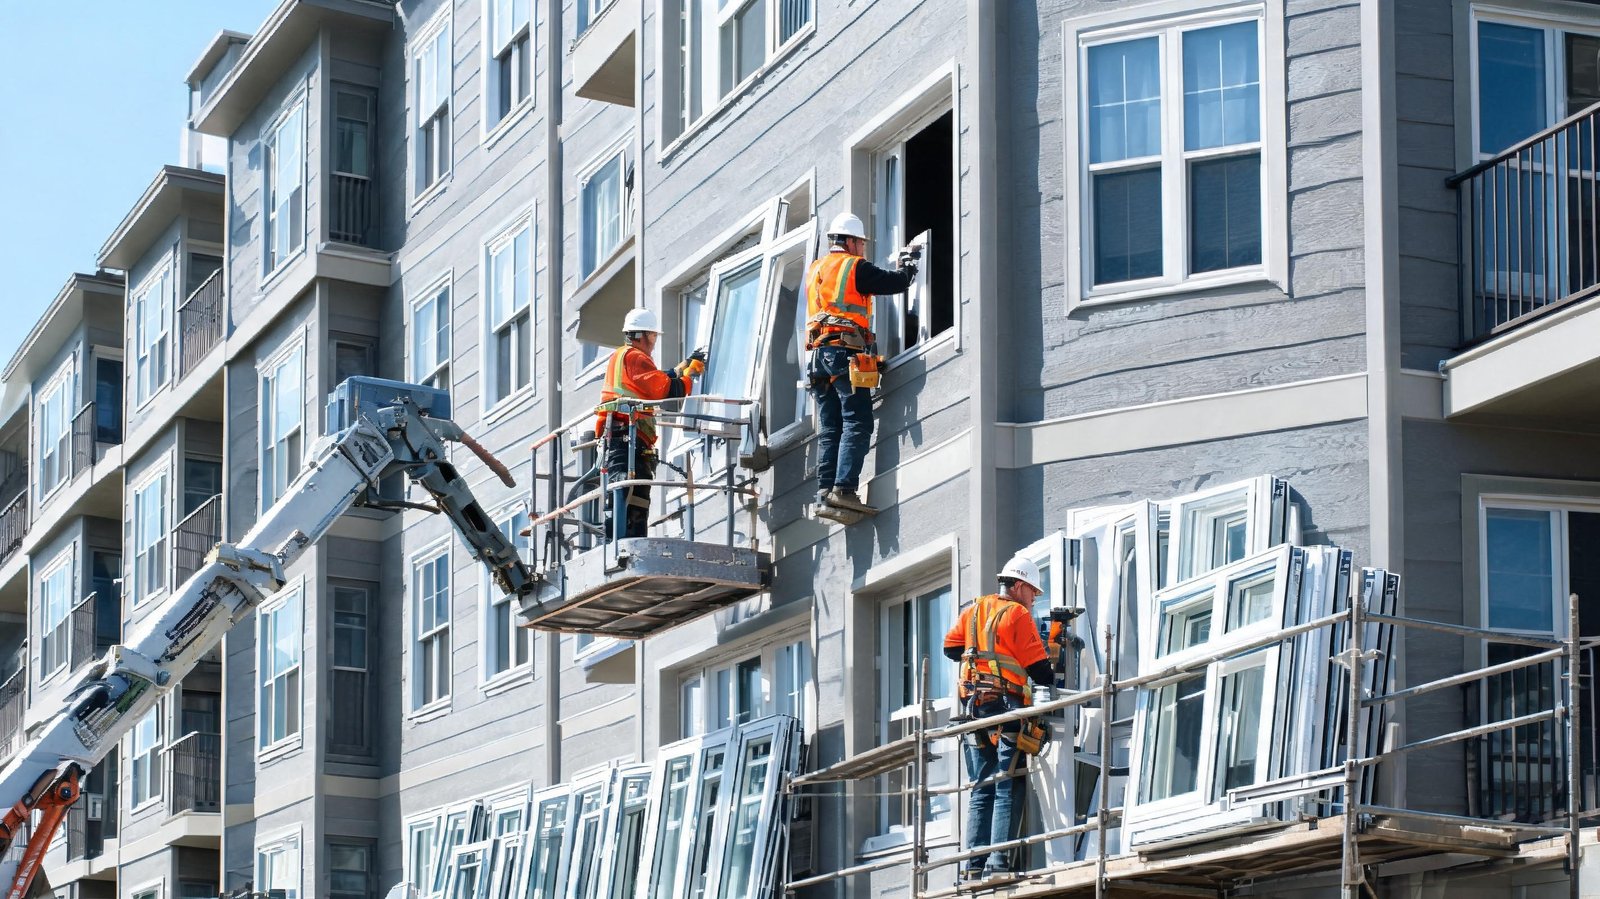
Commercial Apartment Building Vinyl Window Installation: The Checklist
For general contractors managing multi-story installations, here’s your pre-installation and during-installation checklist:
Pre-Installation Verification
– Window sizes match approved shop drawings
– Rough openings are plumb, level, square, and within 1/4″ of specified dimensions
– Weather barrier is installed, continuous, and properly detailed at rough openings
– Sill pans are fabricated and sloped
– Fastener type and length are approved by the window manufacturer
During Installation Quality Control
– Each window is leveled independently—not referenced from the last window installed
– Fastener spacing is measured and verified every 12 inches in wind zones
– Flashing laps are 3 inches minimum, with no gaps or fishmouths
– Caulk is applied to the frame’s backside of side and top nailing fins only—not the bottom
– Expanding foam is installed and allowed to cure before trim installation
Post-Installation Verification
– All windows operate smoothly through full rotation
– Lock handles engage fully without binding
– No visible light gaps at weatherstripping locations
– Water spray test at random units per the project’s testing plan
Common Installation Mistakes — And How to Avoid Them
Based on field observations across hundreds of commercial and residential projects, these are the four mistakes that cause the most callbacks:
| Mistake | Consequence | Prevention |
|---|---|---|
| Overtightening fasteners | Frame distortion, sash binding, air leaks | Use a torque-limiting screwdriver set to 25-30 in-lbs |
| Sealing the bottom weep path | Water accumulation in sill, rot, mold | Never caulk the bottom of the nailing fin or sill exterior |
| Using wood shims | Shim absorbs moisture, degrades, frame settles | Use fiber cement or engineered vinyl shims only |
| Skipping expansion foam | Drafts, condensation, thermal loss | Fill all voids with low-expansion window foam |
Why Superwindowhouse.com Is the Right Partner for Your Next Project
We don’t just manufacture vinyl windows—we engineer building envelope solutions. Our custom UPVC windows and aluminum window products are designed to meet the structural, thermal, and aesthetic demands of architects and contractors who refuse to compromise.
Our commitment to the building community:
– NFRC-certified performance ratings you can trust for your energy model
– AAMA 502/503 tested assemblies for certified installations
– Custom sizes to match your exact rough opening requirements
– Engineering support for flashing details and structural calculations
When you specify vinyl casement windows from Superwindowhouse.com, you’re not just buying product—you’re buying decades of engineering expertise, a commitment to code compliance, and a partner who understands that installation is where the performance promise is kept.
Frequently Asked Questions
What’s the difference between a vinyl casement window and an awning window?
Casement windows hinge on the side and open outward like a door, while awning windows hinge at the top and open outward from the bottom. Casements typically achieve slightly better air infiltration ratings due to the compression seal on three sides, while awning windows are preferred for applications requiring weather protection during rain.
Can vinyl casement windows be used in commercial buildings over three stories?
Yes, but the frame must be engineered for the specific wind load requirements. Our commercial-grade vinyl casement windows incorporate an internal aluminum or galvanized steel reinforcement in the sash and frame to achieve DP ratings of 50-65, suitable for mid-rise applications.
What flashing system is required for exterior insulation finish systems (EIFS)?
For EIFS-clad buildings, the window must be flashed with a self-adhered membrane that extends at least 4 inches back behind the EIFS base coat. A sill pan with an 18-gauge metal drip edge is mandatory. Never fasten the nailing fin through the EIFS—attach the window to the structural framing before the EIFS is applied.
How do I verify the egress opening of a replacement casement window?
Measure the clear opening from the face of the closed sash to the face of the open sash at its maximum position. The crank handle must not intrude into the clear opening. For code compliance, record the exact clear width and height dimensions on your installation documentation.
Are vinyl casement windows suitable for historic district projects?
Many historic district review boards now approve high-performance vinyl casement windows when they replicate the original profiles and sight lines. Our custom extrusion capability allows us to match historic sash dimensions while achieving modern thermal performance. Always verify with the local historic preservation office before specifying.