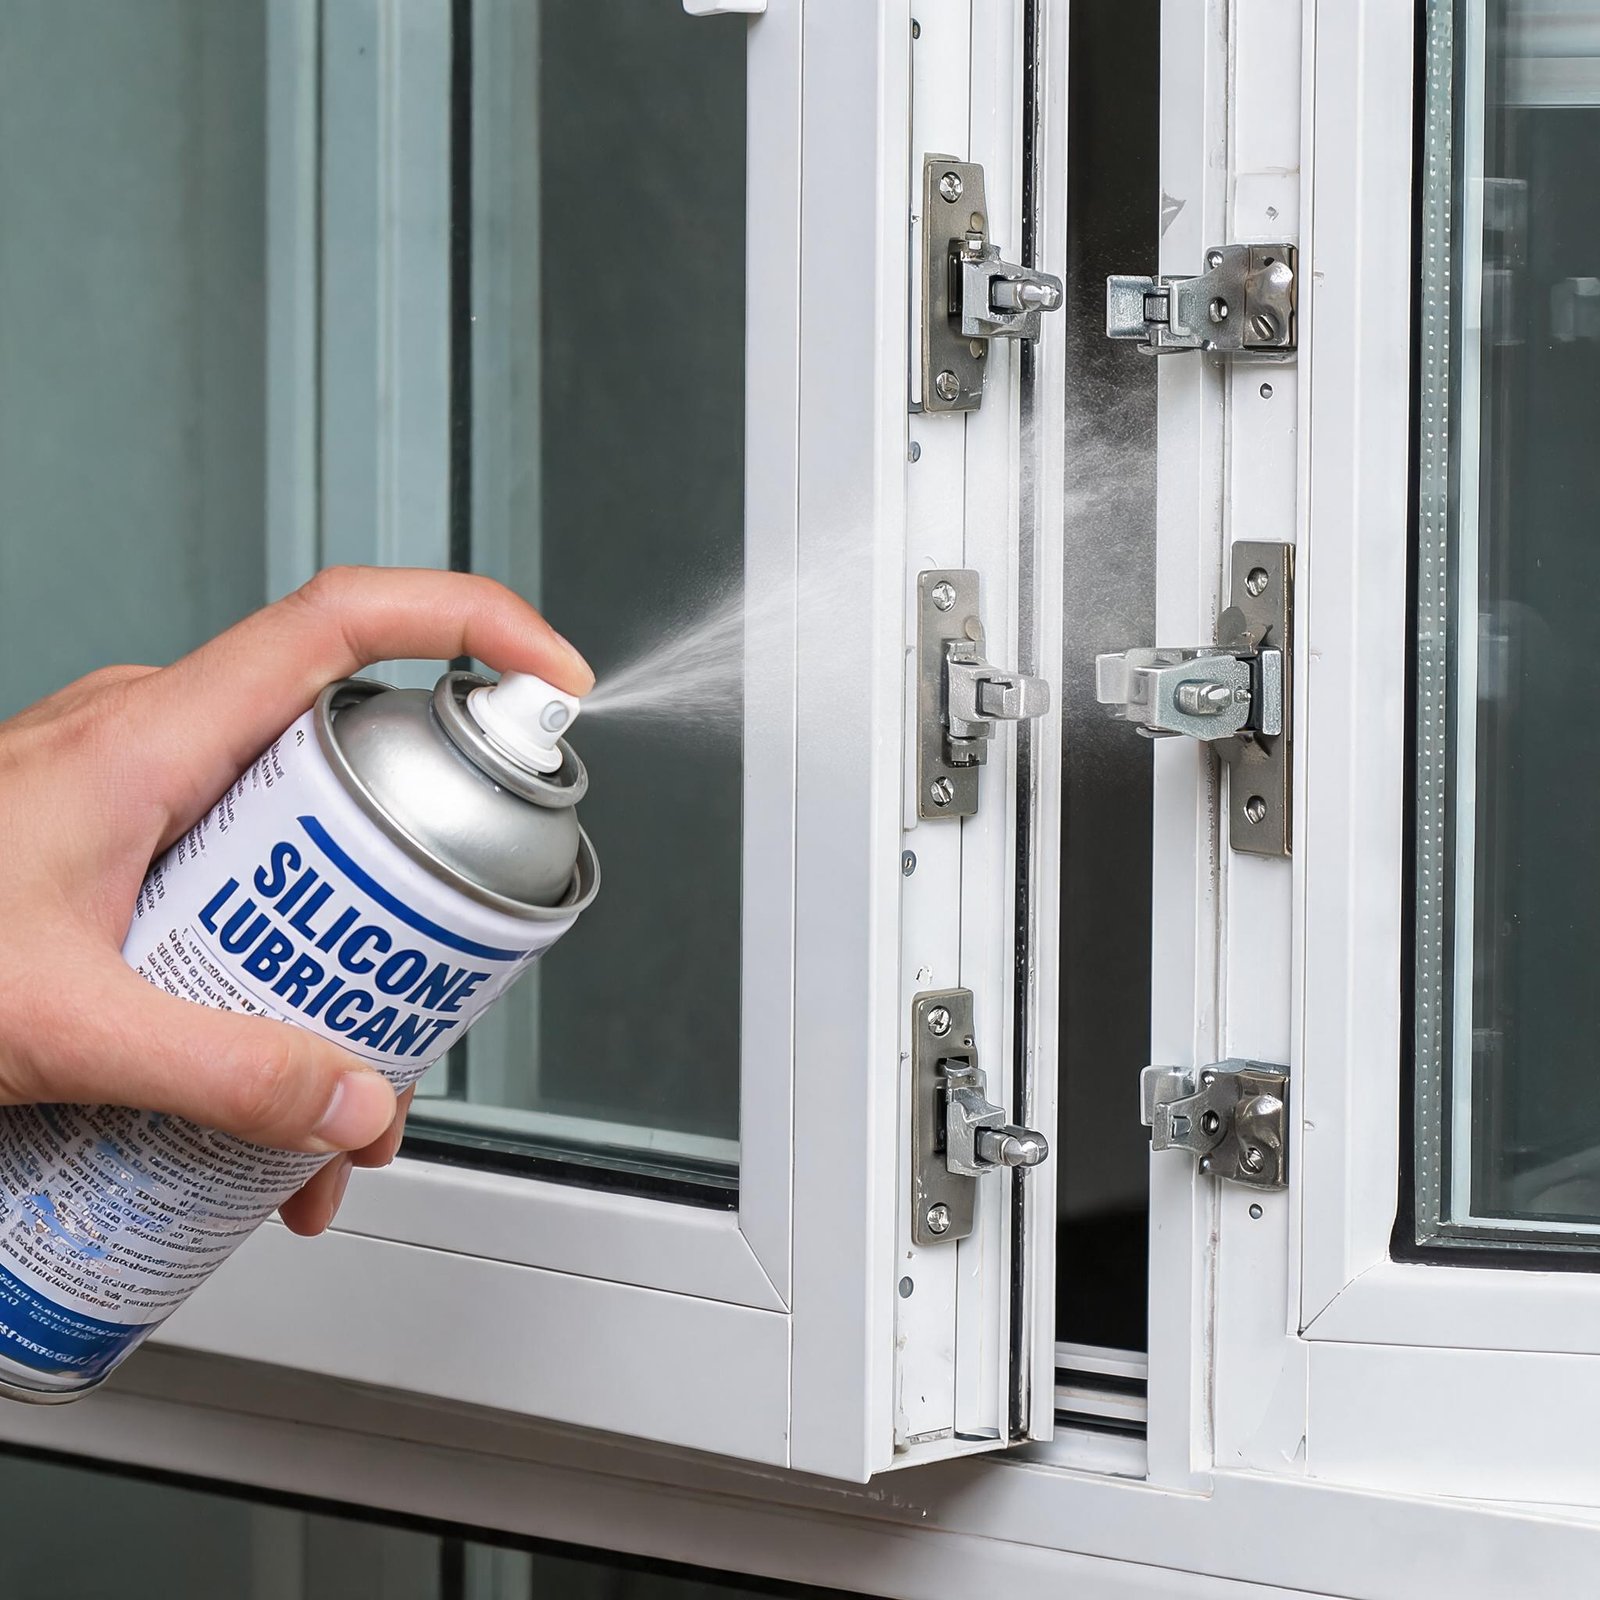
Decades ago, wood windows were the standard in home construction. Today, many owners of older homes face a familiar challenge: drafty, sticking sashes, peeling paint, and frames that have started to rot. If you’re reading this, you’ve likely asked yourself, “Should I replace my wood windows with vinyl?” The short answer is that for the vast majority of homes, modern vinyl replacement windows offer a transformative upgrade in energy efficiency, comfort, and ease of maintenance—often at a fraction of the cost of new wood windows.
This guide comes from a manufacturer’s perspective, grounded in how vinyl windows are actually engineered, tested, and brought to market. We’ll go far beyond a basic how‑to. You’ll learn the science behind vinyl extrusions, the critical differences between insert and full‑frame installations, how to get measurements right the first time, and what no one tells you about lead paint, permits, and long‑term performance. We’ll also cover the step‑by‑step installation process with practical insights that general contractor websites often miss.
Why Vinyl Has Replaced Wood as the Go‑To Homeowner Choice
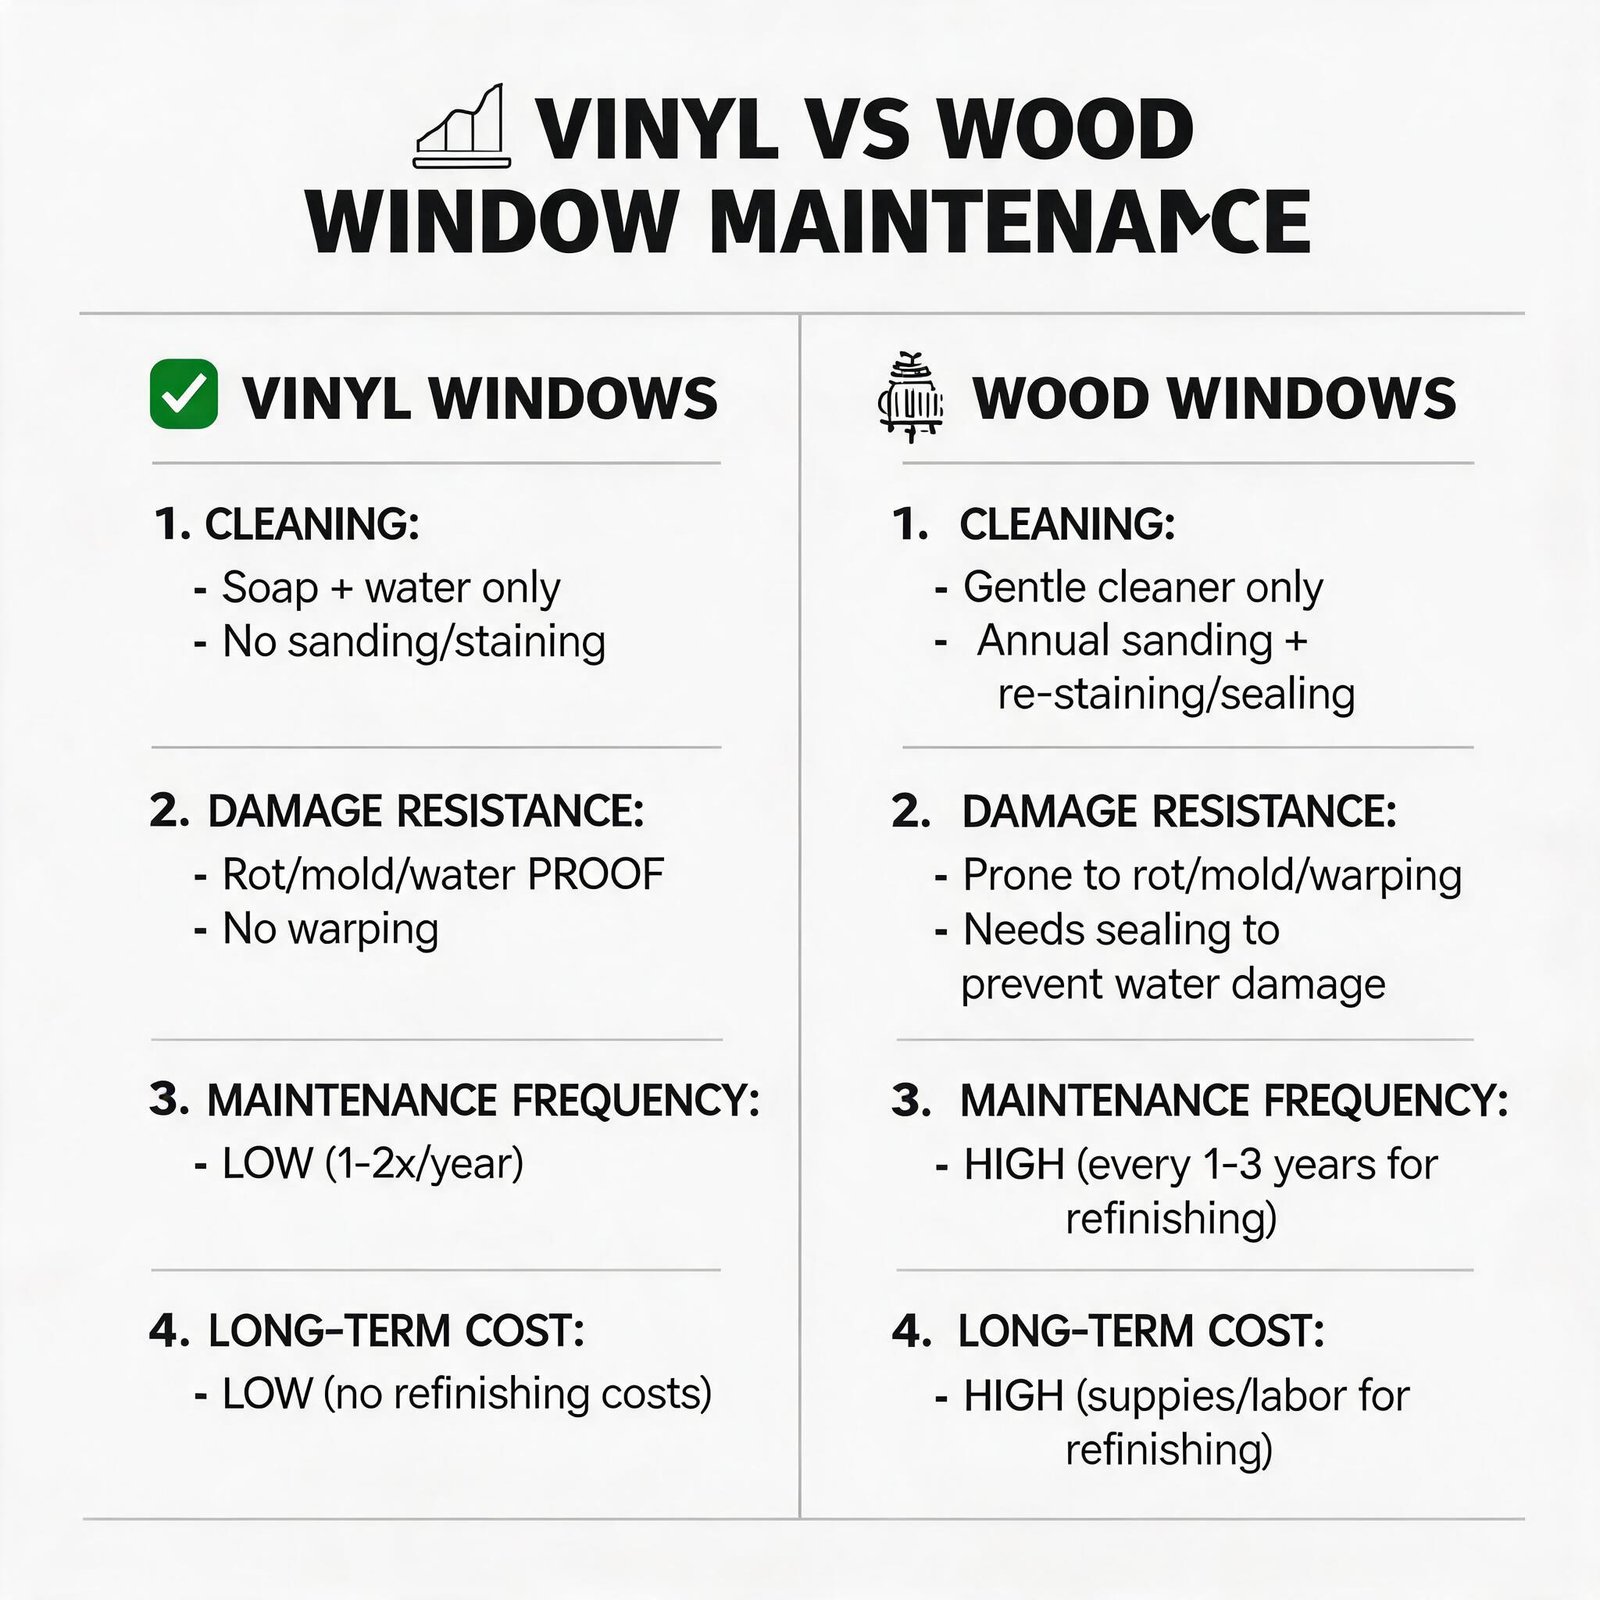
Wood windows have undeniable charm, but they come with an endless cycle of scraping, sanding, painting, and glazing. Vinyl windows, made from unplasticized polyvinyl chloride (uPVC) or high‑grade PVC formulations, eliminate that chore list entirely. But the advantages go much deeper than low maintenance.
Thermal Performance That Wood Alone Cannot Match
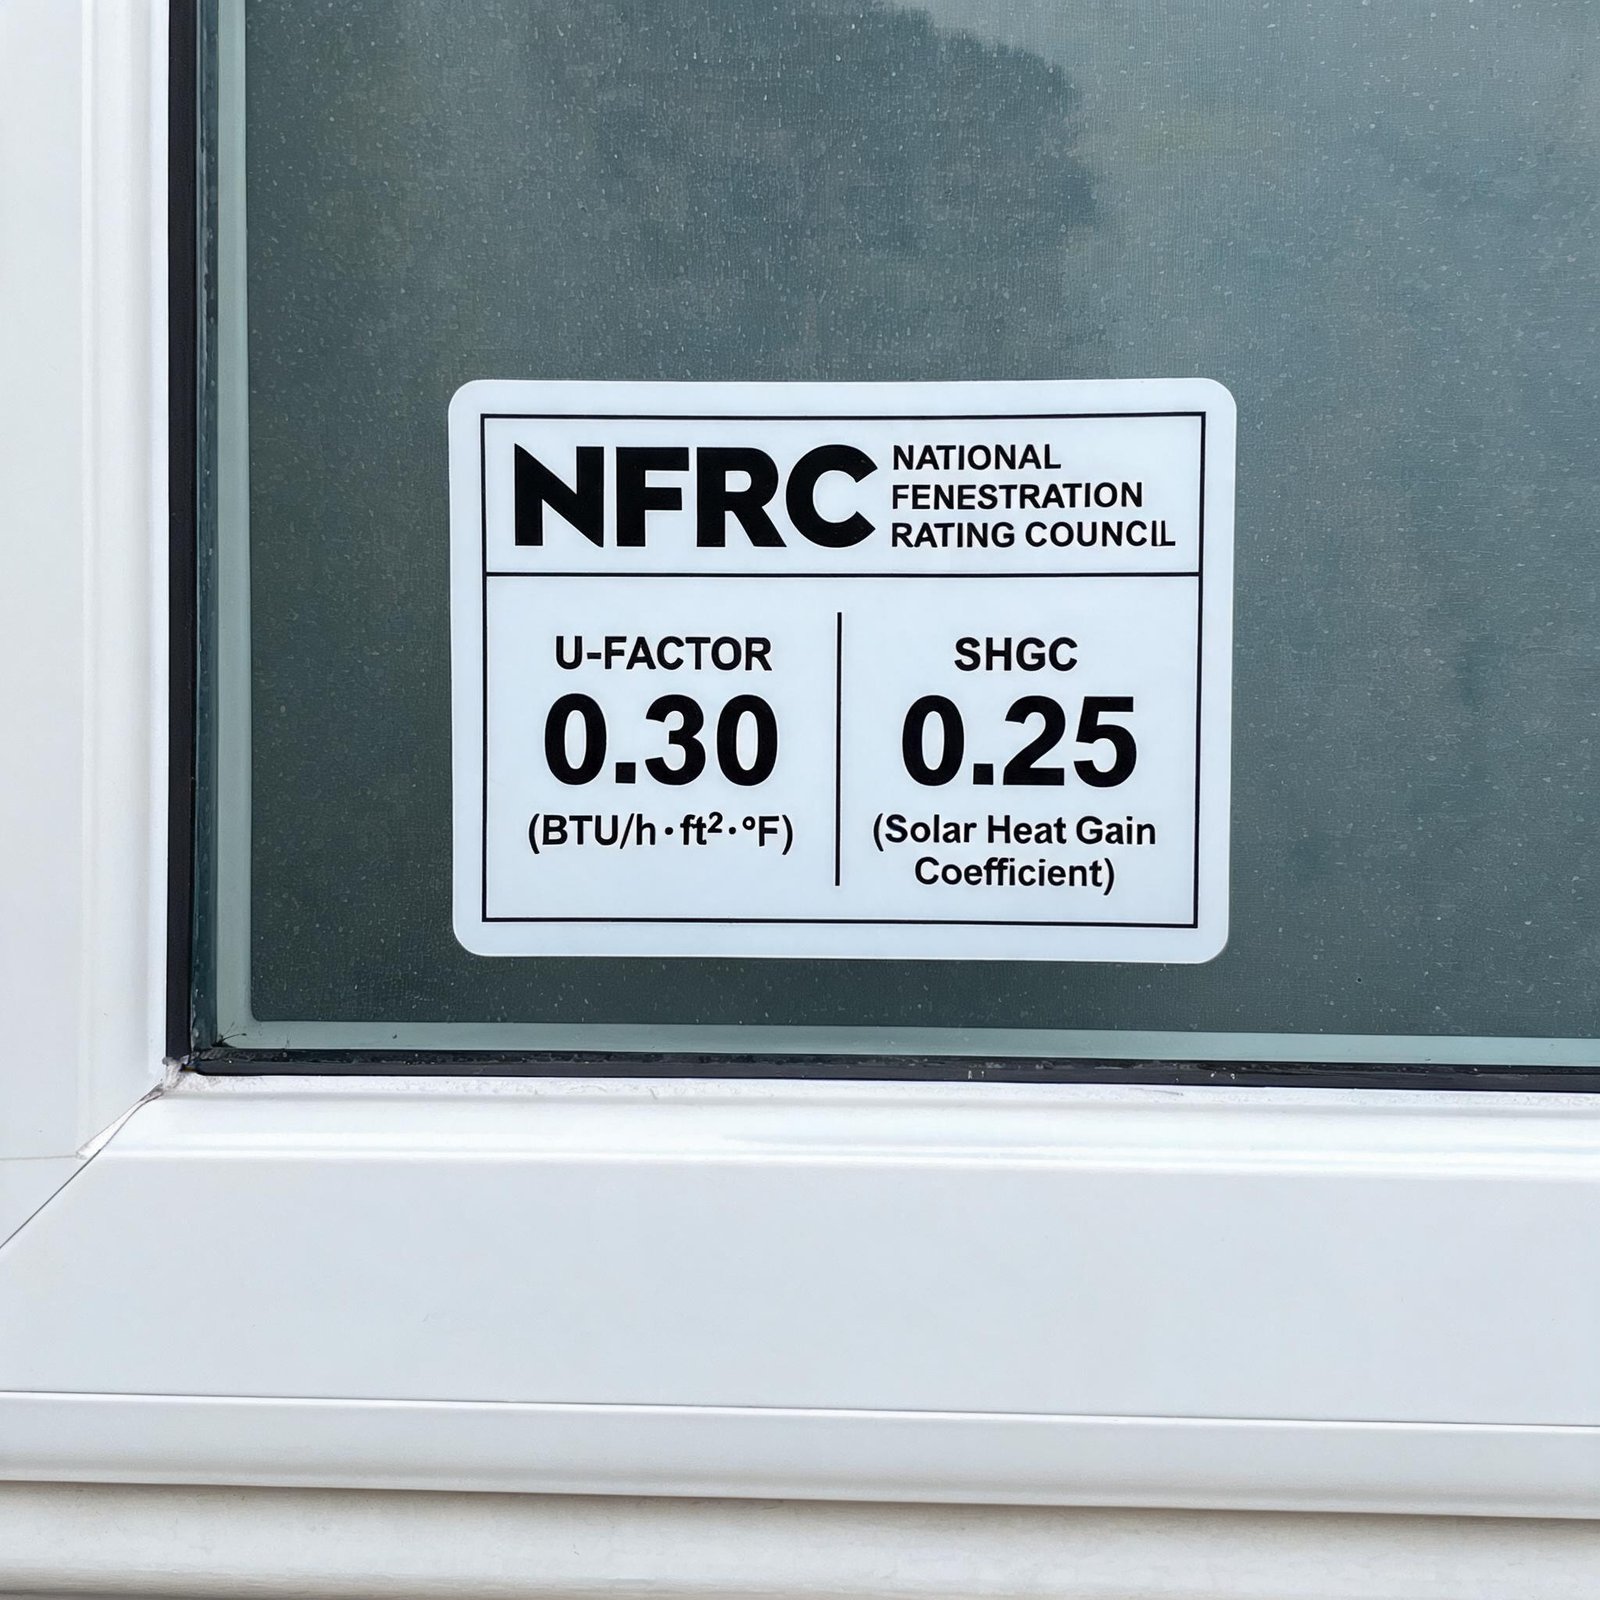
Today’s vinyl frames are multi‑chambered. These hollow chambers create dead air spaces that drastically slow heat transfer. When combined with double‑ or triple‑pane insulating glass units filled with argon or krypton, a quality vinyl window can achieve U‑factors as low as 0.20. Traditional wood frames, even when clad in aluminum, often struggle to reach that level without adding significant thickness. In cold climates, this translates directly to warmer interior glass surfaces, fewer drafts, and lower heating bills.
Moisture and Rot Resistance
Wood swells and shrinks with humidity changes. Over time, that movement cracks paint and putty, inviting water behind the frame. Vinyl windows are inherently moisture‑proof. They won’t rot, warp, or support mold growth. For coastal or rainy environments, this single characteristic can add decades to the life of the product.
Long‑Term Cost Comparison
A high‑quality vinyl insert window for a standard 36×54‑inch opening typically costs between $350 and $600, not including installation labor. A comparable clad‑wood window with historic performance ratings often runs $900 to $1,400 or more. Over twenty years, when you factor in repainting and possible wood repairs, the total cost of ownership of vinyl is substantially lower. Many manufacturing facilities also back these products with lifetime limited warranties on the vinyl profile and 20‑year glass seal coverage, something few wood window manufacturers match.
If you’re weighing whether to invest in new windows, a good first step is to explore the full range of high‑performance PVC profiles available today. should i replace my wood windows with vinyl is a question best answered by looking at the engineering, not just the price tag.
Understand the Two Main Types of Vinyl Replacement
Before you pick up a tape measure, you need to know which installation method fits your home. Using the wrong approach can lead to air leaks, a narrowed glass area, or even structural issues.
Insert (Pocket) Replacement Windows
The most common DIY‑friendly solution. The existing wood inner stops, outer blind stops, and sill remain in place. The old sashes and hardware are removed, and the new vinyl window unit slides into the existing pocket. Manufacturers precision‑size the frame to fit inside the original jamb depth. This preserves interior and exterior trim, minimizes mess, and maximizes glass area. However, the original frame must be solid and square. Any hidden rot, severely out‑of‑square corners, or compromised sill nosing will cause problems later.
Full‑Frame Replacement
When the existing wood frame is beyond repair—think soft sill corners, widespread rot, or deep cracks—a full‑frame tear‑out is the only lasting solution. The entire window down to the rough opening studs is removed. A new‑construction vinyl window with an integral nailing fin is installed, flashed, and sealed as if building new. This method typically requires removal of interior casing and exterior trim, making it more invasive and expensive, but it also gives you a chance to upgrade insulation in the wall cavity and correct any framing irregularities. Many homeowners who ask, “can you replace wood windows with vinyl without tearing out the whole frame?” are relieved to learn that high‑quality insert units make that possible in about 80% of cases.
Pre‑Installation Essentials Nobody Talks About
Lead Paint Safety
Any home built before 1978 is almost guaranteed to have lead‑based paint somewhere on the window components. Disturbing old paint during sash removal or scraping can create hazardous dust. The EPA’s Lead Renovation, Repair and Painting (RRP) rule legally requires that anyone performing work for compensation in such homes be certified and follow lead‑safe work practices. Even if you’re doing it yourself, protect your family. Use a HEPA‑filtered shop vacuum, plastic off the work area, and dispose of debris properly. A certified lead test kit is inexpensive insurance before you start.
Permits and Local Code
Replacing a window in an existing opening often does not require a permit if you are not altering the structure. However, if you are enlarging the opening or doing a full‑frame replacement that exposes the rough framing, many jurisdictions insist on a permit. Check with your local building department. They will also dictate egress requirements for bedrooms: the clear opening width, height, and total net clearable area. Vinyl replacement inserts must maintain or improve the original egress dimensions, so work with your supplier to ensure the unit matches the code that was in effect when your home was built, or modern codes if you’re upgrading.
Decision Matrix: Repair, Insert, or Full‑Frame?
Take a careful look at each window. Use an awl to probe the sill corners and bottom of the side jambs. If you can sink the awl more than ¼ inch, wood rot is present. Slight surface rot can be epoxied, but deeper damage means you should lean towards full‑frame replacement. Also consider window location: ground‑floor windows are easy for a DIYer; upper‑story units that require ladder work may be safer left to pros. Our factory training materials always stress that safety and proper waterproofing matter more than speed.
Measuring Like a Pro: The Step That Makes or Breaks the Job
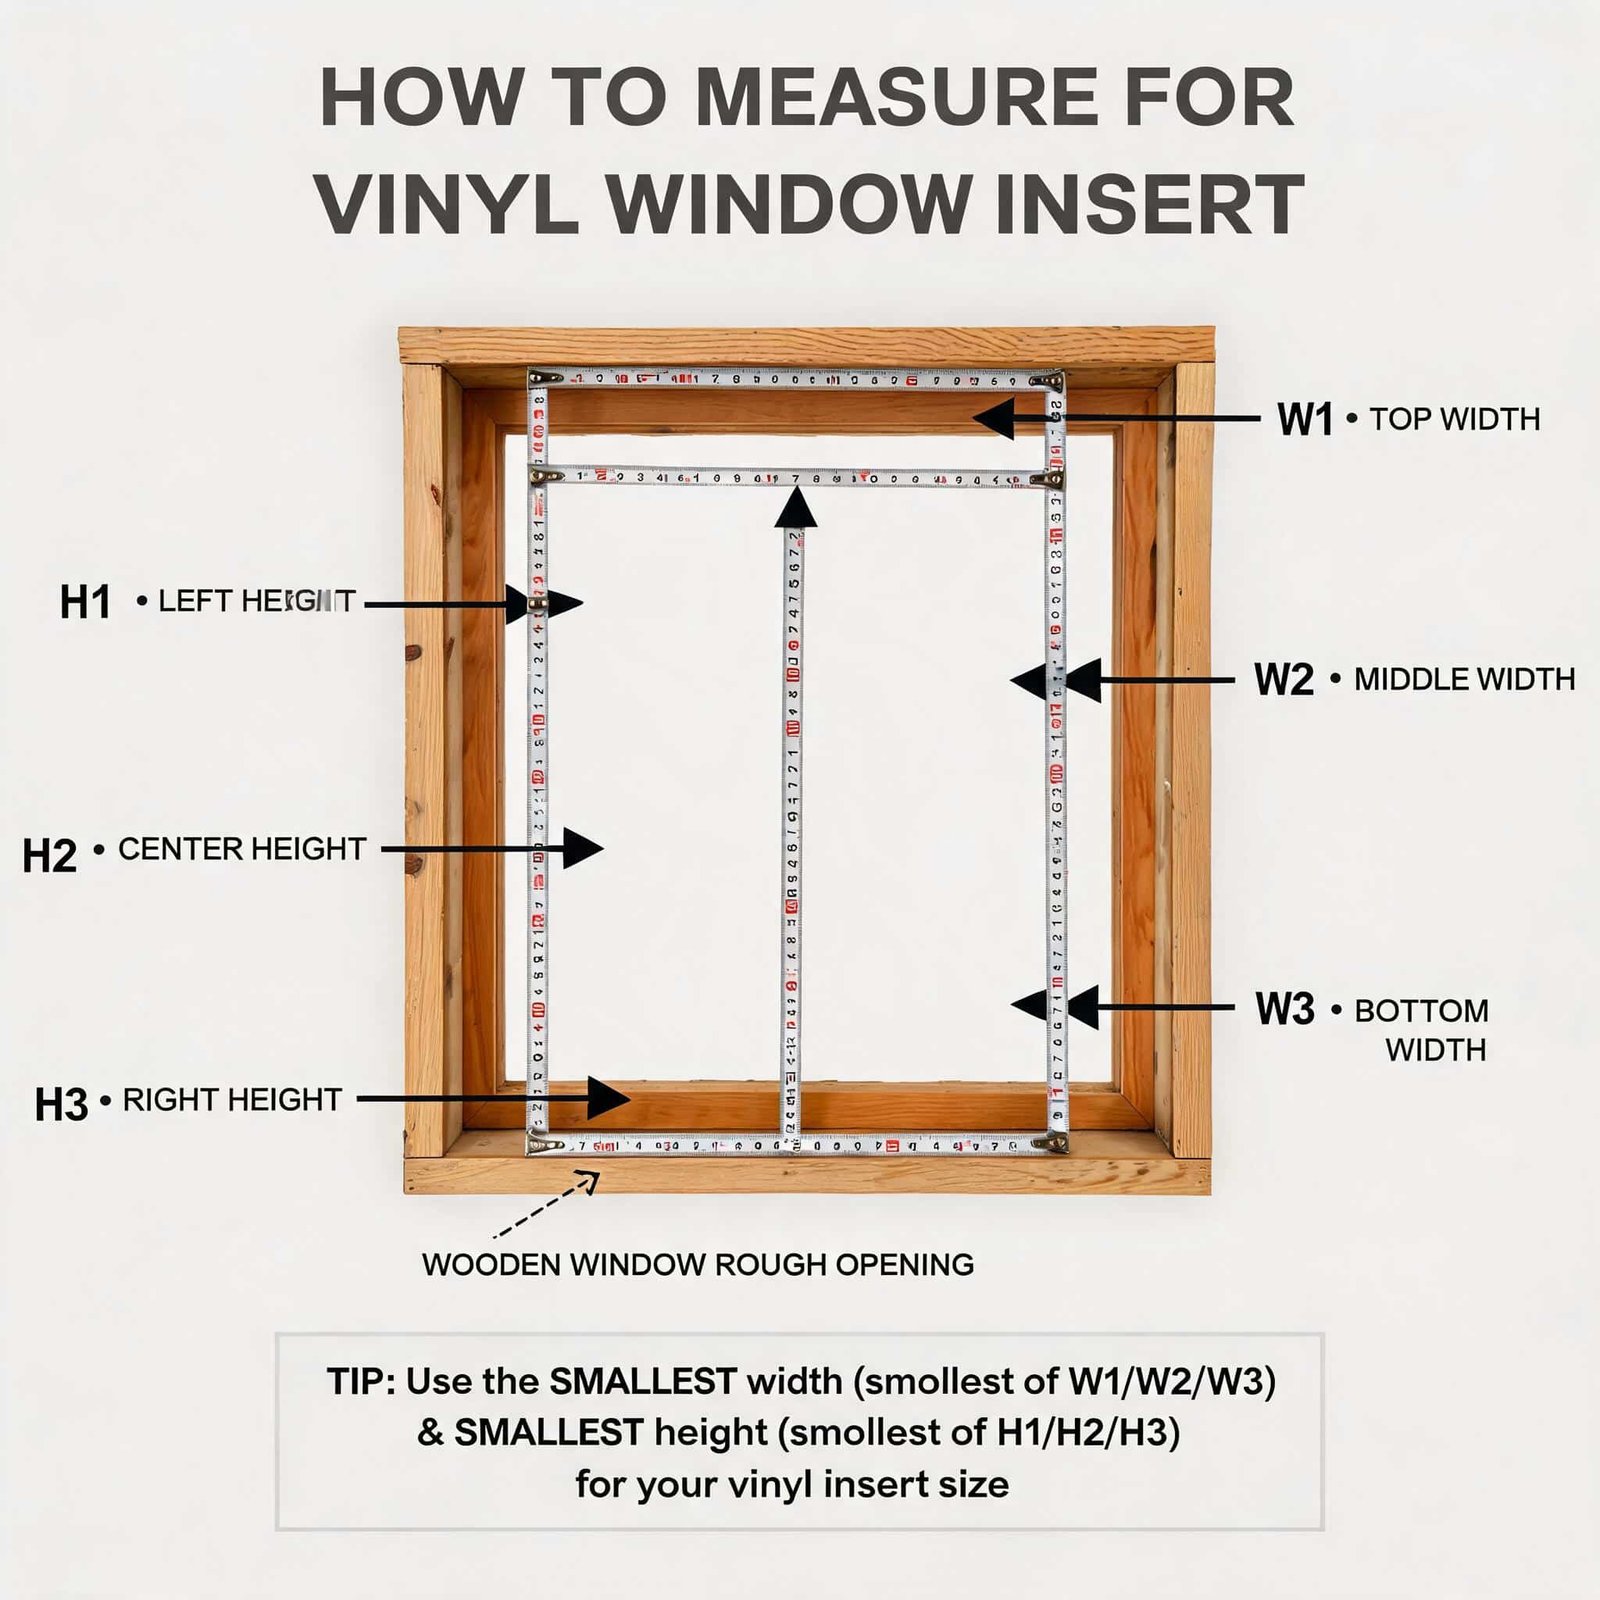
Vinyl insert windows are built to order. There’s no room for error. Manufacturers need precise inside measurements of the existing jamb opening.
The Three‑Point Rule
Measure the width inside the jamb at the top, middle, and bottom to the nearest ⅛ inch. Do the same for the height on the left, center, and right—from the sill angle (the sloped part) to the underside of the head jamb. Use the smallest of the three measurements for both width and height. Do not assume the opening is square. A 1/4‑inch discrepancy across an opening is common in older homes and can be absorbed by the vinyl frame’s installation tolerances, but if it’s larger, the unit may need to be shimmed or planned for a custom out‑of‑square frame.
Check for Square and Plumb
Measure the two diagonals. If they differ by more than ½ inch, the rough opening or the wood frame has shifted. An insert can often still be installed, but you’ll need to use a combination of shims and low‑expansion foam to avoid distorting the vinyl. For extreme cases, a full‑frame replacement may actually be easier to weatherproof correctly.
Depth Check
Vinyl insert windows come in standard jamb depths to match common frame thicknesses. Older wood windows can be 3‑¼”, 4‑9/16”, or even deeper. An insert that’s too shallow will leave an awkward gap; one that’s too deep will need interior extension jambs. Take a depth measurement from the interior face of the blind stop to the exterior face of the interior stop. Provide this to your manufacturer so the window arrives with the correct accessory groove or clip‑in extension.
Step‑by‑Step Installation with Vinyl Inserts
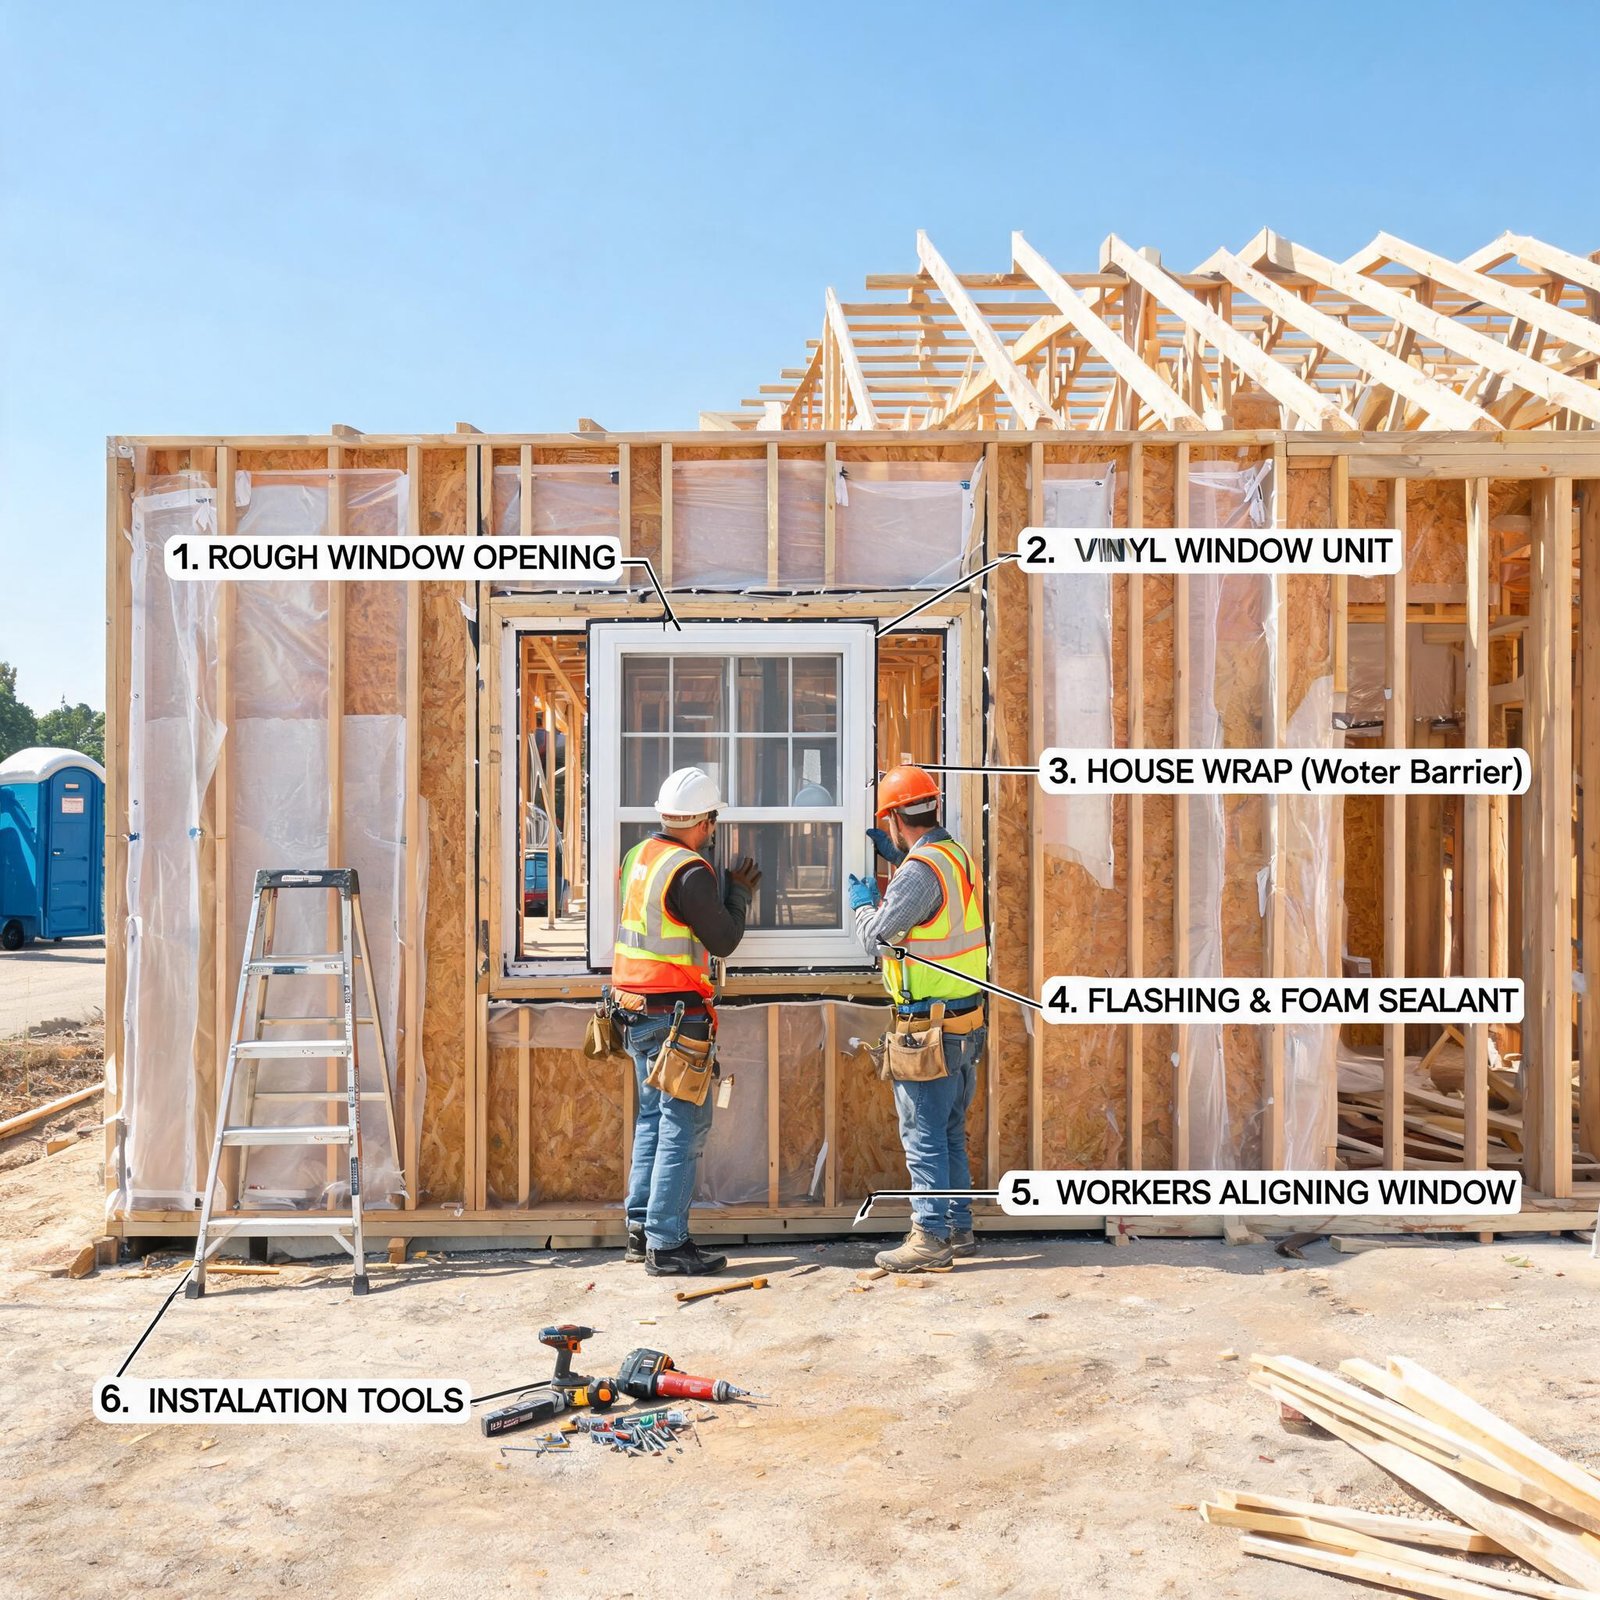
What follows is how factory technicians and trained installers approach a typical wood‑to‑vinyl replacement using an insert unit. This process covers everything from sash removal to final caulking, with emphasis on technical points that generic guides gloss over.
1. Preparing the Workspace and Removing Old Sashes
Close and lock the window if possible. Using a stiff putty knife, carefully pry off the interior stops on the sides and top of the window. These are usually nailed in place and can often be saved for reuse. With the stops removed, lift the bottom sash out of the frame. If it’s stuck, a reciprocating saw with a metal‑cutting blade can carefully cut any painted‑over seams. Next, take out the parting beads that separate the upper and lower sashes. The upper sash should now be free to remove. Watch out for heavy cast‑iron sash weights in older double‑hung units; cut their cotton cords and let the weights fall into the weight pocket. They can be removed or left in the void—if left, stuff the pocket with insulation later.
2. Prepping the Wood Frame
Inspect the exposed jamb liners. Scrape away any loose paint or old caulk. Fill small cracks or nail holes with a durable exterior‑grade wood filler. If you find spongy wood, now is the time to decide if an epoxy repair is sufficient or if you need to switch to a full‑frame approach. If the sill has a steep angle, some manufacturers provide an angled sill adapter; verify with your order. Vacuum all debris from the sill track and wipe down surfaces with a damp cloth.
3. Dry Fit the Vinyl Insert
Before applying any sealant, slide the new vinyl unit into the opening. It should fit snugly without forcing. The operating sash should be closed and locked during this test. Check for uniform gaps around the frame—typically about ¼ to ⅜ inch on each side. If it’s too tight, minor planing of the wood jamb may be needed; if it’s loose, you’ll rely on shims and low‑expansion foam to fill the void. The top of the frame should be perfectly level. Place shims under the side jambs at the bottom to achieve level, not under the sill itself, to prevent the sill from bowing upward.
4. Setting the Window
Remove the unit and apply a continuous 3/8‑inch bead of elastomeric sealant to the interior face of the outside blind stop (the exterior stop the window will butt against). Apply sealant to the sill as well. Re‑insert the window, pressing it firmly against the exterior stops. Immediately move inside and place shims at the midpoints and corners to stabilize the frame. Use composite shims that won’t compress over time. Check that the sash operates smoothly; the meeting rails should align perfectly when closed. If they don’t, you’ve bowed the frame and must adjust shims.
5. Securing with Screws
Most vinyl inserts come with pre‑drilled installation holes in the side jambs. Drive corrosion‑resistant #8 or #10 screws through these holes into the wood frame. Do not overtighten—the screw head should just kiss the vinyl, not dimple it. On a 60‑inch‑tall window, at least four screws per side is typical, one near each corner and two spaced in between. Screwing through the head and sill is rarely recommended because it can lead to warping from solid‑wood expansion.
6. Insulating with Low‑Expanding Foam
This step is critical for energy performance and noise reduction. Use only low‑pressure, minimally expanding polyurethane window and door foam. Standard expanding foam can bow the vinyl frame inward, permanently jamming the sash. After installing the screws, inject foam into the shim spaces between the vinyl and the original jamb. Start at the bottom and fill approximately one‑third of the void depth; the foam will expand to fill the rest. Let it cure fully, usually two to four hours, then trim any excess flush with a utility knife. This foam seals micro‑gaps, blocks air infiltration, and acts as a structural gasket between the insert and the old frame.
7. Reinstalling Stops and Installing Interior Trim
If you removed interior stops in good condition, nail them back with 4d finish nails. Pre‑drill to avoid splitting. If the stops were damaged, mill new ones that match the original profile. The interior gap between the vinyl frame and the stop is typically minimal, but if any gap remains, caulk with a high‑quality, paintable acrylic latex sealant.
8. Exterior Sealing and Water Management
Outside, the primary water seal is the elastomeric bead you applied behind the exterior blind stop. After the foam is trimmed, apply a backer rod in any deep gaps larger than ¼ inch around the exterior perimeter, then tool a neat bead of premium elastomeric caulk. Pay special attention to the sill ends and the joint where the sill meets the brickmold or siding. Never caulk the bottom of the sill on a window that once had a weep system; vinyl inserts usually have integrated weep holes along the sill, and these must remain clear to allow condensation to drain out. If your original window had a sloped sill nosing, ensure any flashing or drip cap above the window is intact and directing water away from the wall.
Beyond Installation: Long‑Term Performance and Warranty
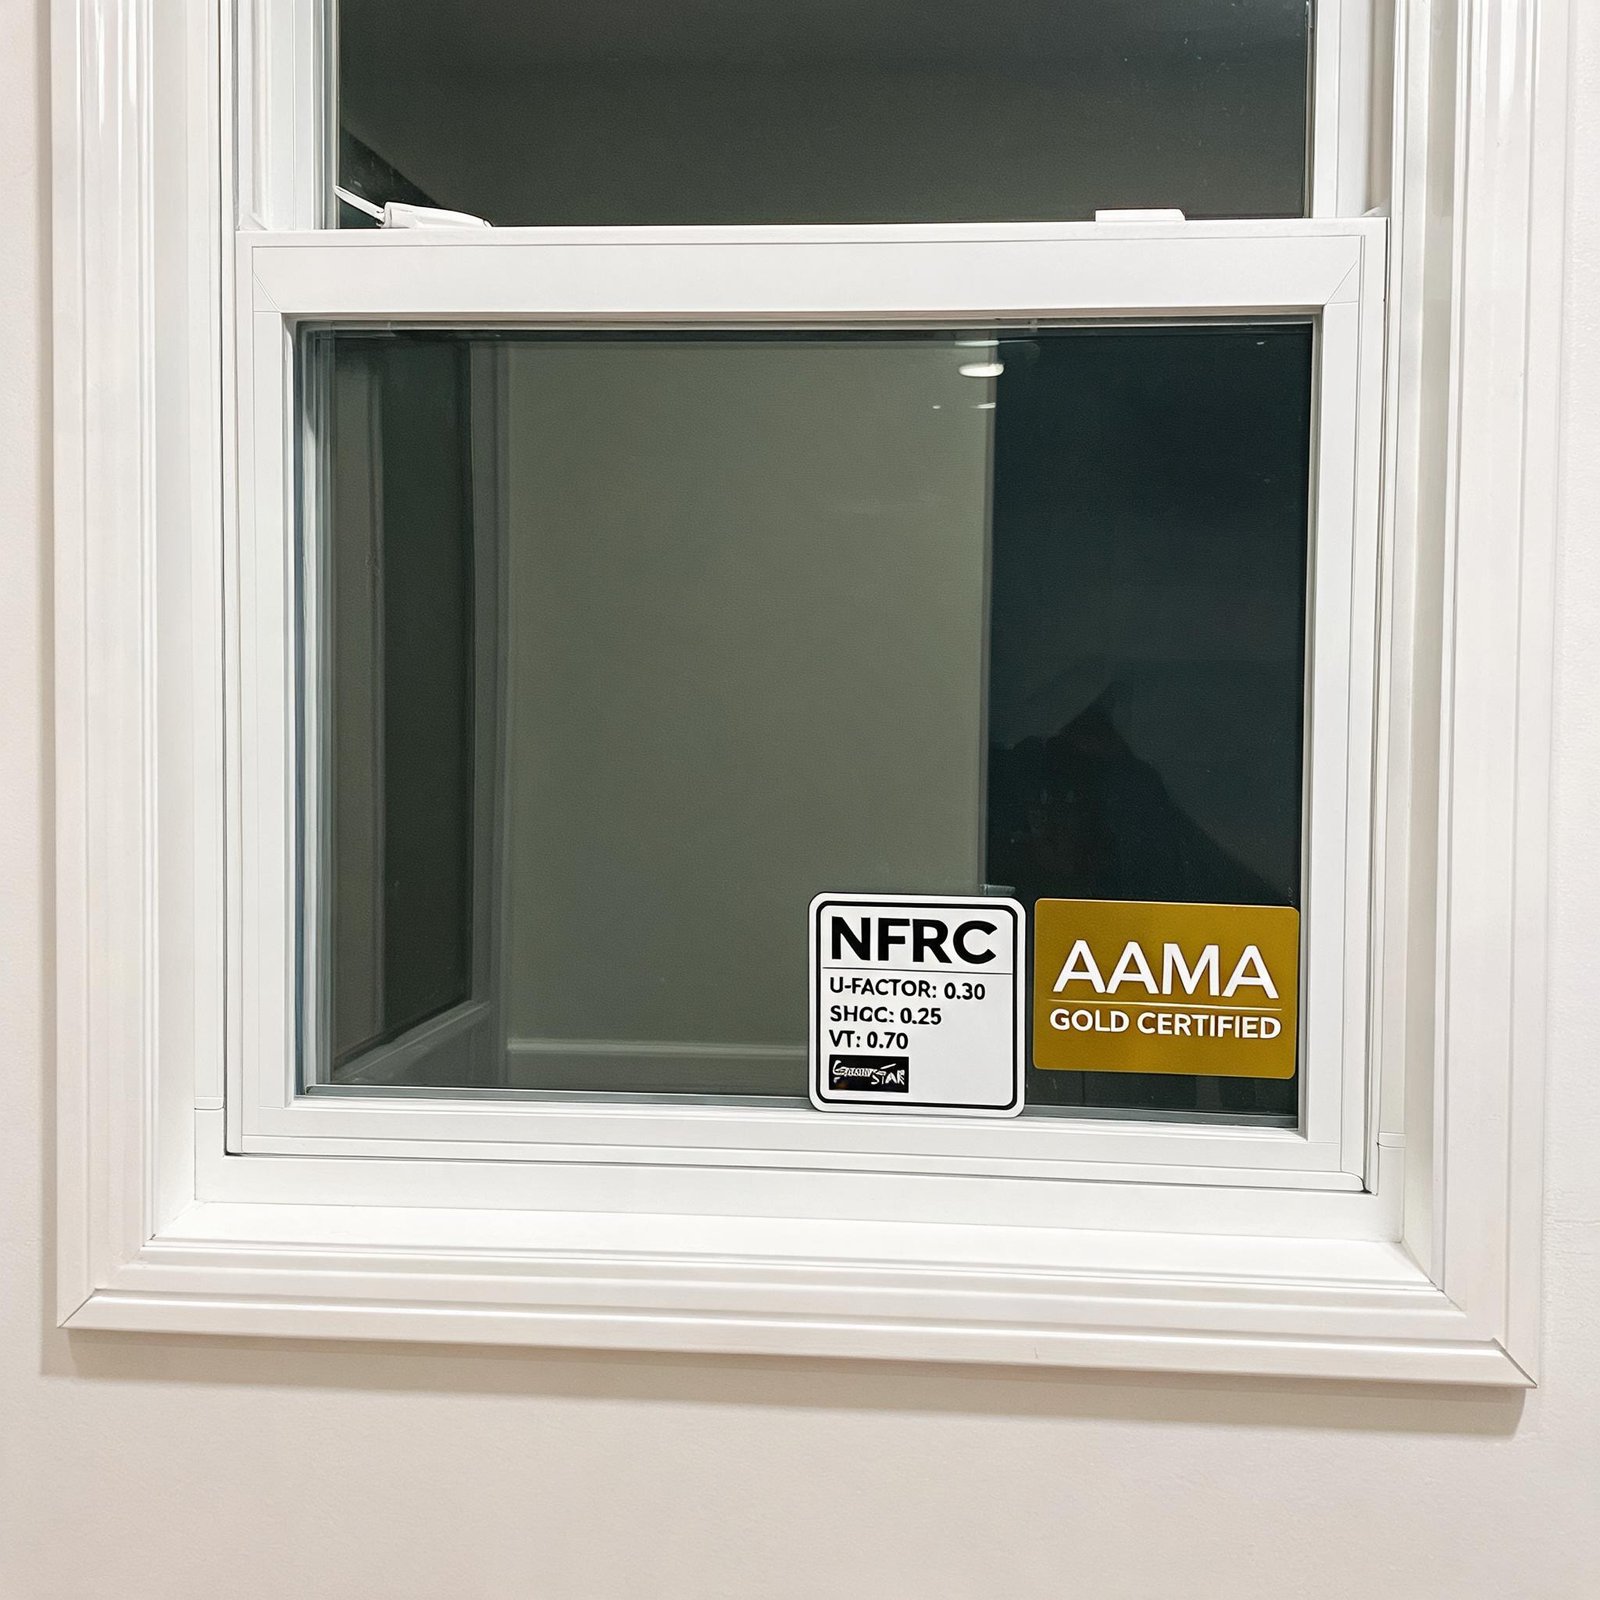
Vinyl windows from reputable manufacturers are tested to AAMA/WDMA/CSA 101/I.S.2/A440 standards, covering air leakage, water penetration resistance, structural load, and forced entry. When you install an insert, you’re relying partly on the existing wood frame’s seal against the weather‑resistive barrier of the house. That’s why regular inspection of the exterior caulk joint is essential. A well‑installed vinyl insert can achieve an air infiltration rating below 0.1 cfm