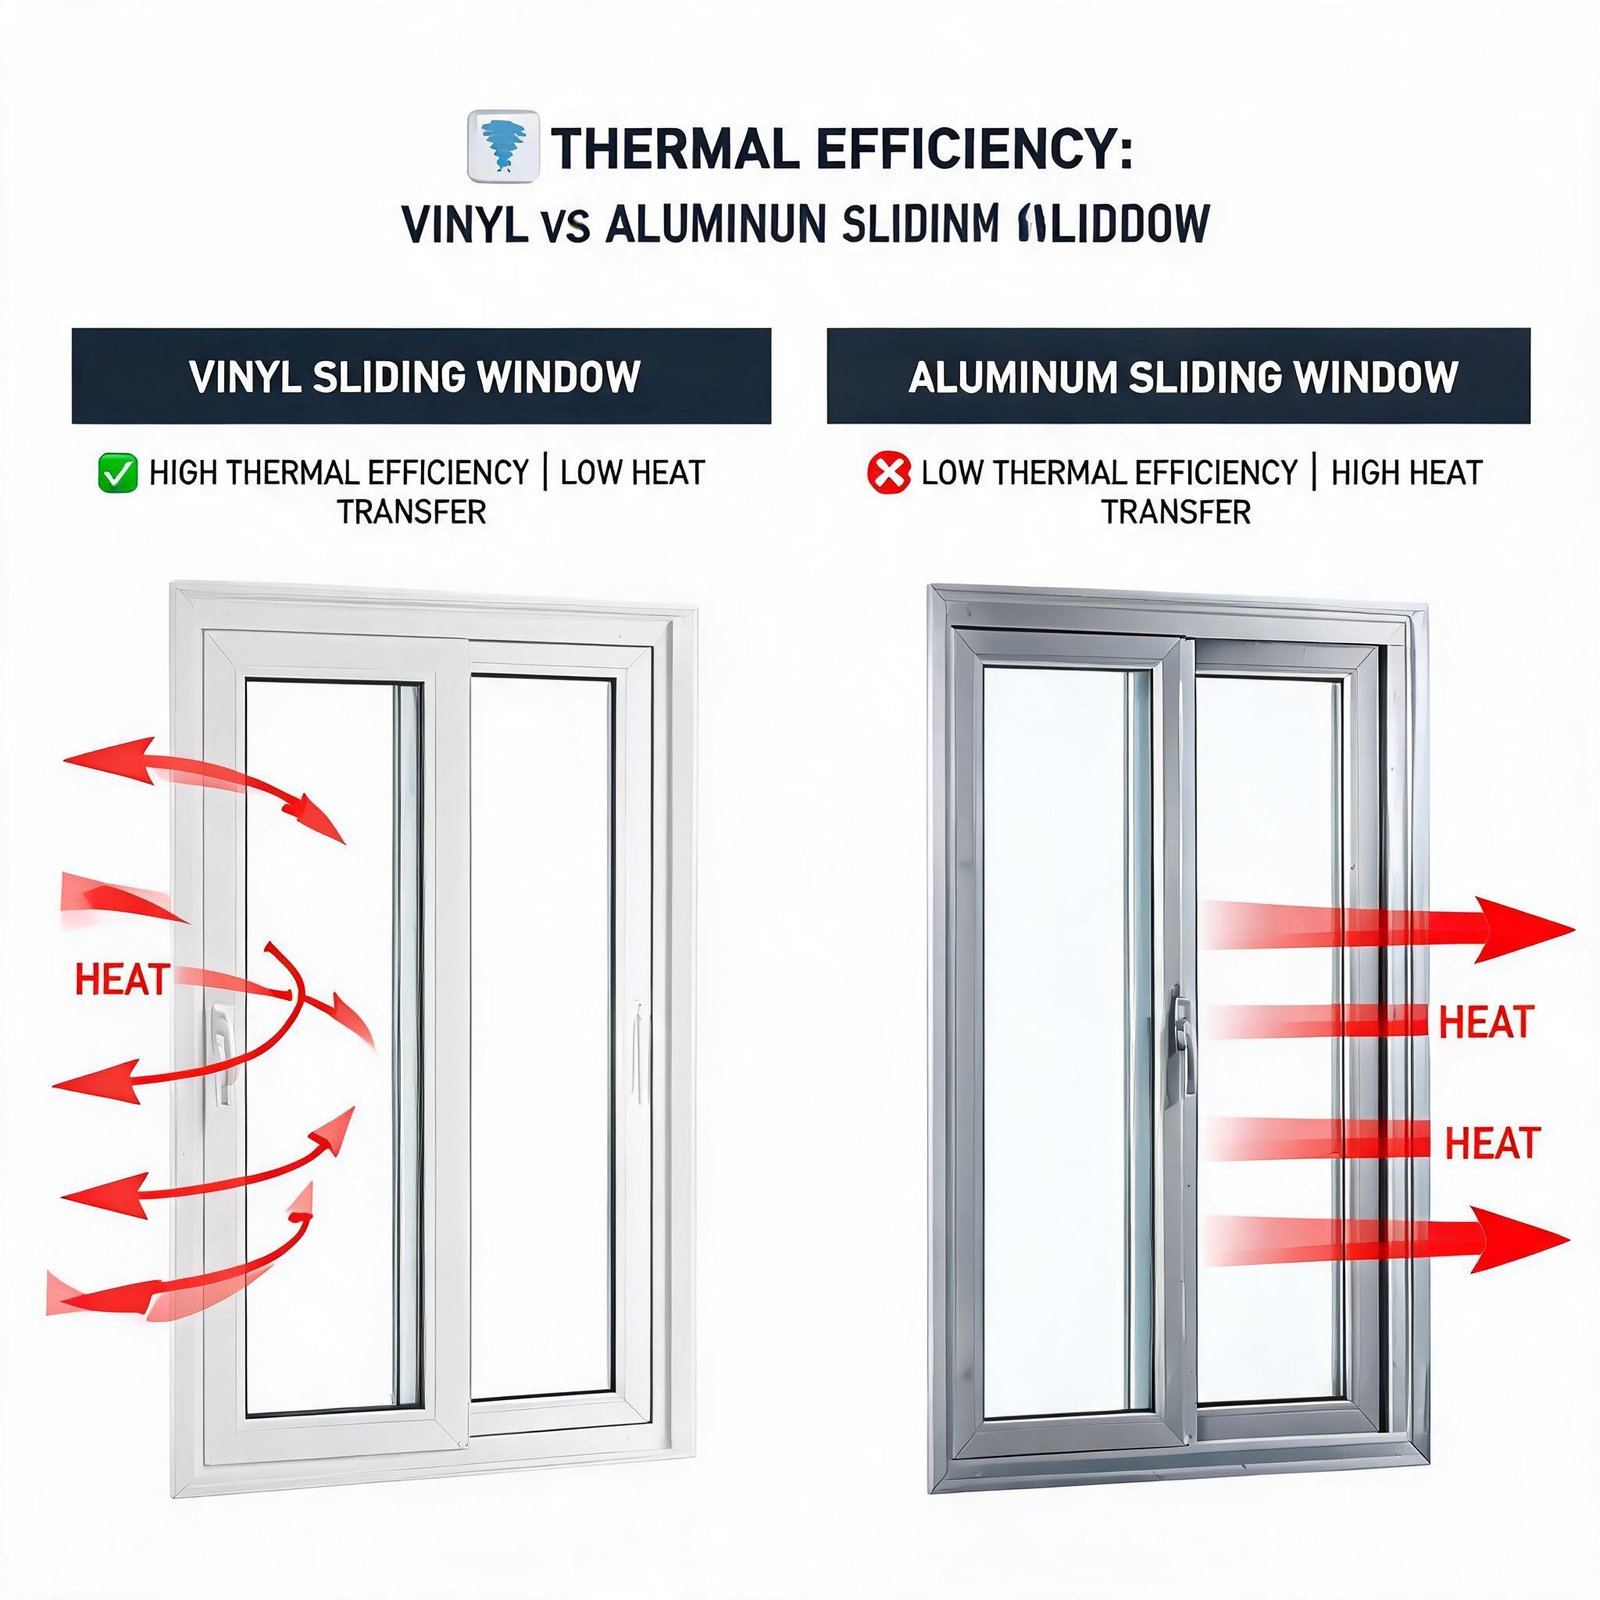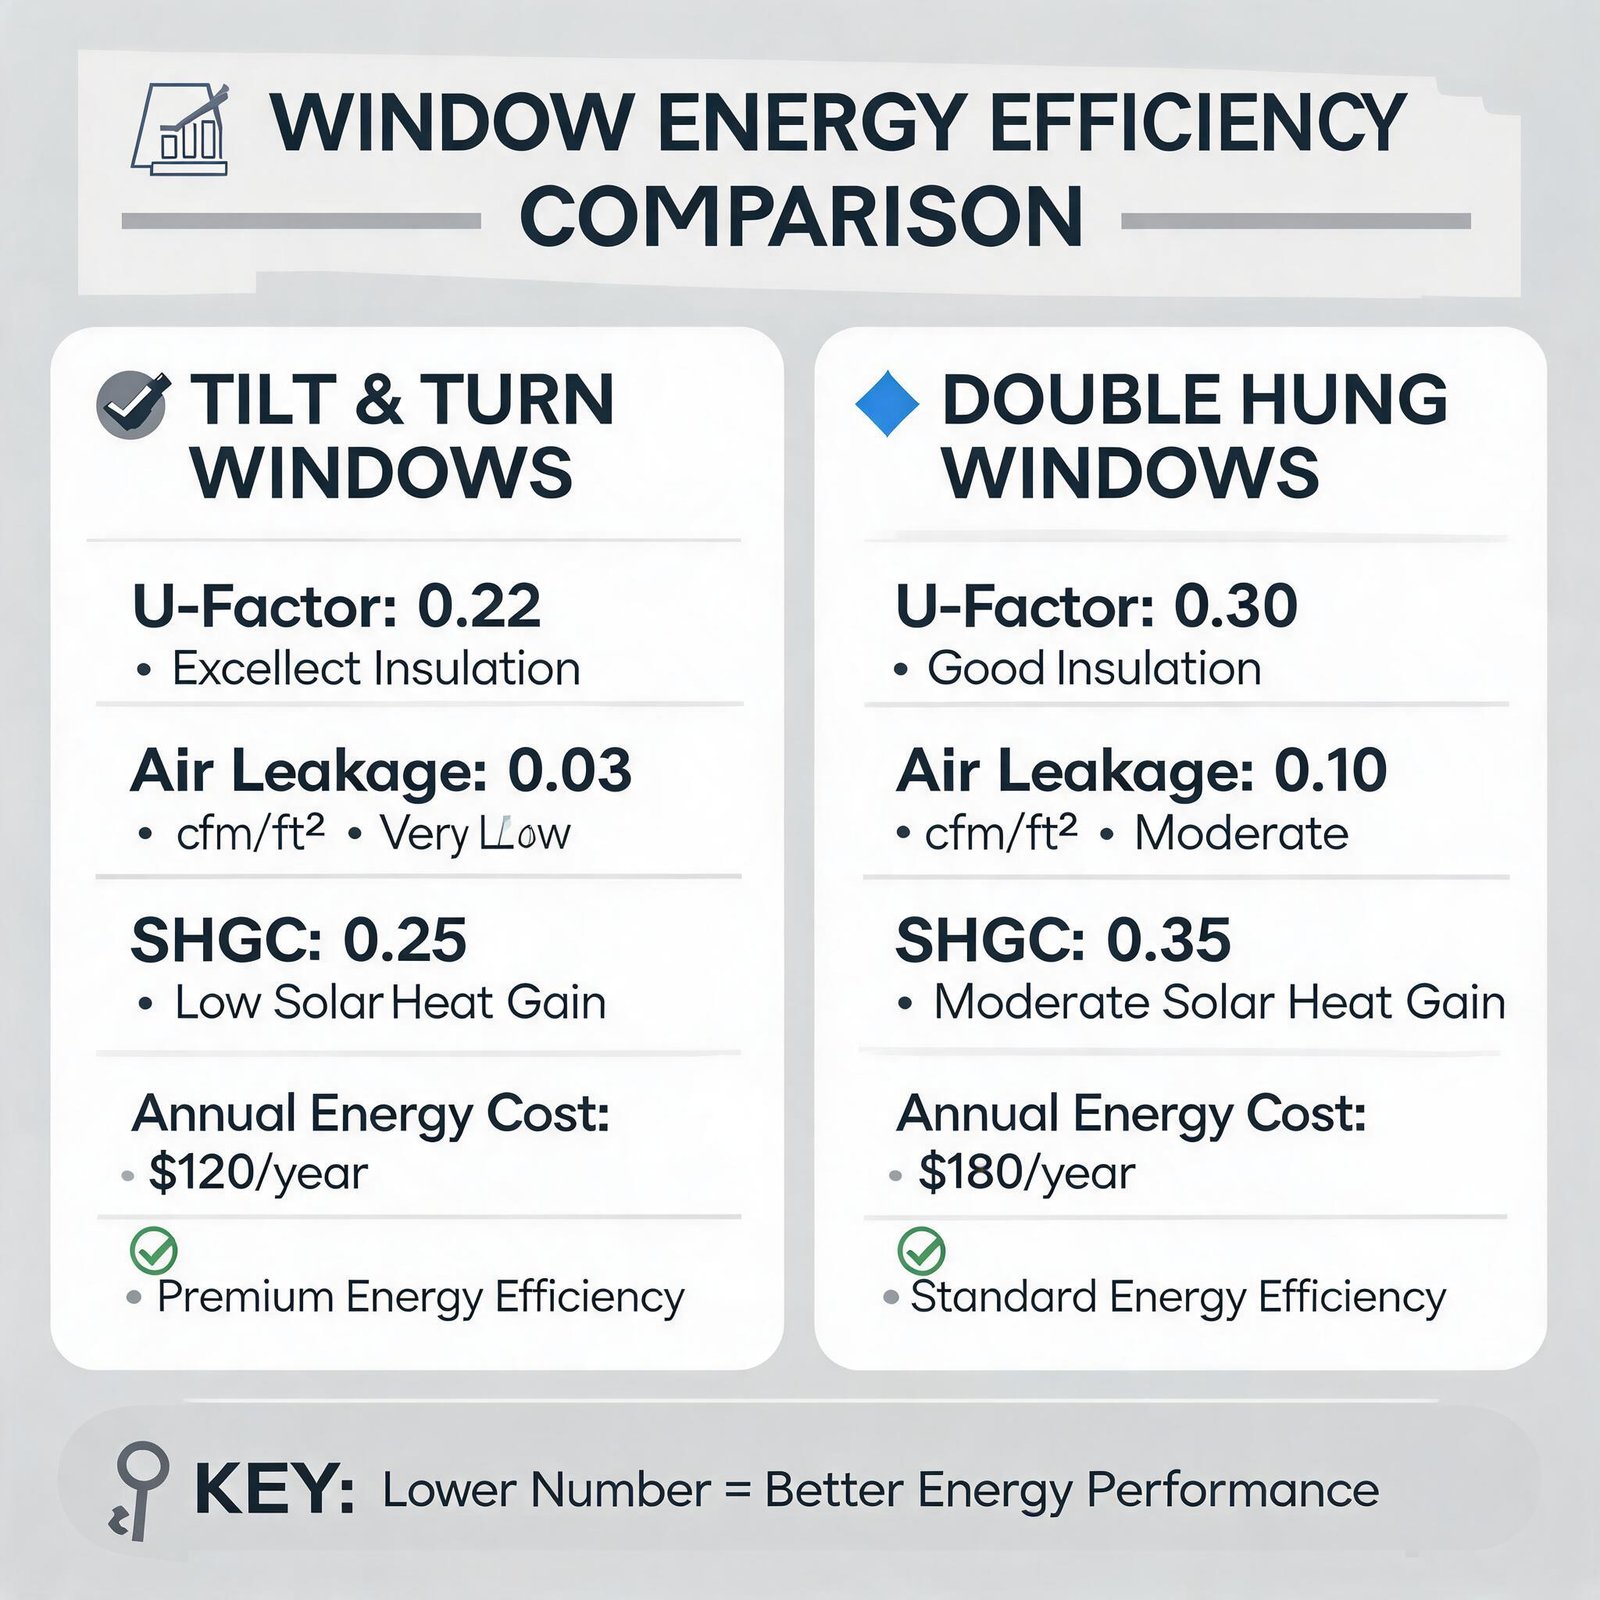
Regular maintenance of vinyl casement windows is non-negotiable—it directly preserves thermal performance, structural integrity, and warranty compliance for commercial and residential installations. The multi-chambered PVC frames, compression bulb seals, and multi-point locking mechanisms rely on precise lubrication and unobstructed drain paths to prevent condensation build-up, hardware binding, and frame warping. Industry standards such as AAMA/WDMA/CSA 101/I.S.2/A440 mandate biannual inspection and cleaning to extend service life beyond 40 years and reduce callback rates by over 60%, making a proactive care plan a critical line item in any facility maintenance SOP or contractor handover package.
Proper care of vinyl casement windows goes beyond cosmetic cleaning—it’s about protecting the investment. Whether you’re a home builder managing spec homes, a contractor overseeing warranty service, or a property manager with hundreds of units, this guide provides the engineering-grade procedures to keep windows operating like new for decades.
Why Vinyl Casement Windows Demand Specialized Maintenance
Vinyl casement windows are popular for their energy efficiency, tight seal, and low profile. But their unique hinge mechanism and compression lock system collect debris that can compromise air infiltration ratings and drainage performance. Unlike double-hung windows, casement designs rely on a single sash that rotates outward, exposing mechanical components to rain, UV, and dust.
Key failure points:
- Blocked weep holes cause water to pool inside the frame, leading to mildew and eventual rot of adjacent framing.
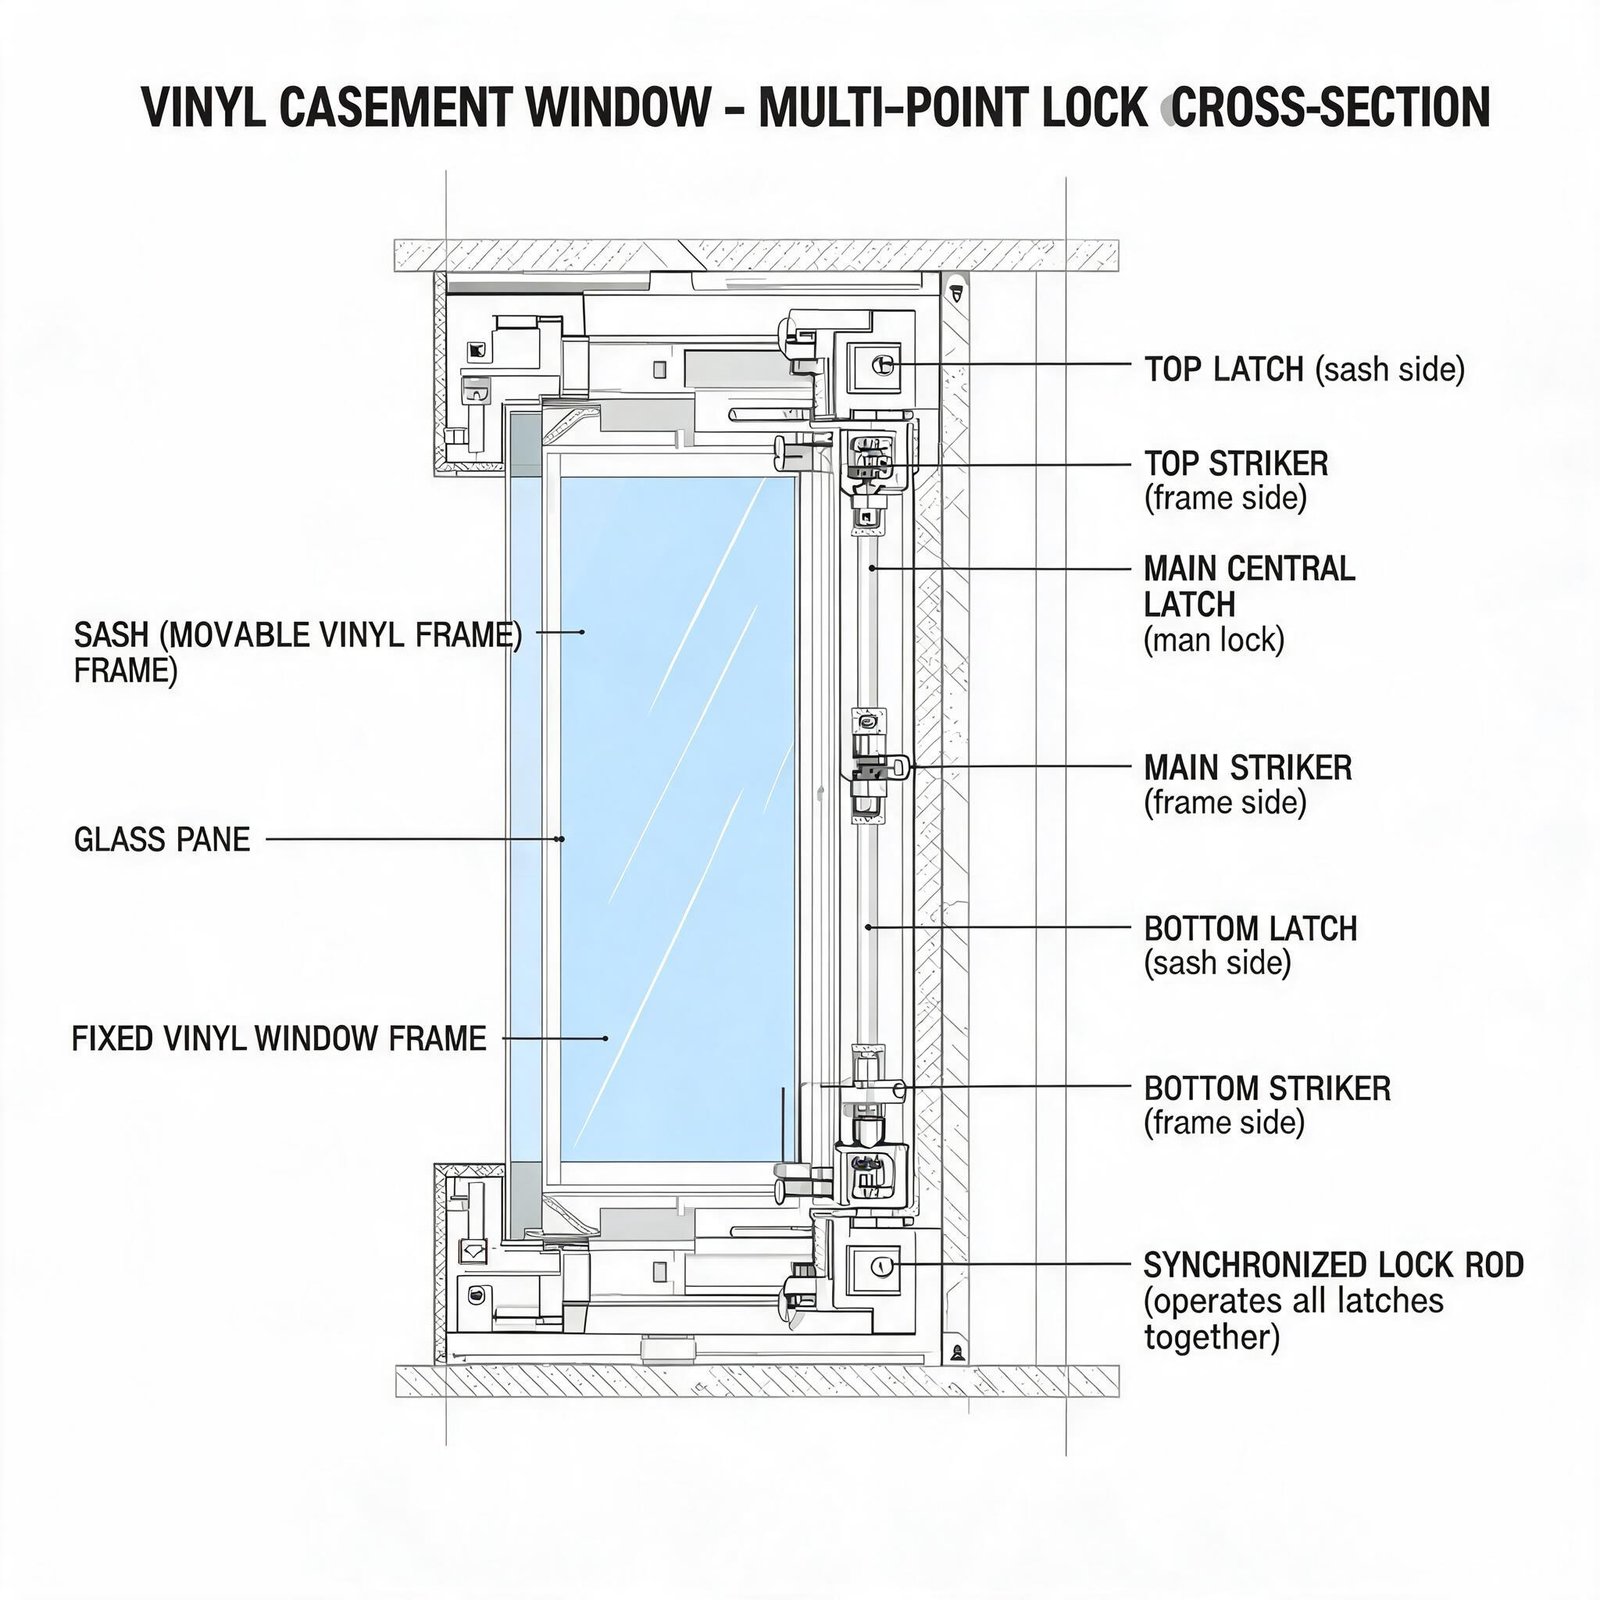
- Multi-point lock mechanism binds without proper lubrication, creating excessive force that can strip handles or break hinges.
- Compression seals harden or loosen over time, increasing air leakage by up to 40%, according to NFRC field studies.
Phase 1: Cleaning and Unblocking the Weep Hole Drainage System
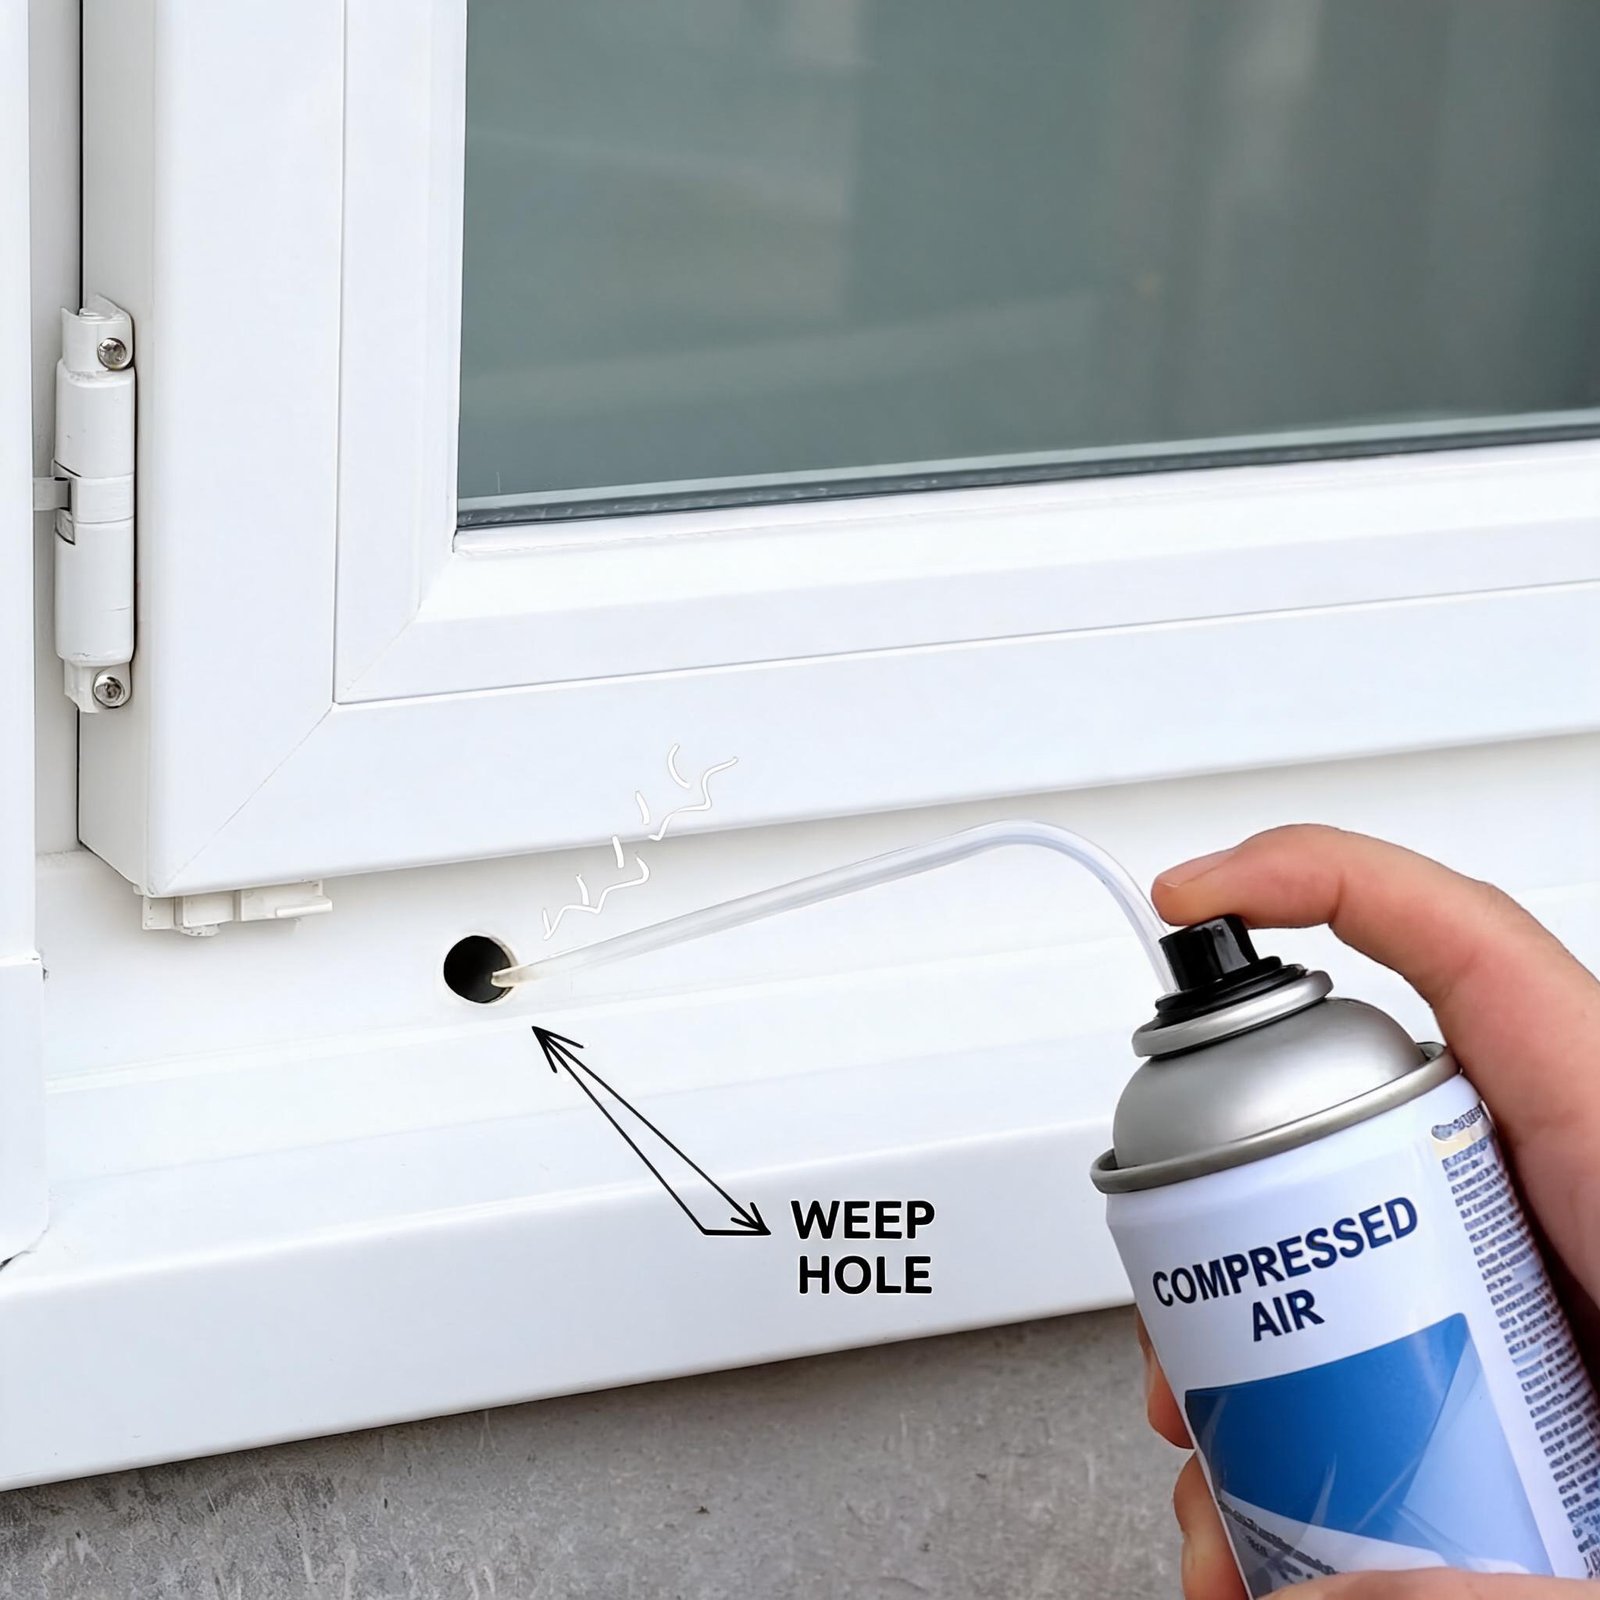
One of the most overlooked yet critical tasks is cleaning the drainage weep holes. These narrow slots at the bottom exterior of the frame allow condensed water and rain to escape. When clogged with dirt, pollen, or insect nests, water backs up, causing interior mold and staining siding.
Step-by-step procedure for maintenance teams:
- Inspect the exterior sill and track for standing water after a rain event. If water remains longer than 2 hours, perform step 2.
- Clear debris using a soft nylon brush or compressed air (max 30 PSI) inserted directly into the weep slot. Never use metal wire, which can damage the PVC.
- Flush the track with a mixture of warm water and mild dish soap (pH neutral, no bleach). Pour slowly through the interior track and confirm drainage at the weep holes.
- Test function by pouring 8 oz of water; if drainage is sluggish, repeat step 2.
- Document on your maintenance checklist (see table below).
For property managers: schedule this quarterly in areas with heavy pollen or near construction sites. In coastal climates, inspect monthly due to salt accumulation.
Phase 2: Lubricating Multi-Point Locks and Hinges
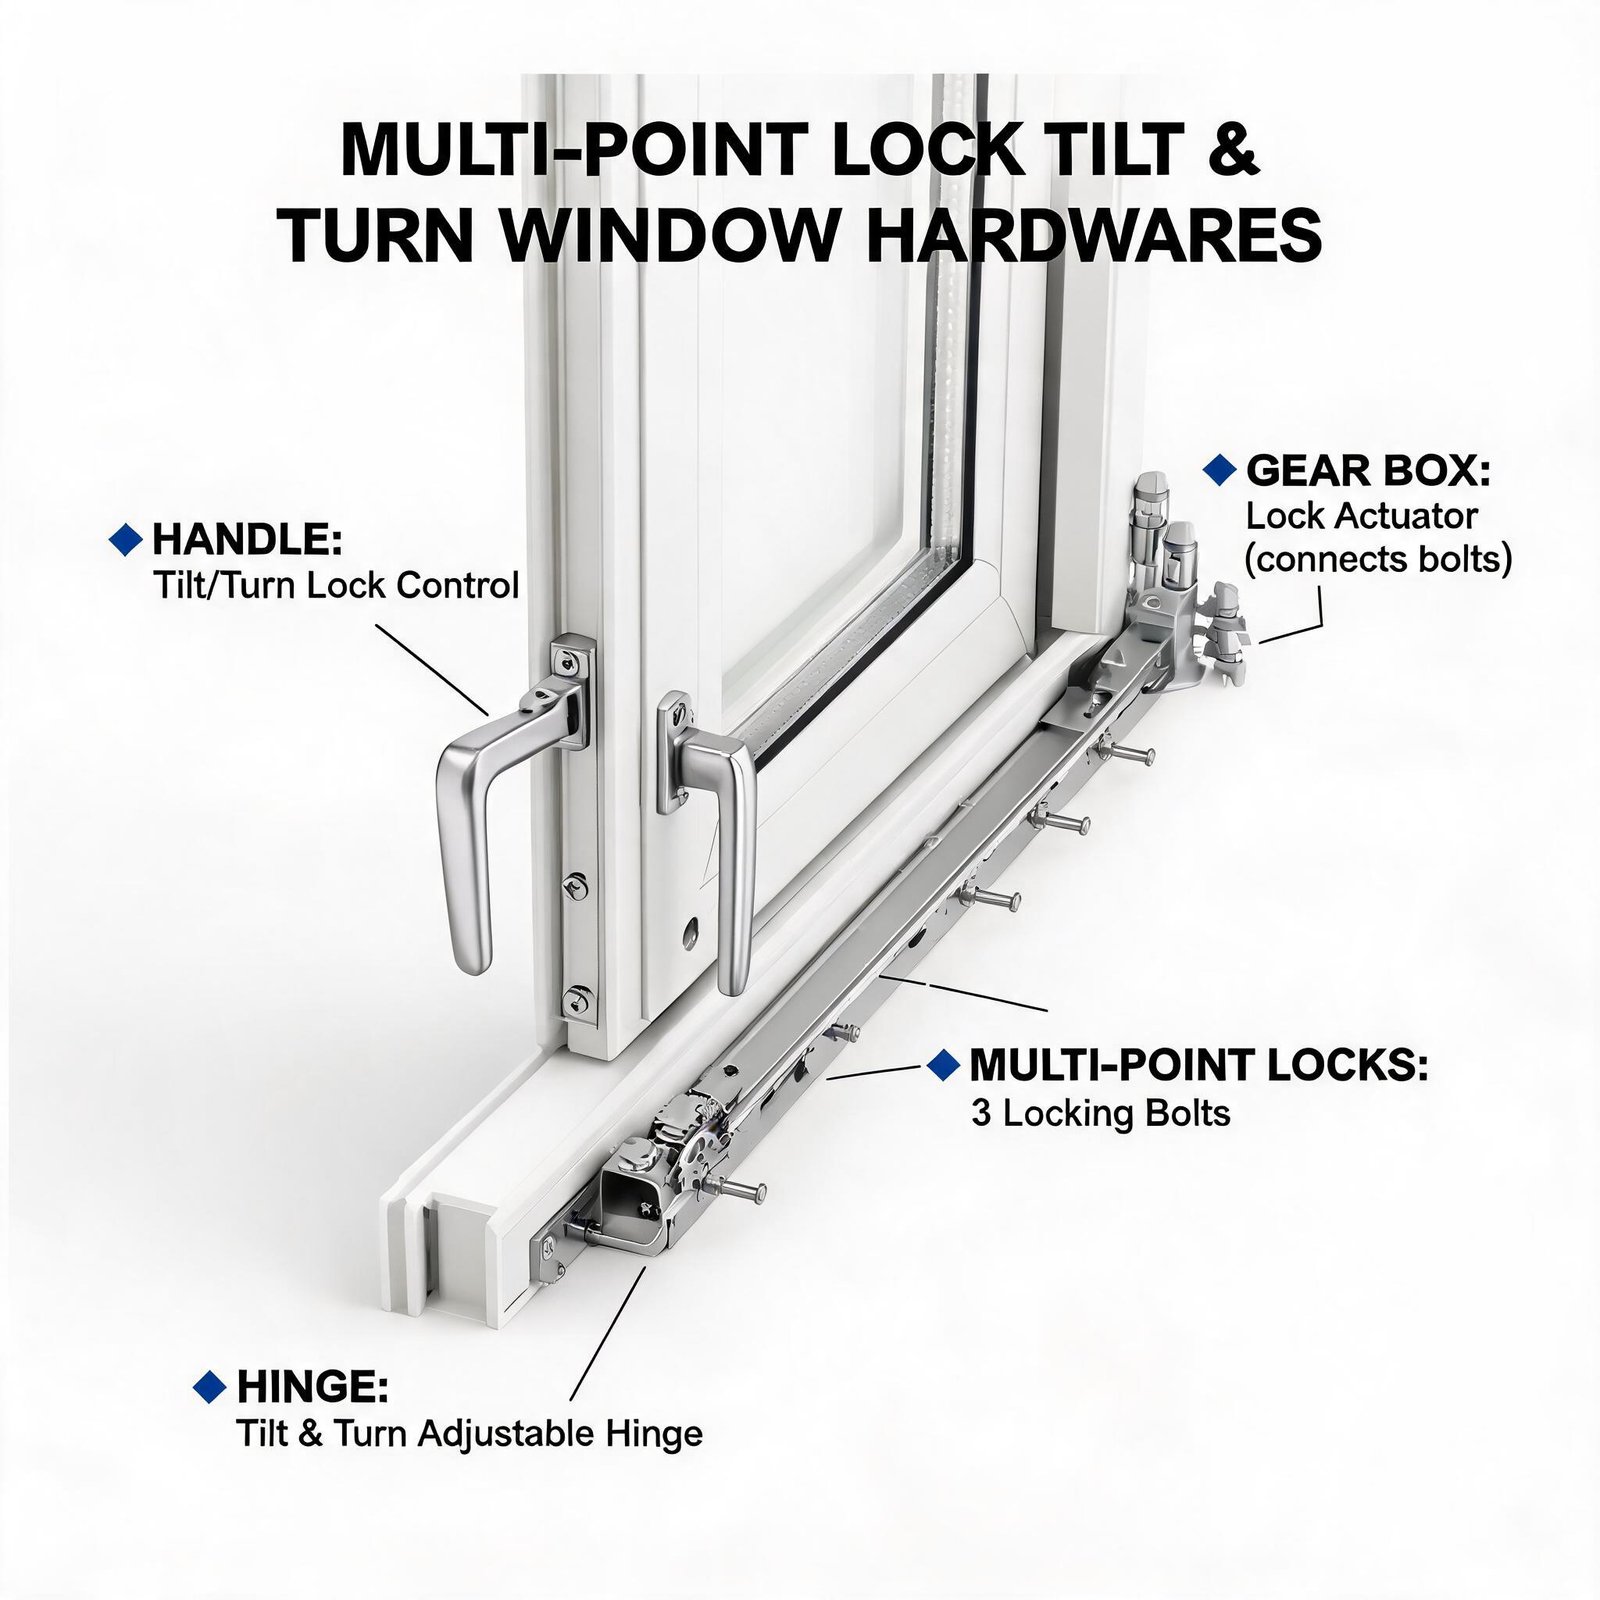
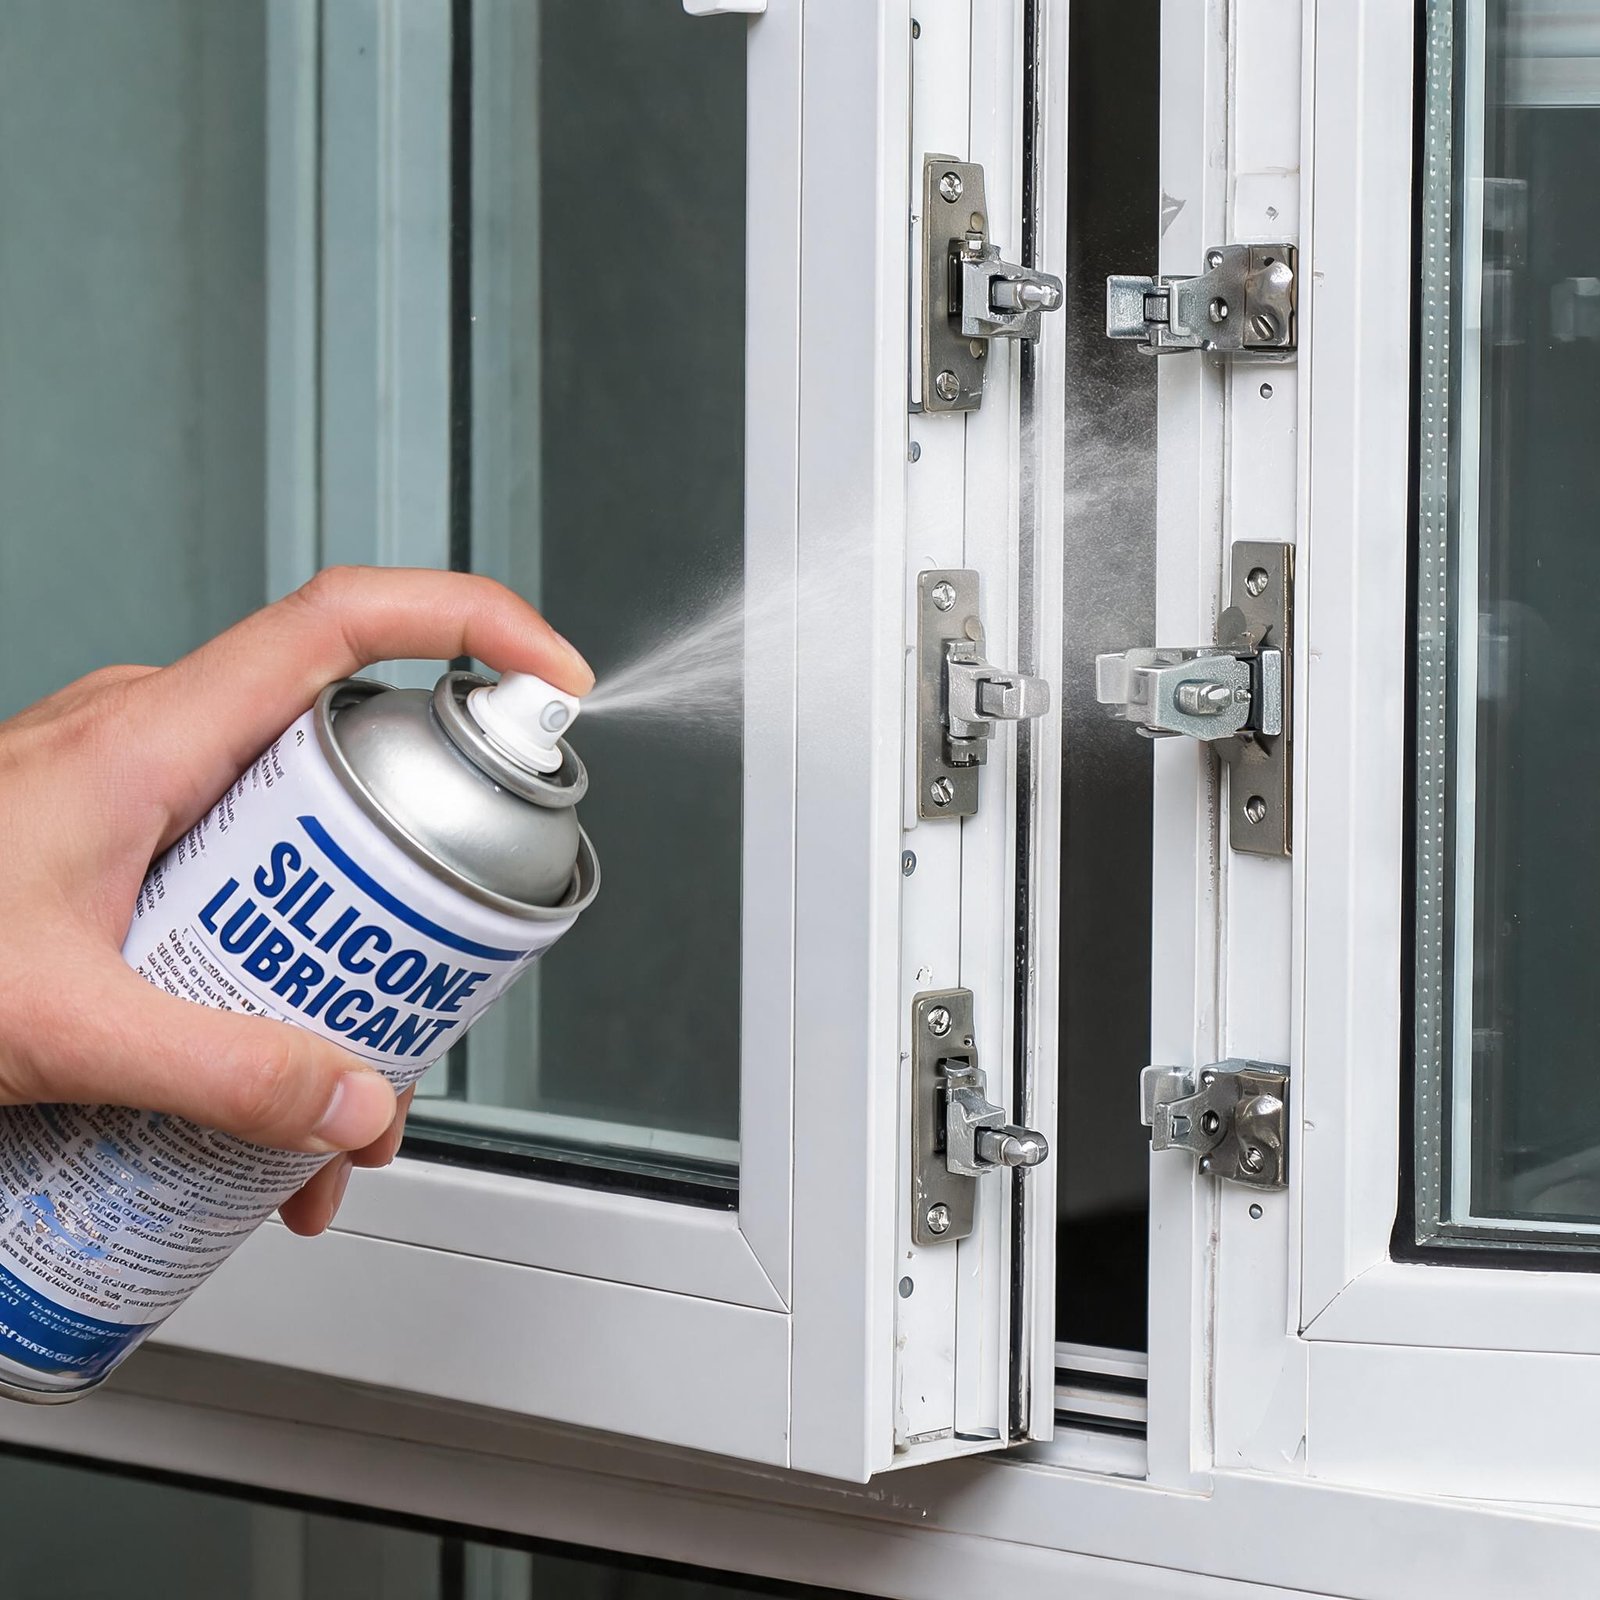
Multi-point locking systems are the heart of casement window security and air sealing. The lock cam, keepers, pivot bars, and hinges all require a specific lubricant—never use oil-based products (WD-40, motor oil) as they attract dust and gum up over time. The correct choice is silicone spray (e.g., CRC Heavy Duty Silicone) or PTFE dry lubricant for dusty environments.
Lubrication protocol for technicians:
| Component | Lubricant Type | Method | Frequency |
|---|---|---|---|
| Multi-point lock cam and keepers | Silicone spray (low-tack) | Spray onto a clean cloth, wipe lock surfaces; avoid overspray onto glass | Twice per year (spring/fall) |
| Hinge arms and pivot pins | PTFE dry lubricant | One short burst into hinge joint; cycle sash full open/close 3 times | Annually |
| Handle mechanism | Non-oil silicone or graphite | Inject into handle base using tube straw | Biannually |
| Frame track (sash bottom) | Silicone spray on cloth only | Wipe interior track, never spray directly | Annually |
Common mistake: lubricating the weatherstripping seals. Seals should remain dry—oil breaks down the EPDM rubber. If seals stick, clean with mild soapy water only.
Phase 3: Inspecting and Replacing Weatherstripping
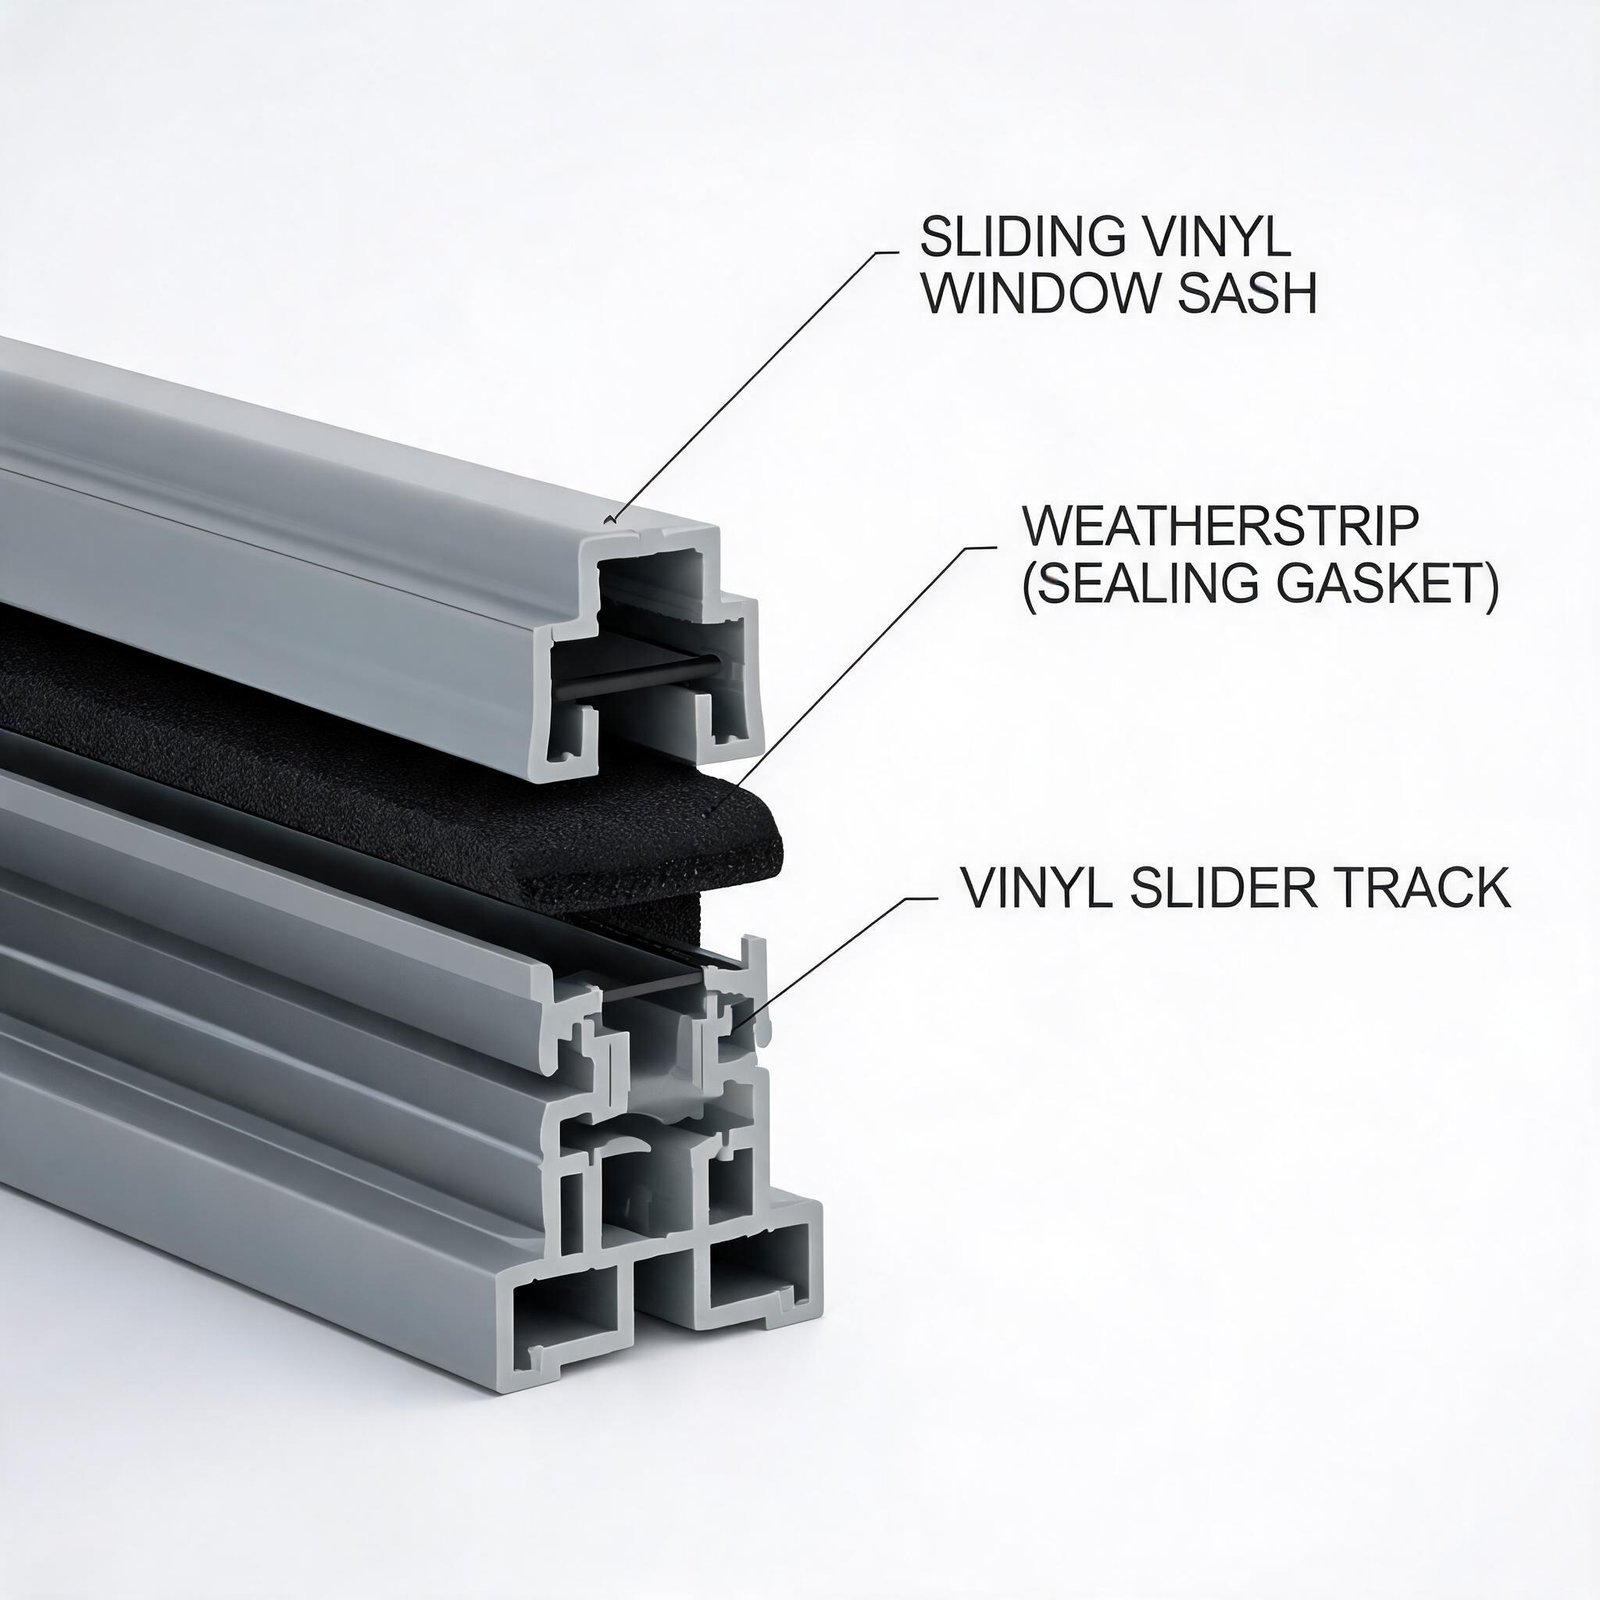
The compression seal around a casement sash is typically a bulb or fin type made of silicone or EPDM. Over time, UV exposure causes it to lose elasticity, leading to drafts and condensation. Inspect annually:
- Run a dollar bill between sash and frame with window closed. If it slides out easily, the seal is loose.
- Check for gaps at the top corners where hinges meet frame.
- Replace seals with OEM parts only. Aftermarket silicone can bond or shrink.
Seal replacement window: every 8–12 years depending on sun exposure. In Florida or Texas, reduce to 5–7 years.
PVC Window Frame Care Manual: A Complete Maintenance Checklist for Property Managers
Below is a consolidated checklist based on AAMA 101 and WDMA recommendations, designed for bulk operations across multiple units. Print and place in your O&M binder.
Monthly (visual check):
- Look for water stains or mildew under windows.
- Check for any cracked glass or loose glazing beads.
- Verify handle does not require excessive force to engage.
Quarterly (light cleaning & inspection):
- Clean exterior glass with 30% white vinegar / 70% water solution.
- Remove debris from sill tracks and weep holes.
- Lubricate handles with graphite powder.
Biannual (spring & fall — full maintenance):
- Lubricate all multi-point lock components and hinges (silicone spray).
- Inspect weatherstripping for compression set; replace sections as needed.
- Check caulking at frame-to-wall joint. Remove cracked caulk and re-apply exterior-grade polyurethane.
- Test window operation: open fully, close, and verify weatherstripping contact.
Annual (deep maintenance):
- Remove sash if possible (consult manufacturer instructions) to clean hinge channels.
- Vacuum interior frame cavities with a crevice tool.
- Measure air leakage using a smoke pen or thermal camera to identify troubled units.
| Task | Frequency | Time per Window | Responsible Party |
|---|---|---|---|
| Visual inspection | Monthly | <1 min | Attendant |
| Weep hole flush | Quarterly | 2 min | Custodian |
| Hardware lubrication | Biannual | 5 min | Maintenance tech |
| Seal inspection & caulk | Biannual | 10 min | Certified installer |
| Full sash removal/cleaning | Annual | 15 min | Experienced technician |
When to Replace Vinyl Casement Windows
Even with perfect care, wear eventually demands replacement. Recognize the signals:
- Condensation inside double-pane glass — seal failure requires glass replacement or unit replacement.
- Sash won’t compress evenly — frame may be twisted due to foundation movement.
- Visible UV discoloration — vinyl has exceeded its lifetime UV stabilizer (typically 20–30 years). Frame becomes brittle.
- Hardware stripped or permanently stiff — component availability decreases after 15 years; full replacement often cheaper.
Superwindowhouse upgrades aging inventory with modern multi-chamber extrusion designs and Low-E glazing that cuts energy costs by up to 25%. For high-performance vinyl casement windows engineered for minimal maintenance, see our vinyl casement window product line. If you need custom profiles with integrated drainage and reinforced multi-point locks, Superwindowhouse delivers OEM-grade solutions tailored to your project.
Final Thoughts for the Commercial Buyer
Maintenance of vinyl casement windows is not a luxury—it’s a performance guarantee. A structured care plan reduces warranty claims, preserves energy performance, and protects your property’s curb appeal. Whether you’re managing 50 units or 500, follow the intervals outlined above, and invest in quality hardware from reputable manufacturers. For custom aluminum and UPVC windows that comply with the strictest air and water infiltration standards, explore Aluminum & UPVC Windows Custom options at Superwindowhouse.
Superwindowhouse — your partner in engineered window solutions for the American builder and architect.