Replacing a window in a home with vinyl siding presents unique challenges that differ from traditional wood or brick installations. As a manufacturer with decades of experience in window and siding systems, we understand the nuances that separate a professional-grade installation from a problematic one. This guide covers everything you need to know about installing replacement windows with vinyl siding, from preparation through finishing touches.
Understanding the Vinyl Siding Challenge
Vinyl siding expands and contracts with temperature changes, which means any window installation must account for this movement. Unlike wood siding that you can simply cut and nail into, vinyl requires careful removal and reinstallation of specific trim pieces called J-channel. Getting this right determines whether your installation looks professional and performs properly for years.
The key difference between installing a window in vinyl siding versus other materials lies in the flashing and trim system. Vinyl siding relies on interlocking channels that must remain functional after window replacement. A poorly executed installation can lead to water infiltration, siding buckling, or unsightly gaps.
Tools and Materials You Will Need
Before starting any window replacement project, gather everything required. Running to the hardware store mid-project with exposed openings invites weather damage and frustration.
Essential Tools
- Utility knife with extra blades
- Flat pry bar or siding removal tool
- Hammer and nail puller
- Level (24-inch and 4-foot)
- Tape measure
- Caulking gun
- Drill with screwdriver bits
- Tin snips for cutting J-channel
- Safety glasses and work gloves
Required Materials
- Replacement window unit (properly measured)
- J-channel in matching or complementary color
- Flashing tape (butyl-based recommended)
- Low-expansion foam insulation
- Exterior grade caulk (siliconized acrylic or polyurethane)
- Galvanized or stainless steel siding nails
- Wood shims for leveling
- Weather-resistant barrier tape
Step-by-Step Installation Guide
Step 1: Accurate Measurement and Window Selection
Measure the rough opening width at the top, middle, and bottom. Record the narrowest measurement. Measure height on both sides and use the shortest dimension. Your new window should be approximately 1/2 inch smaller in both width and height than the rough opening to allow for shimming and expansion.
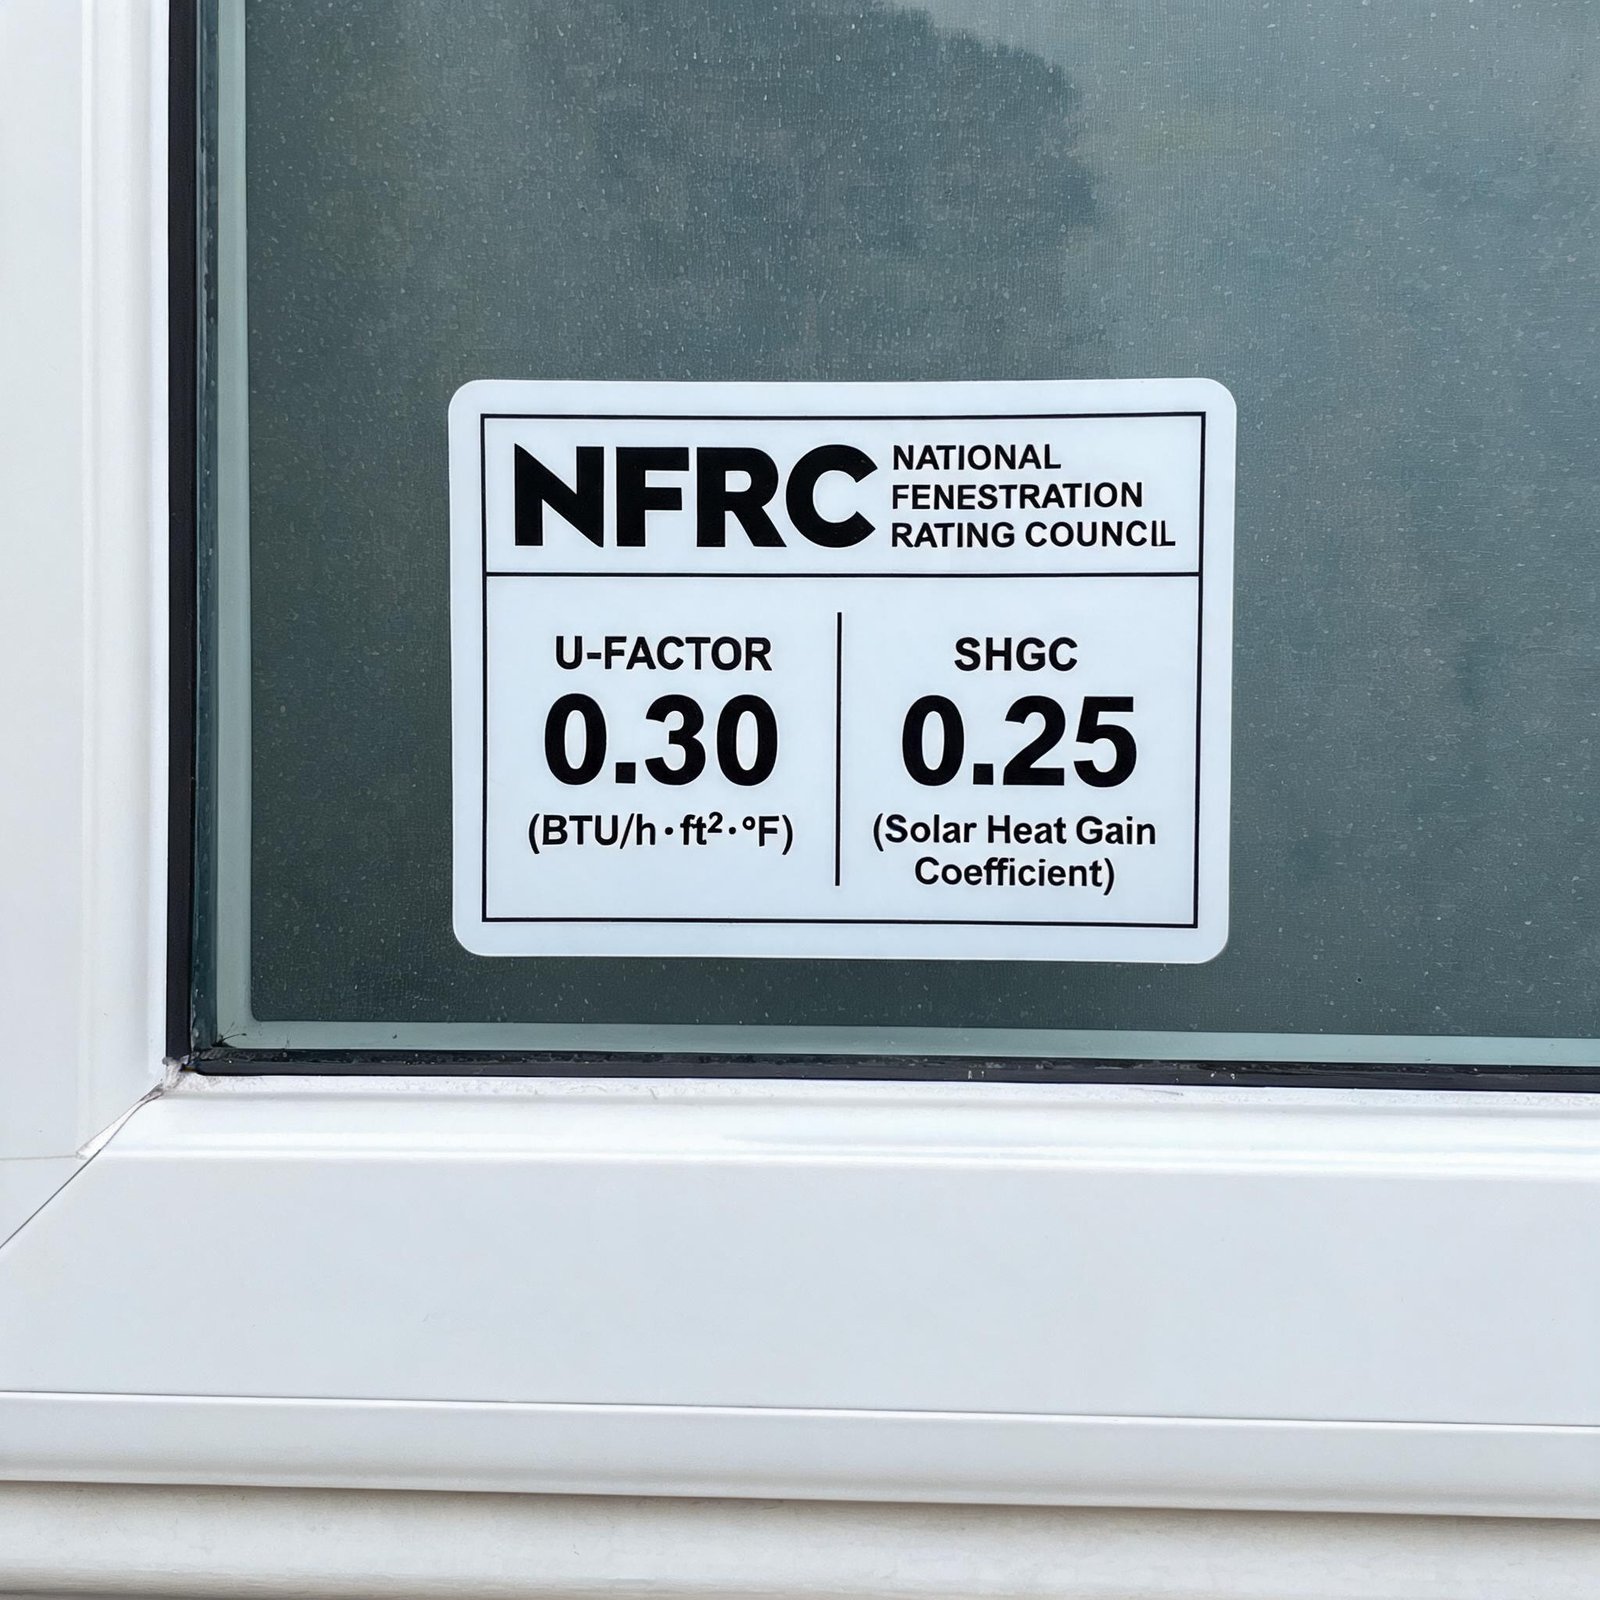
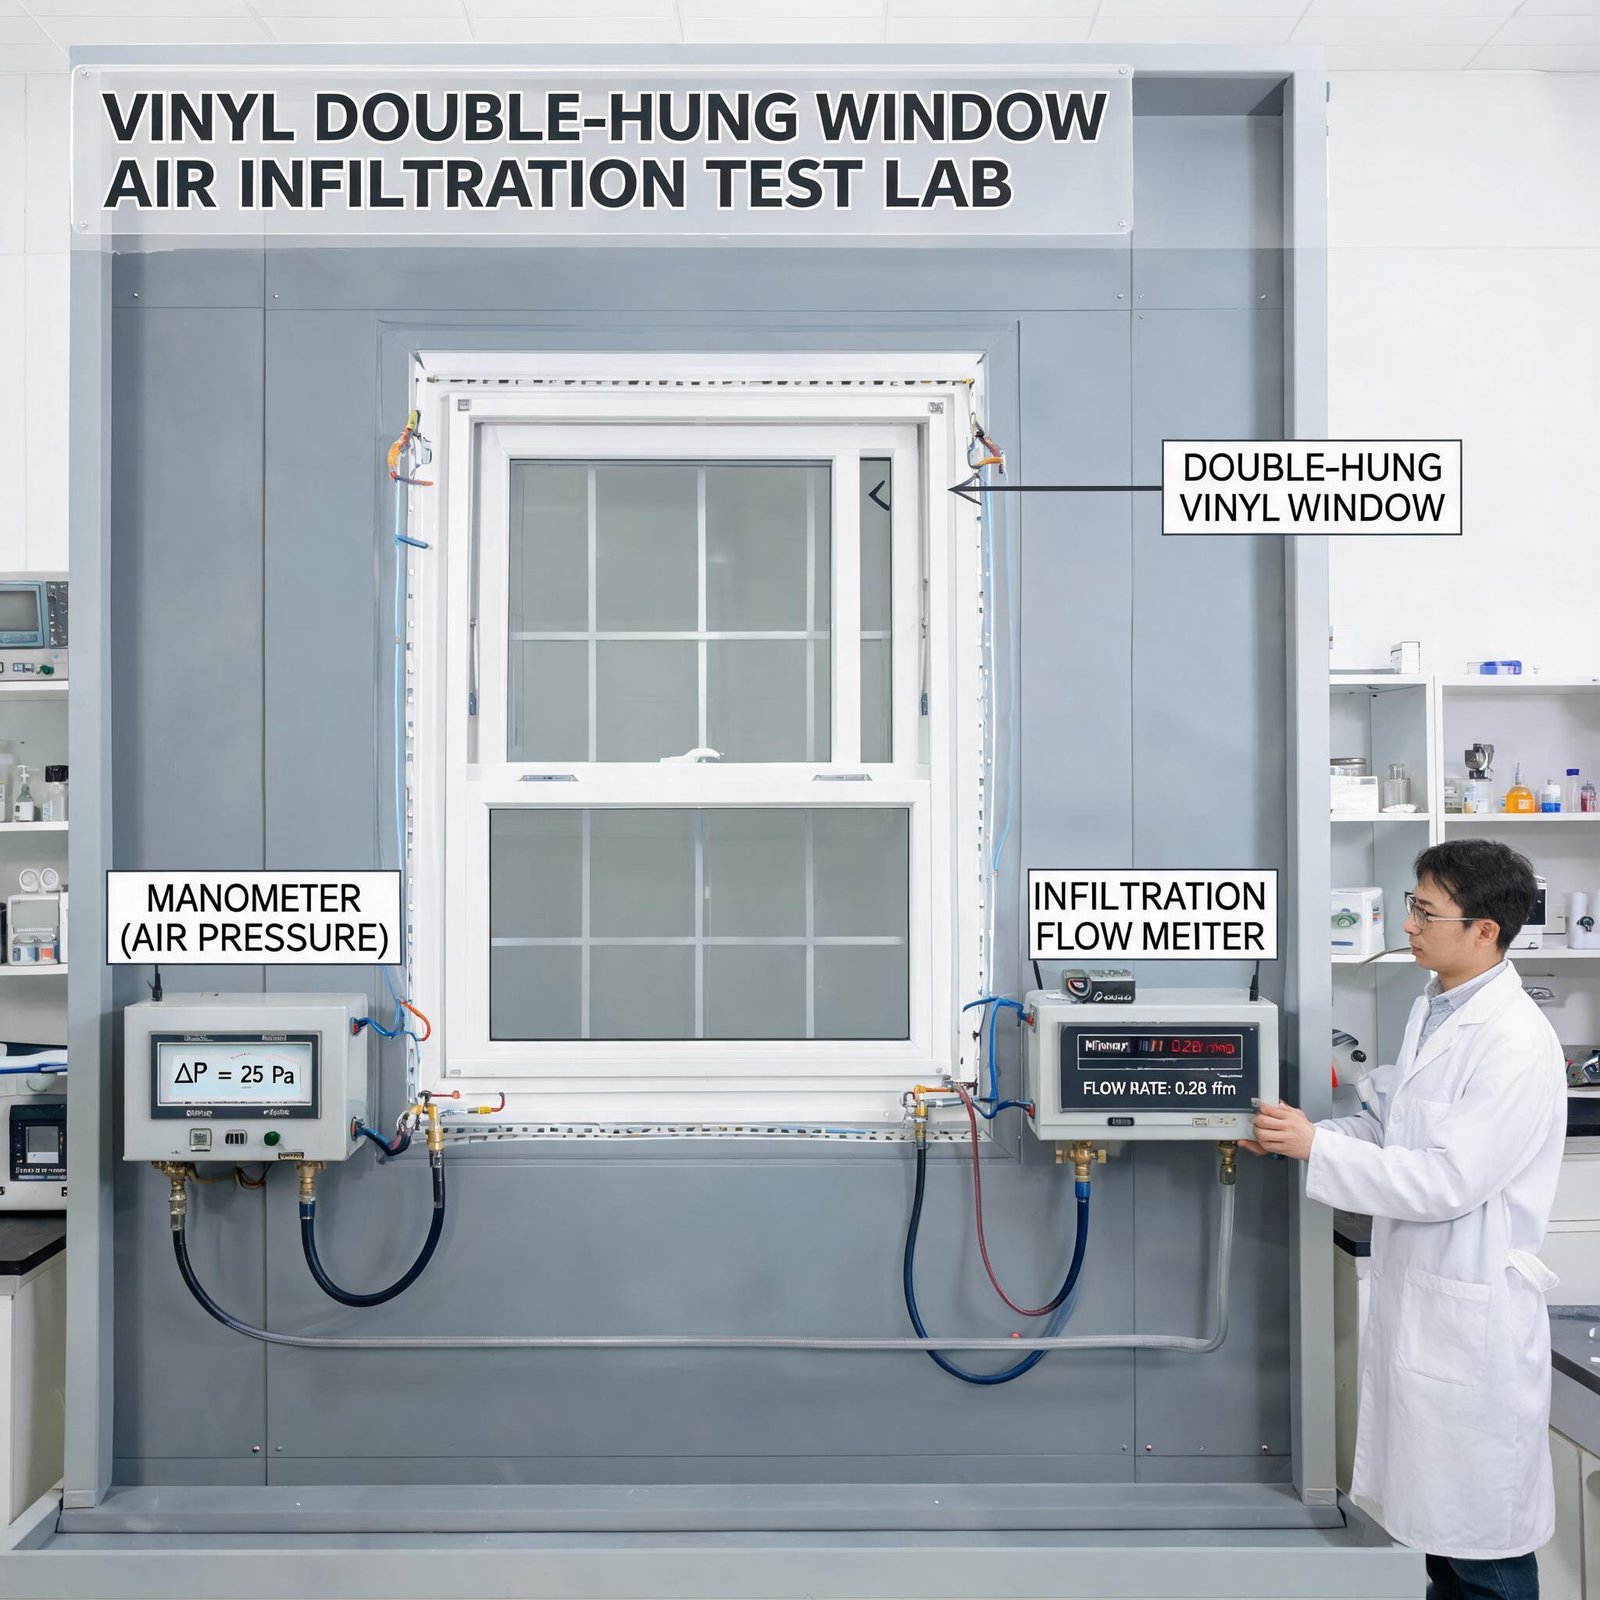
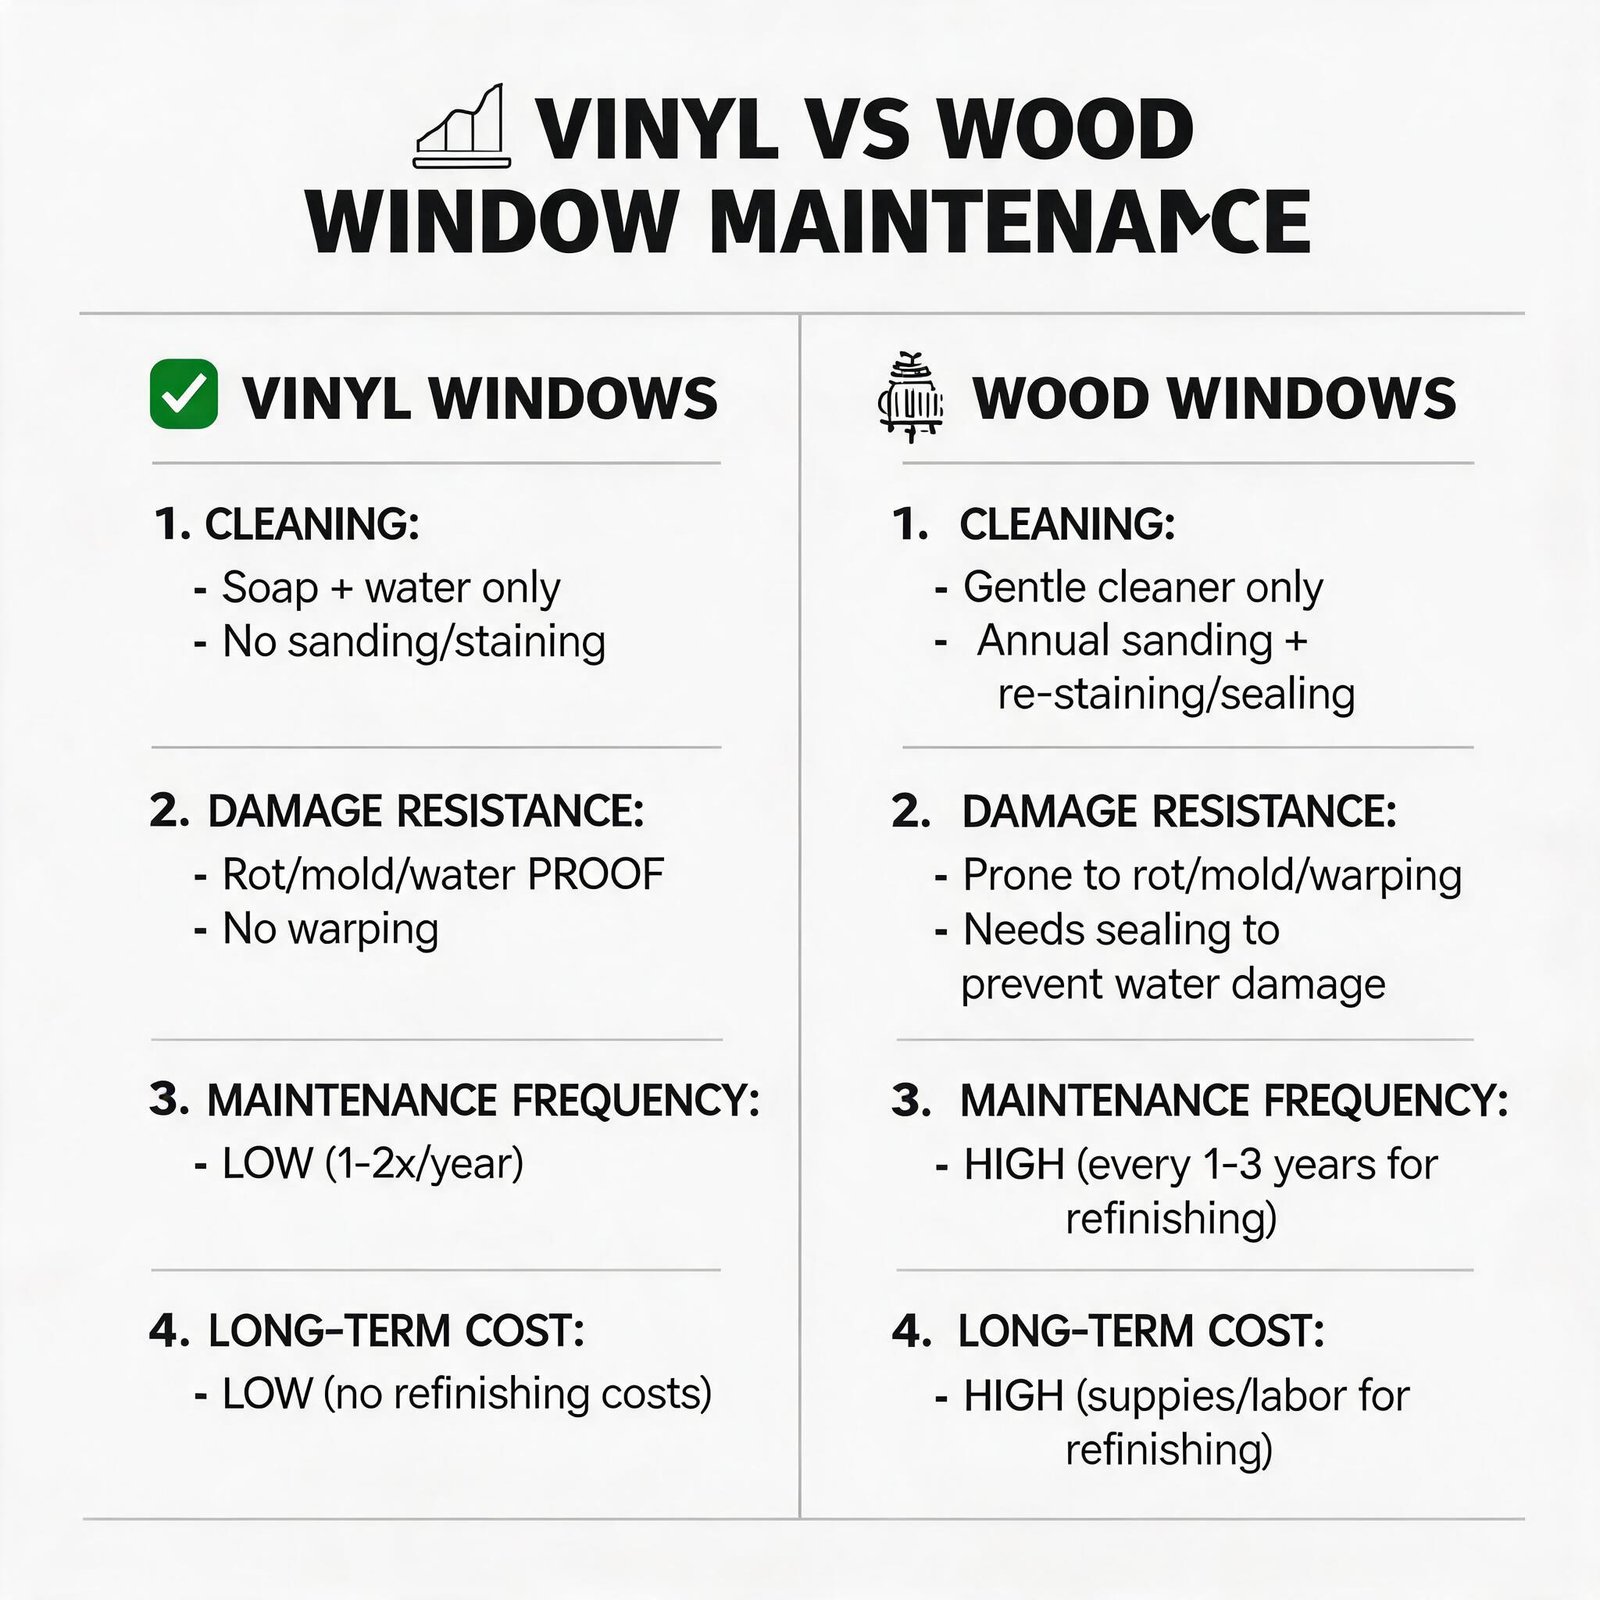
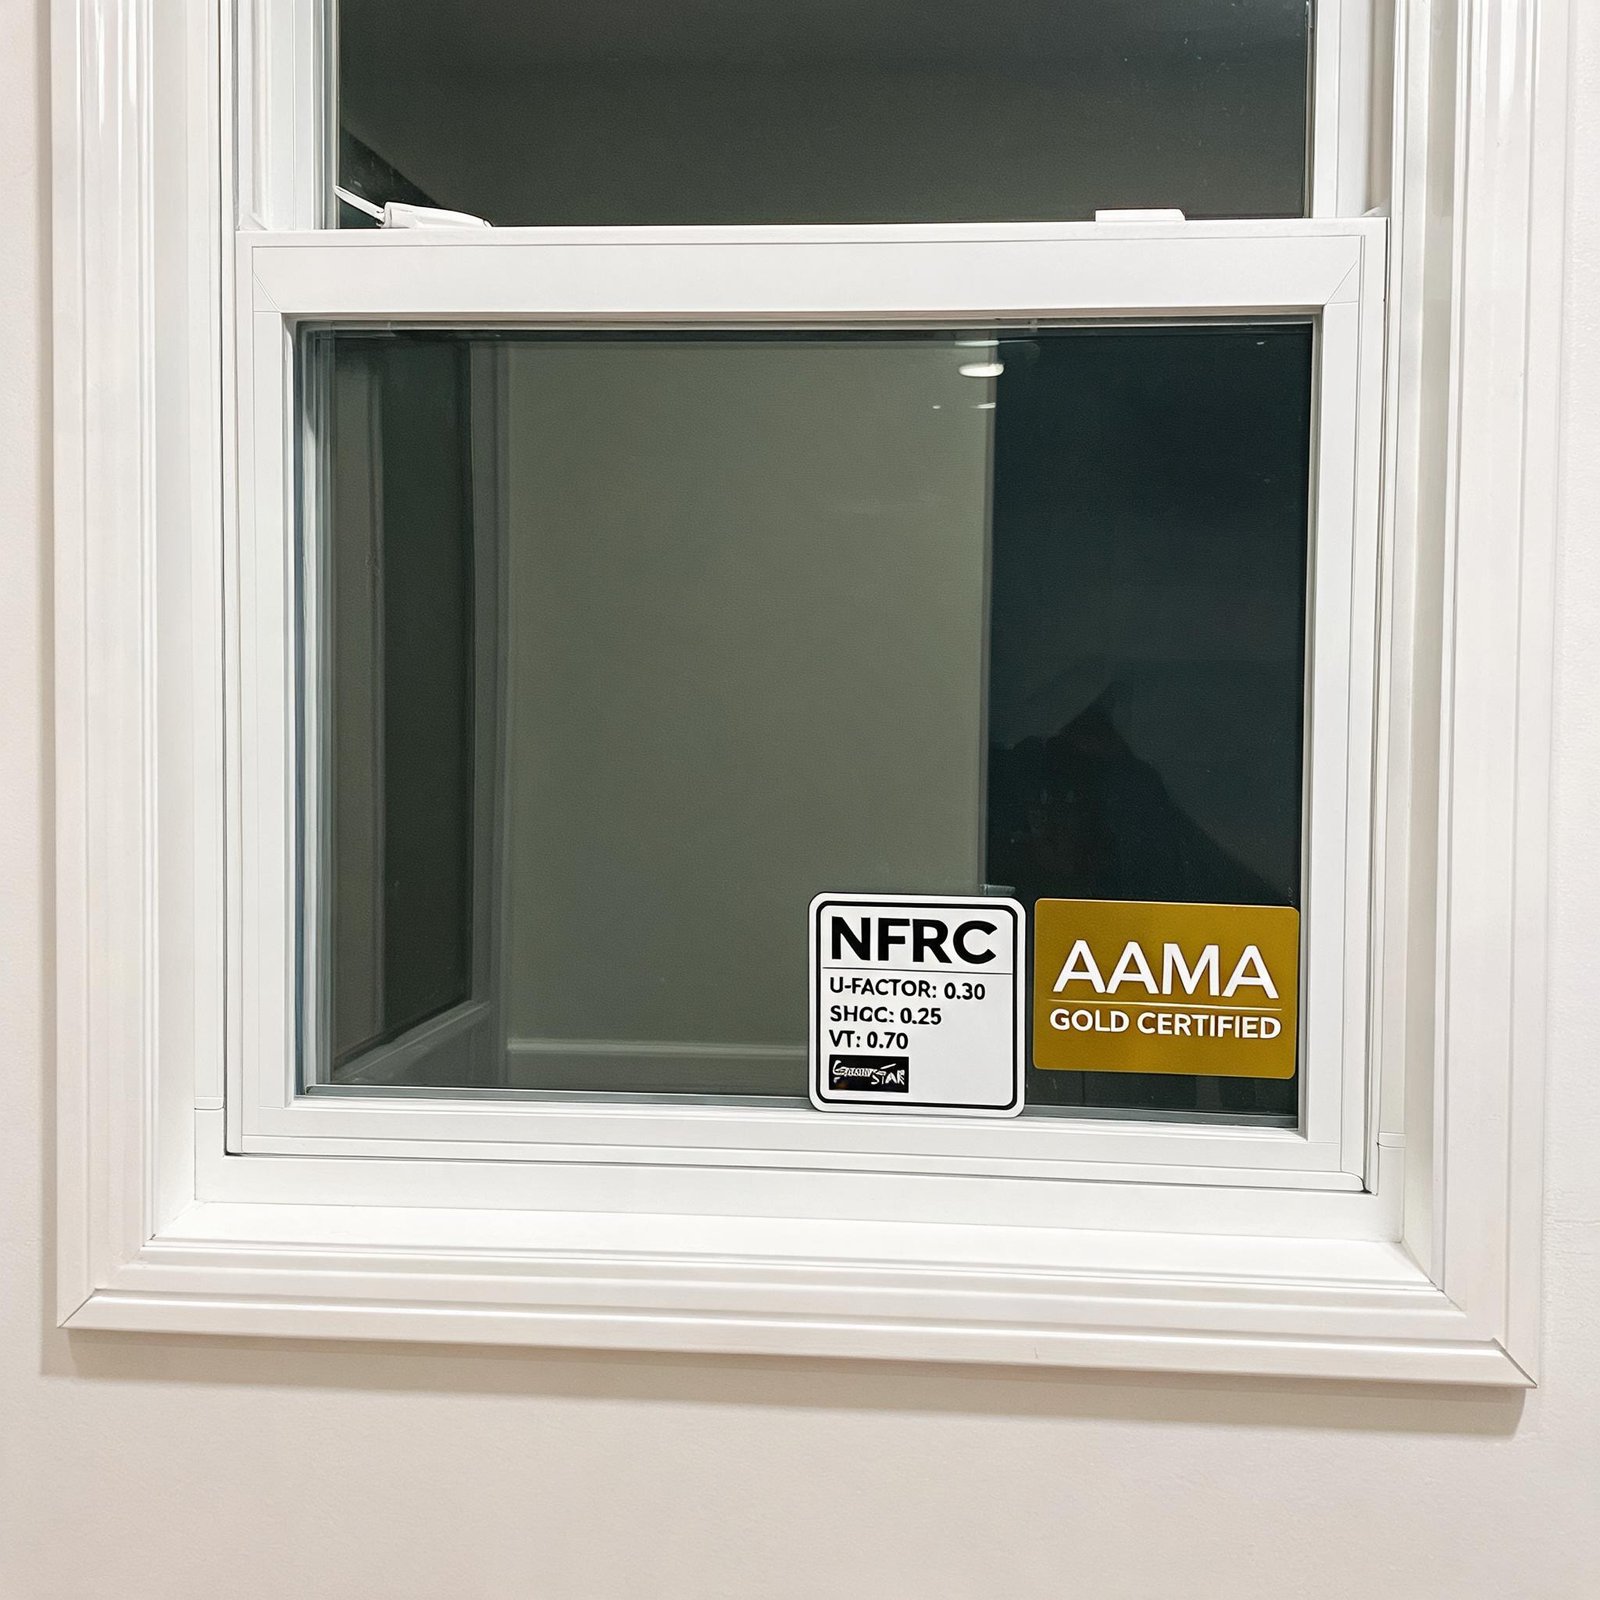
When selecting a replacement window, consider energy efficiency ratings, frame material durability, and warranty coverage. Modern vinyl windows with double or triple glazing provide excellent thermal performance while matching the aesthetic of vinyl siding.
Step 2: Interior Preparation
Clear the work area inside your home. Remove window treatments, furniture near the window, and any wall decorations. Cover flooring with drop cloths. If you are working on an upper floor, ensure proper ladder setup and consider having a helper for safety.
Disconnect any window sensors or alarm contacts before removal. Take photographs of the existing installation for reference during reassembly.
Step 3: Removing the Old Window
Start by removing the interior trim or stops that hold the window in place. Use a pry bar carefully to avoid damaging surrounding wall surfaces. With the interior stops removed, check if the window is nailed through the frame or if it has a nailing fin.
For windows with nailing fins, you will need to cut through the caulk seal around the exterior perimeter. Use a utility knife to break this seal completely before attempting removal. Have a helper support the window from outside while you remove fasteners from inside.
Step 4: Removing Vinyl Siding Around the Window
This step requires patience. Vinyl siding is not designed for repeated removal, and careless work can crack or damage panels. Use a siding removal tool or a flat pry bar to gently lift the locking strip of the siding panel above the window.
Work from the bottom edge, lifting upward until the panel releases from the panel below. Slide the panel sideways to disengage it from the J-channel at the window edges. Remove only enough siding panels to expose the window flange and surrounding sheathing.
For those wondering how to replace vinyl windows with vinyl siding without damaging surrounding panels, the trick is working slowly and lifting rather than prying. Vinyl becomes more flexible in warm weather, so consider doing this work on a mild day.
Step 5: Exposing the Window Rough Opening
Once siding is removed, you will see the existing window flange or nailing fin. Remove any old caulk or sealant. Inspect the sheathing for rot or water damage. If you find soft or deteriorated wood, this must be repaired before proceeding.
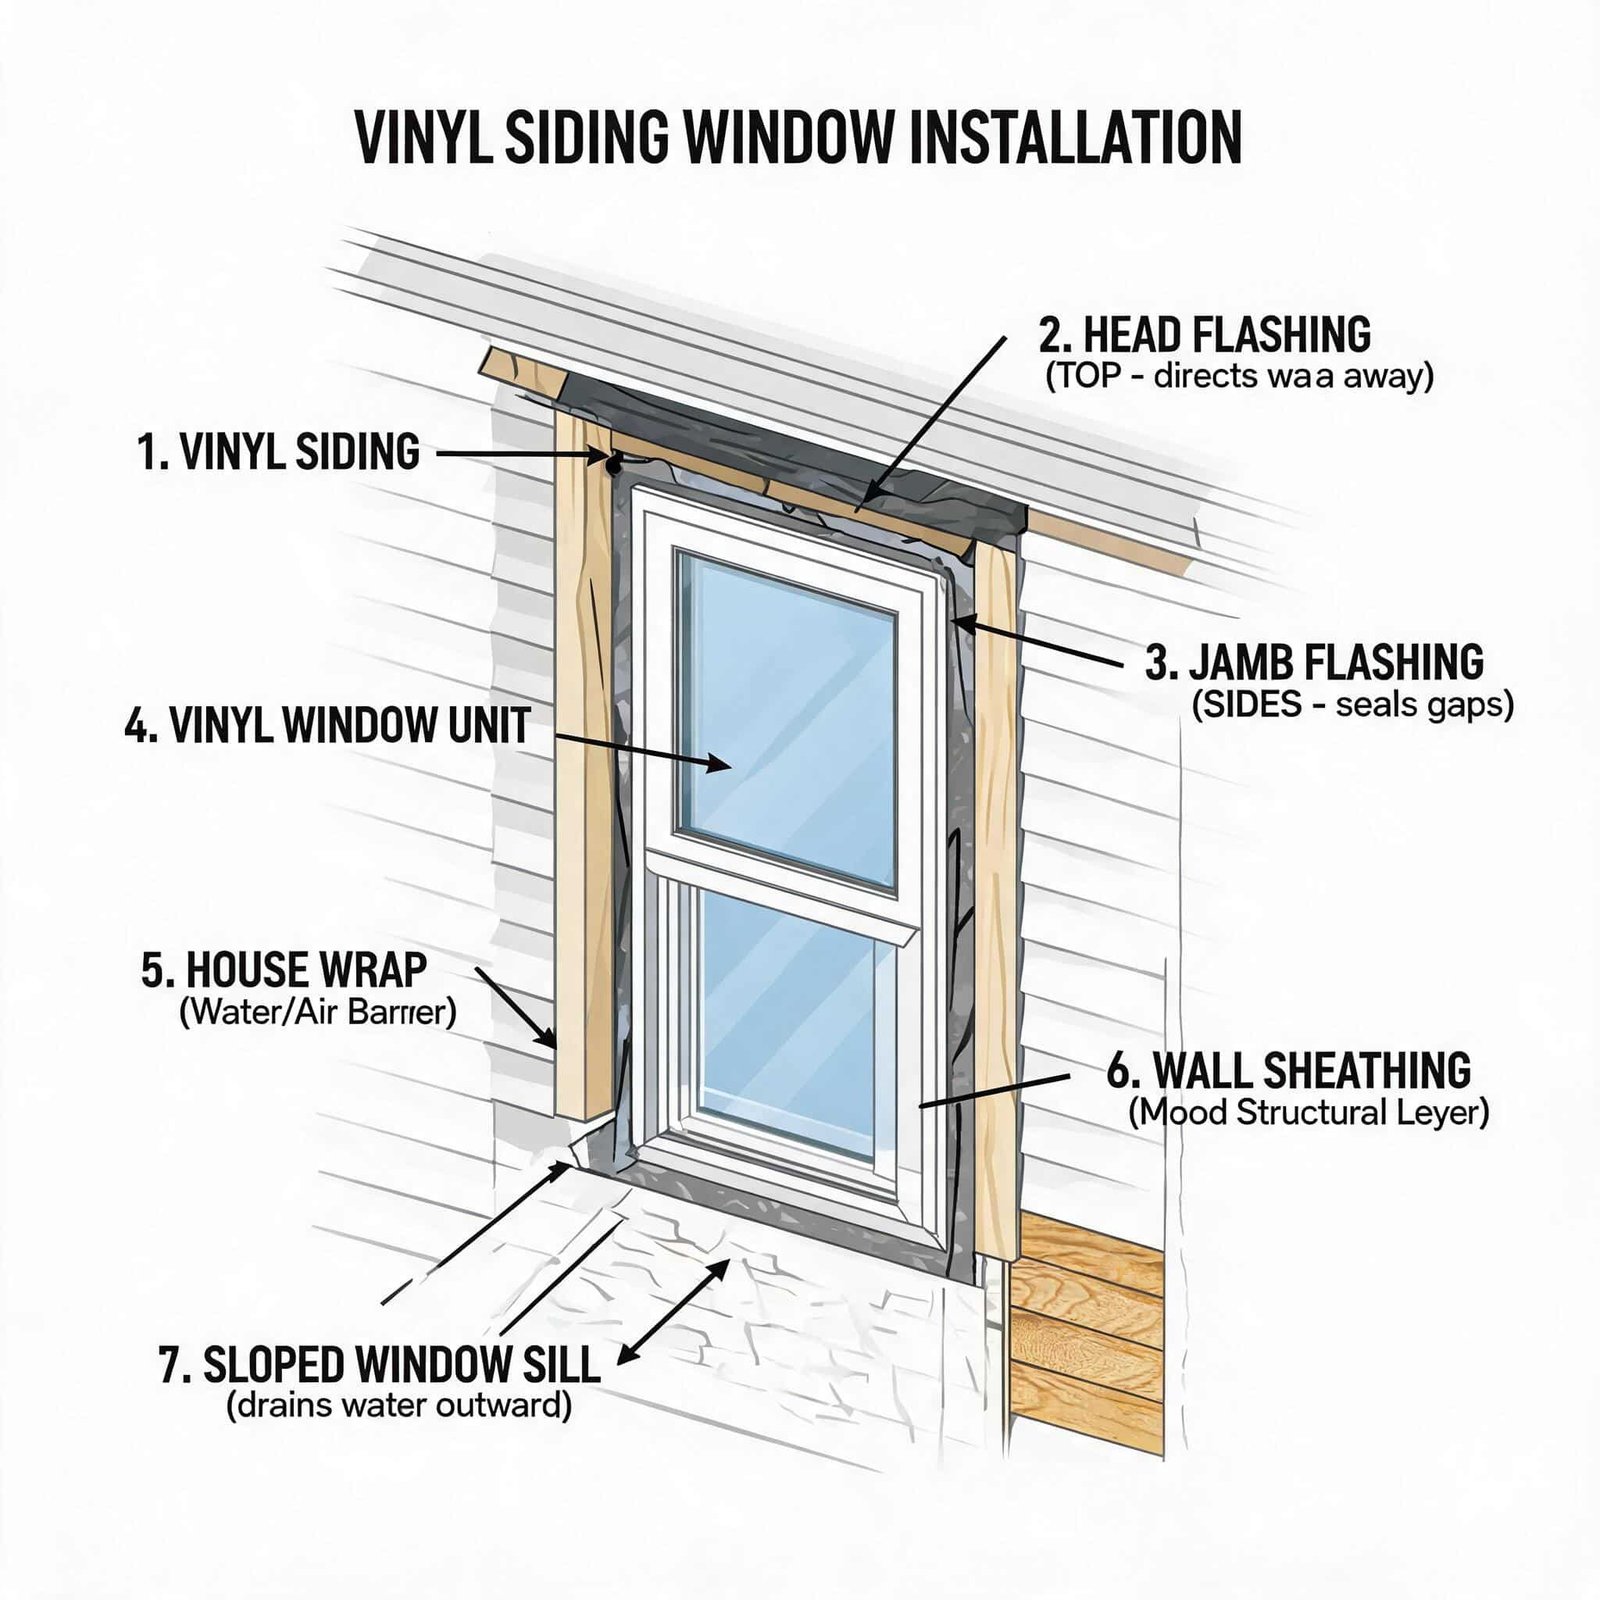
Check the sill for proper slope. The sill should angle downward away from the window to direct water outward. If the existing sill is flat or slopes inward, build up the angle using cedar shims or replace the sill entirely.
Step 6: Installing Flashing Tape
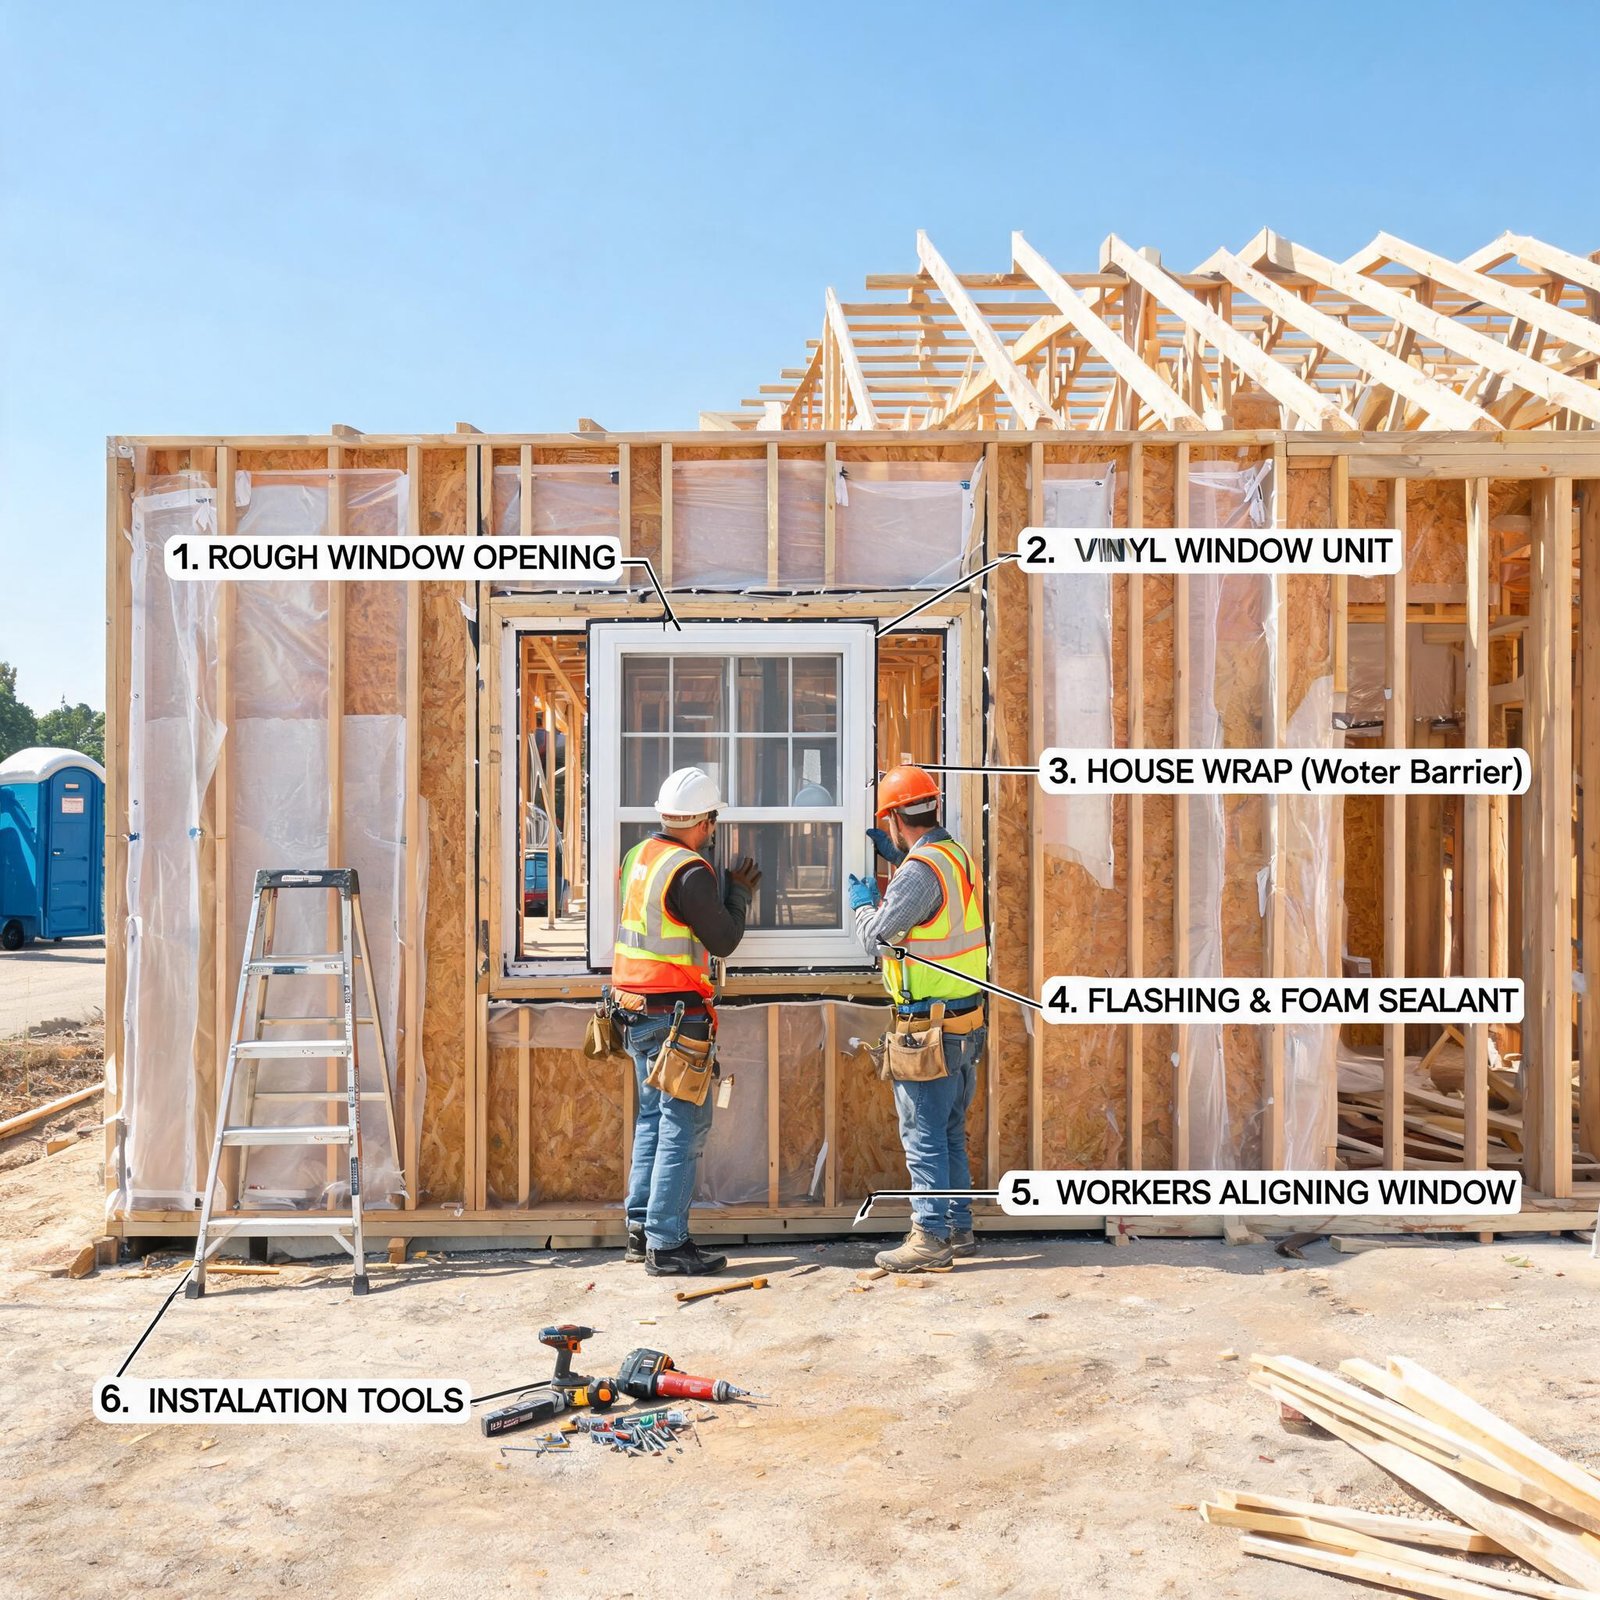
Proper flashing is the most critical step for preventing water damage. Apply flashing tape to the rough opening sill first, extending several inches beyond each side. Cut the tape to wrap up the sides of the opening.
Apply flashing to the side jambs, overlapping the sill flashing. Finally, apply flashing to the top, overlapping the side flashing. This shingle-lap technique ensures water flows over each layer rather than behind it.
Use a roller or firm pressure to ensure complete adhesion. Any bubbles or gaps in flashing tape create pathways for moisture infiltration.
Step 7: Positioning and Leveling the New Window
Set the new window into the rough opening from outside. Center it evenly within the opening. Use shims under the sill to achieve proper height and level. Check level across the sill and vertically on both sides.
The window should be square within 1/8 inch across the diagonal measurement. Adjust shims as needed before securing the window in place.
Step 8: Securing the Window
Drive screws or nails through the window flange into the sheathing and framing. Start with the bottom corners, then top corners, then work around the perimeter. Do not overtighten fasteners, as this can warp the window frame.
Space fasteners approximately 12 inches apart. Check level and plumb after each few fasteners to ensure the window has not shifted.
Step 9: Insulating Around the Window
Use low-expansion foam specifically designed for window and door installations. Standard expanding foam can exert enough pressure to bow window frames and cause operational problems.
Apply foam in a continuous bead around the perimeter, filling gaps up to 1/2 inch wide. Allow the foam to cure completely according to manufacturer instructions before trimming any excess.
Step 10: Installing J-Channel
J-channel provides the finished transition between window and siding. Cut J-channel pieces for the top and sides, mitering corners at 45 degrees for a clean appearance. The bottom piece should have the ends cut to overlap the side pieces.
Nail J-channel through the slot provided, leaving room for thermal expansion. Do not nail tightly. Space nails every 12 inches.
Step 11: Reinstalling Vinyl Siding Panels
Slide the removed siding panels back into place, engaging the locking strips with the panels below. Cut siding panels to fit around the new J-channel if necessary. Use a utility knife to score and snap vinyl siding for clean cuts.
Ensure siding panels can move freely within the J-channel. Vinyl siding must never be nailed tightly or forced into channels, as thermal expansion will cause buckling.
Step 12: Sealing and Caulking
Apply exterior-grade caulk at all joints between J-channel pieces and where J-channel meets the window frame. Do not caulk the bottom of J-channel, as weep holes must remain open to allow drainage.
Caulk the gap between siding and J-channel at the top and sides only. Leave the bottom open for water escape.
Step 13: Interior Finishing
Install interior trim or stops to secure the window from inside. Apply interior caulk around the trim for an airtight seal. Replace any insulation that was disturbed during the process.
Test the window operation to ensure smooth opening, closing, and locking. Make minor adjustments to shims if necessary.
Step 14: Final Inspection
Check all exterior seals for gaps or missed areas. Verify that siding panels are properly engaged and can move freely. Look for any exposed fasteners that need covering. Clean caulk smears from window glass and siding surfaces.
Common Mistakes to Avoid
Over-tightening fasteners warps window frames and causes operational issues. Fasteners should be snug but not crushing the flange.
Blocking weep holes in J-channel prevents proper drainage. Always leave bottom J-channel weep holes unobstructed.
Using standard expanding foam can bow window frames and damage the installation. Always use low-expansion window and door foam.
Skipping flashing tape or installing it incorrectly leads to water damage that may not appear for months or years.
Nailing vinyl siding tightly prevents necessary thermal movement and causes buckling in temperature extremes.
When to Call a Professional
While many homeowners successfully install windows themselves, certain situations warrant professional help. If you discover extensive rot in the wall structure, if the rough opening is significantly out of square, or if local building codes require licensed installation, hire a qualified contractor.
For those learning how to install a window with vinyl siding for the first time, consider starting with a ground-floor window in a less visible location. The experience gained will make subsequent installations smoother.
Maintenance After Installation
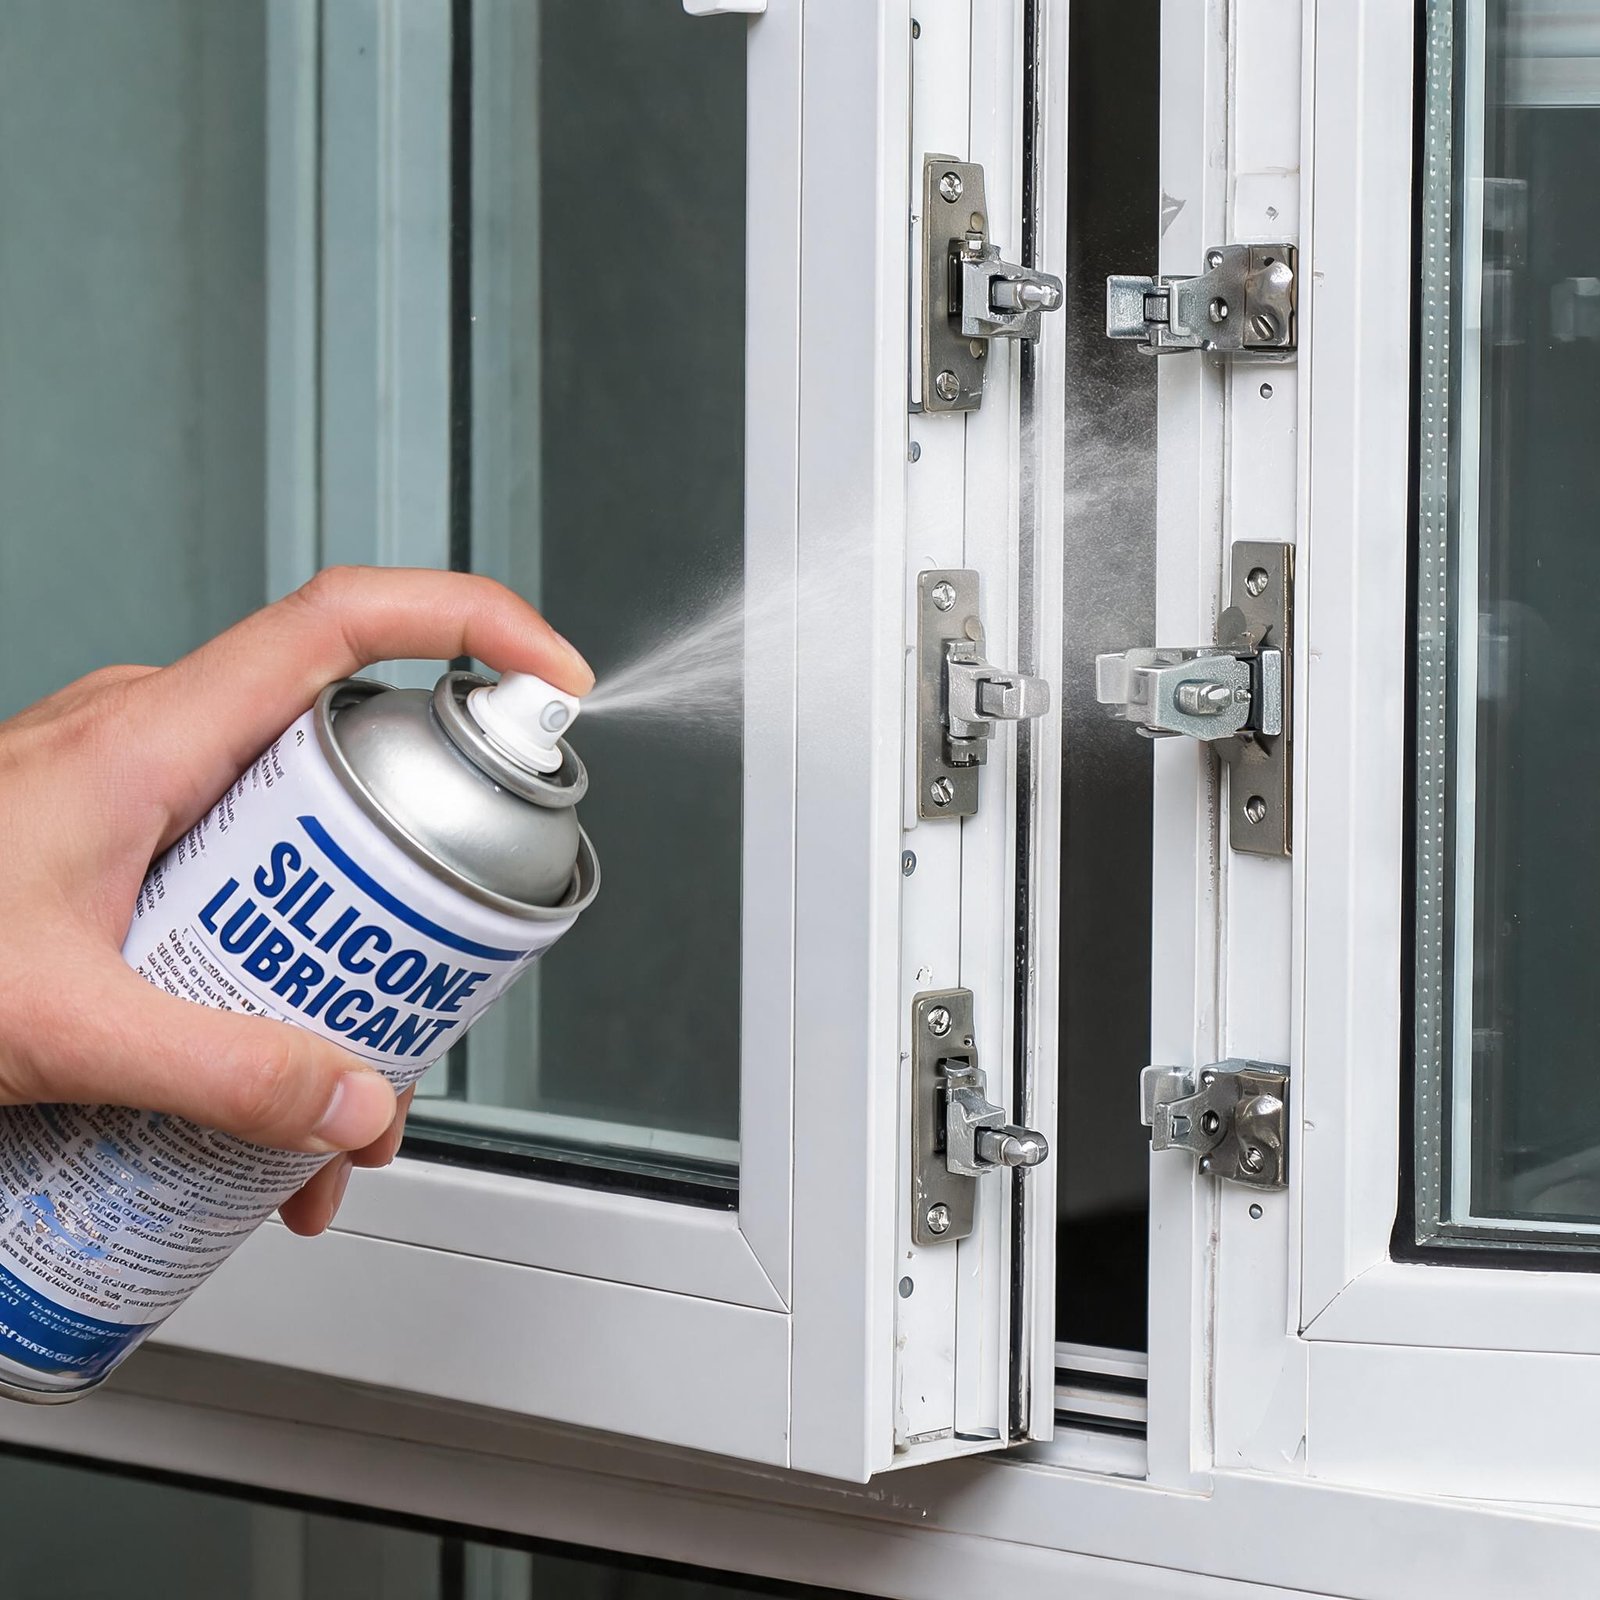
New windows require minimal maintenance, but periodic checks extend their lifespan. Inspect exterior caulk annually and reapply as needed. Clean J-channel weep holes if they become clogged with debris. Lubricate moving parts with silicone spray rather than petroleum-based products that can damage vinyl.
Vinyl siding around windows should be inspected after extreme temperature changes. If panels appear buckled or gapped, they may have been installed too tightly and need adjustment.
Frequently Asked Questions
Can I install a window in vinyl siding without removing the siding?
In most cases, you must remove at least the siding panels directly surrounding the window to access the nailing flange. Cutting siding in place rarely produces clean results and often damages the locking mechanism.
What is the best type of window for vinyl siding homes?
Vinyl windows with integral nailing fins work best because they match the thermal expansion characteristics of vinyl siding and provide consistent appearance. The materials expand and contract at similar rates.
How long does it take to install a window in vinyl siding?
A first-time installer should expect 4 to 6 hours per window. Experienced professionals complete the job in 1 to 2 hours. Weather conditions, window size, and accessibility affect installation time.
Do I need building permits for window replacement?
Many jurisdictions require permits for window replacement, especially when changing window size or type. Check with your local building department before starting work. Unpermitted work can create issues when selling your home.
Can I install a larger window than the existing opening?
Installing a larger window requires cutting the rough opening larger, which involves structural modifications, new headers, and extensive siding work. This is a major renovation best handled by professionals.
Why does my new window leak even though I followed instructions?
Leaks typically result from improper flashing installation, missing caulk at joints, or blocked J-channel weep holes. Review your installation focusing on these three areas first.
How do I match J-channel color to existing siding?
Most vinyl siding manufacturers offer J-channel in standard colors. Take a small piece of your existing siding to a building supply store for color matching. If exact matches are unavailable, white or almond J-channel complements most siding colors.
What warranty coverage should I expect on replacement windows?
Quality vinyl windows carry 20-year to lifetime warranties on materials and construction. Installation warranties vary by contractor. Manufacturer warranties typically cover defects but not installation errors.