Why Vinyl Window Glass Eventually Needs Replacement
Before diving into the replacement process, it helps to understand what makes vinyl windows different from other types. Vinyl frames expand and contract with temperature changes more than wood or metal, which places unique stress on the glass seal. Over time, this can lead to seal failure—that foggy appearance between panes that signals the insulating gas has escaped.
Common reasons homeowners need glass replacement include:
Impact damage from hail, stray baseballs, or flying debris during storms. Unlike wood frames that can be sanded and painted, vinyl frames require precise glass replacement to maintain their structural integrity.
Seal failure appears as condensation or fogging between the panes. This isn’t just an eyesore—it dramatically reduces energy efficiency and can lead to further frame damage if moisture gets trapped.
Thermal stress cracks occur when temperature differences between the center and edges of the glass become extreme. Dark-tinted windows in sunny climates are particularly susceptible.
Accidental damage during cleaning or renovation work. A simple slip with a ladder or tool can crack a pane that otherwise had years of life remaining.
Tools and Materials You’ll Need
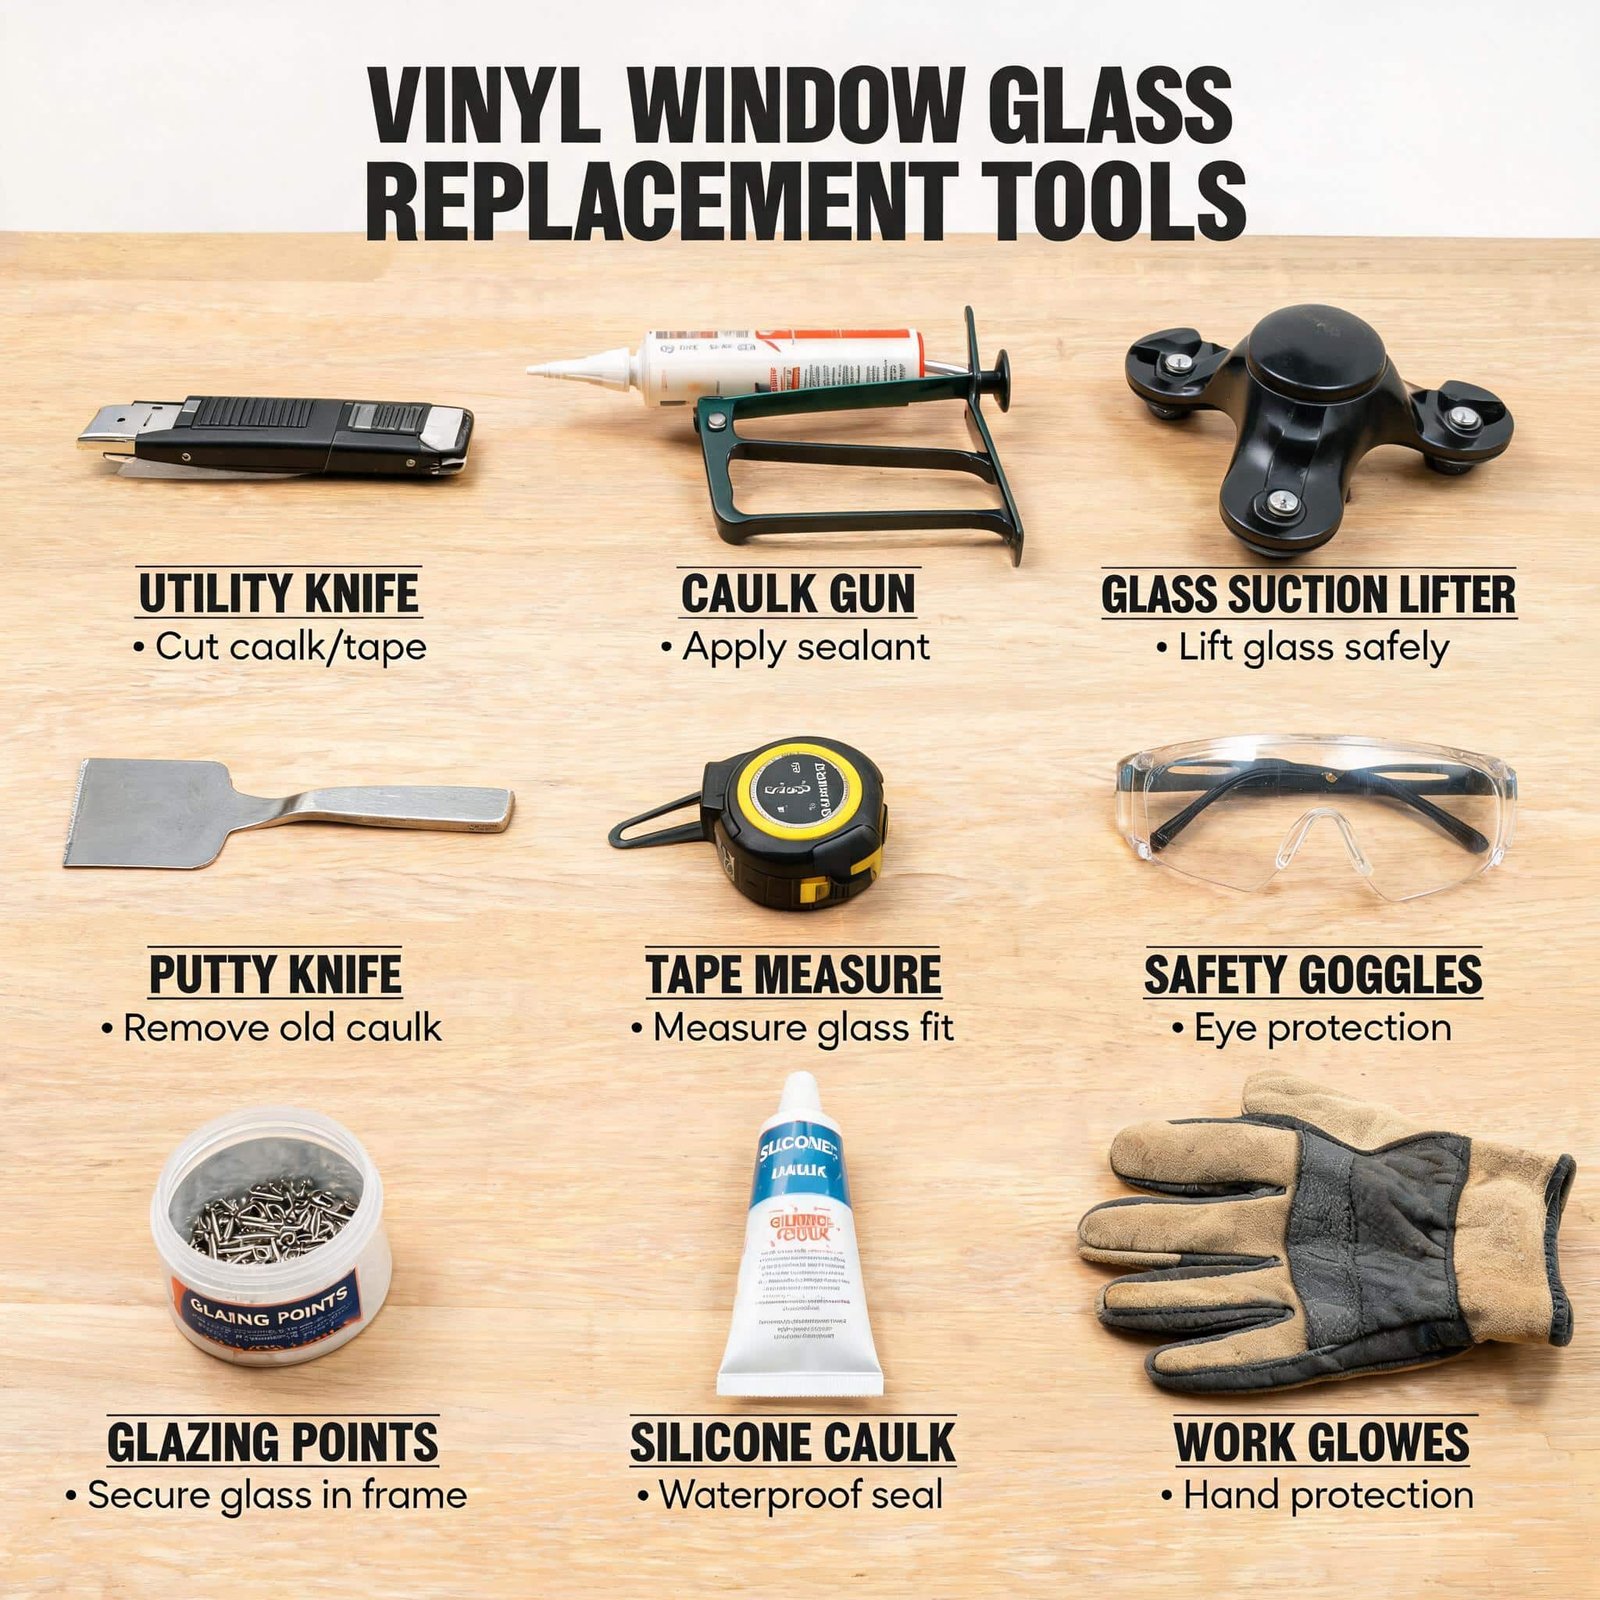
Many DIY guides skip this crucial preparation step, but having everything ready before you start makes the difference between a clean replacement and a frustrating afternoon. For most vinyl window glass replacement projects, you’ll need:
- Safety glasses and heavy-duty work gloves
- Putty knife or stiff scraper
- Flat-head screwdriver
- Measuring tape (digital calipers are better for precision)
- Utility knife with fresh blades
- Replacement insulated glass unit (IGU) ordered to exact specifications
- Double-sided mounting tape specifically for glass retention
- Vinyl glazing strips or snap-in beads (check if yours are reusable)
- Silicone sealant rated for exterior use
- Small pry bar or trim removal tool
- Vacuum or brush for cleaning the frame channel
How to Replace Glass in a Vinyl Window: Step-by-Step
The process for replacing glass in a vinyl window frame varies slightly depending on whether your window uses snap-in glazing beads or a vinyl strip retention system. Most modern vinyl windows use the bead system, which is actually easier for homeowners to work with.
Step 1: Remove the Window Sash
You cannot replace the glass while the sash is installed in the frame. Carefully open the window and locate the release mechanisms on both sides of the sash. For double-hung windows, these are typically spring-loaded pins or tilt latches. Press or pull these while gently tilting the sash inward. Single-hung and casement windows may require removing hinge pins or screws—consult your window manufacturer’s documentation if you’re unsure.
Place the removed sash on a flat, padded work surface. A blanket or piece of cardboard prevents scratching the frame during the process.
Step 2: Remove the Glazing Beads
The glazing beads are the plastic strips that hold the glass in place within the sash. On most vinyl windows, these snap into channels and can be pried out with a putty knife. Insert the knife at a corner where two beads meet and gently pry upward. Work slowly around the perimeter—forcing a bead can crack it, and replacement beads may be difficult to match if your windows are older.
Label each bead with painter’s tape indicating its position (top, bottom, left, right). This matters because beads are often cut to specific lengths and may not swap positions cleanly.
Step 3: Remove the Damaged Glass
With the beads removed, the glass should lift out freely. If it’s broken, wear thick gloves and carefully remove larger pieces first, then vacuum the smaller fragments from the frame channel. Pay attention to any shims or spacers that were used during original installation—you’ll need to replicate their placement.
Clean the frame channel thoroughly. Any debris left behind will prevent the new glass from seating properly and could cause future seal failure.
Step 4: Measure Accurately
This is the most critical step in learning how to replace glass in a vinyl window. Measure the width and height of the frame opening at three points each—top, middle, and bottom for width; left, center, and right for height. Use the smallest measurement in each direction. Also measure the diagonal distances from corner to corner; if these differ by more than 1/8 inch, your frame may be out of square and will require adjustment.
Record the glass thickness as well. Standard insulated units are typically 5/8 inch to 7/8 inch thick, but this varies by manufacturer. When ordering your replacement IGU, provide these exact measurements and specify that it’s for a vinyl frame application.
If you’re unsure about measuring, many homeowners find it helpful to learn how to remove vinyl window glass from frame first, which allows you to take the old unit to a glass shop for precise matching.
Step 5: Prepare the Frame Channel
Apply double-sided mounting tape along the bottom and sides of the frame channel. This tape serves two purposes: it cushions the glass and prevents it from shifting during installation. Some manufacturers recommend silicone sealant instead—check your window’s original construction method.
Step 6: Install the New Glass Unit
Carefully lower the new IGU into the frame, ensuring it sits evenly in the channel. Press down firmly to engage the mounting tape. Check that the glass is centered with equal gaps on all sides. If your original window used plastic shims, reinstall them in the same positions.
Step 7: Reinstall the Glazing Beads
Starting with the top bead, snap each glazing strip back into its channel. Work from the center outward, pressing firmly until you hear the bead click into place. The bottom bead should be installed last. If the beads feel loose, a small bead of clear silicone along the back edge will secure them.
Step 8: Test and Reinstall the Sash
Once all beads are secure, gently press on the glass to verify it doesn’t move within the frame. Reinstall the sash into the window opening, engaging the tilt latches or hinge pins. Open and close the window several times to ensure smooth operation and proper sealing.
When Professional Replacement Makes More Sense
While the DIY approach works well for standard double-hung windows with accessible glass, several situations call for professional intervention. Large picture windows, arched or geometric shapes, and windows on upper floors present safety risks that outweigh any cost savings.
Additionally, if your windows are still under warranty, attempting DIY glass replacement will almost certainly void that coverage. Most manufacturers require certified installers for warranty-valid repairs.
Professional replacement also addresses issues that DIY work cannot. A trained technician can identify underlying frame damage, seal gaps that contribute to air leakage, and ensure the new glass meets current energy codes. For homeowners considering how to replace glass in a vinyl window frame on older windows, professional assessment often reveals that full sash replacement provides better long-term value.
Understanding Glass Options for Replacement
Not all glass is created equal, and your replacement choice affects both performance and cost. Standard double-pane units provide basic insulation, but upgrading to Low-E glass reduces UV damage to furnishings and improves thermal efficiency by up to 30 percent. Argon or krypton gas fills offer even better insulation than standard air-filled units.
For noise reduction, consider laminated glass or units with different pane thicknesses that disrupt sound wave transmission. These options cost more but dramatically improve comfort in noisy neighborhoods.
Tempered glass is required by code for windows near doors, stairs, and in bathrooms. Always verify local building requirements before ordering replacement glass.
Preventing Future Glass Damage
Once you’ve completed your glass replacement, take steps to protect your investment. Install storm windows or impact-resistant film in areas prone to severe weather. Keep trees and shrubs trimmed away from windows to prevent branch damage during windstorms.
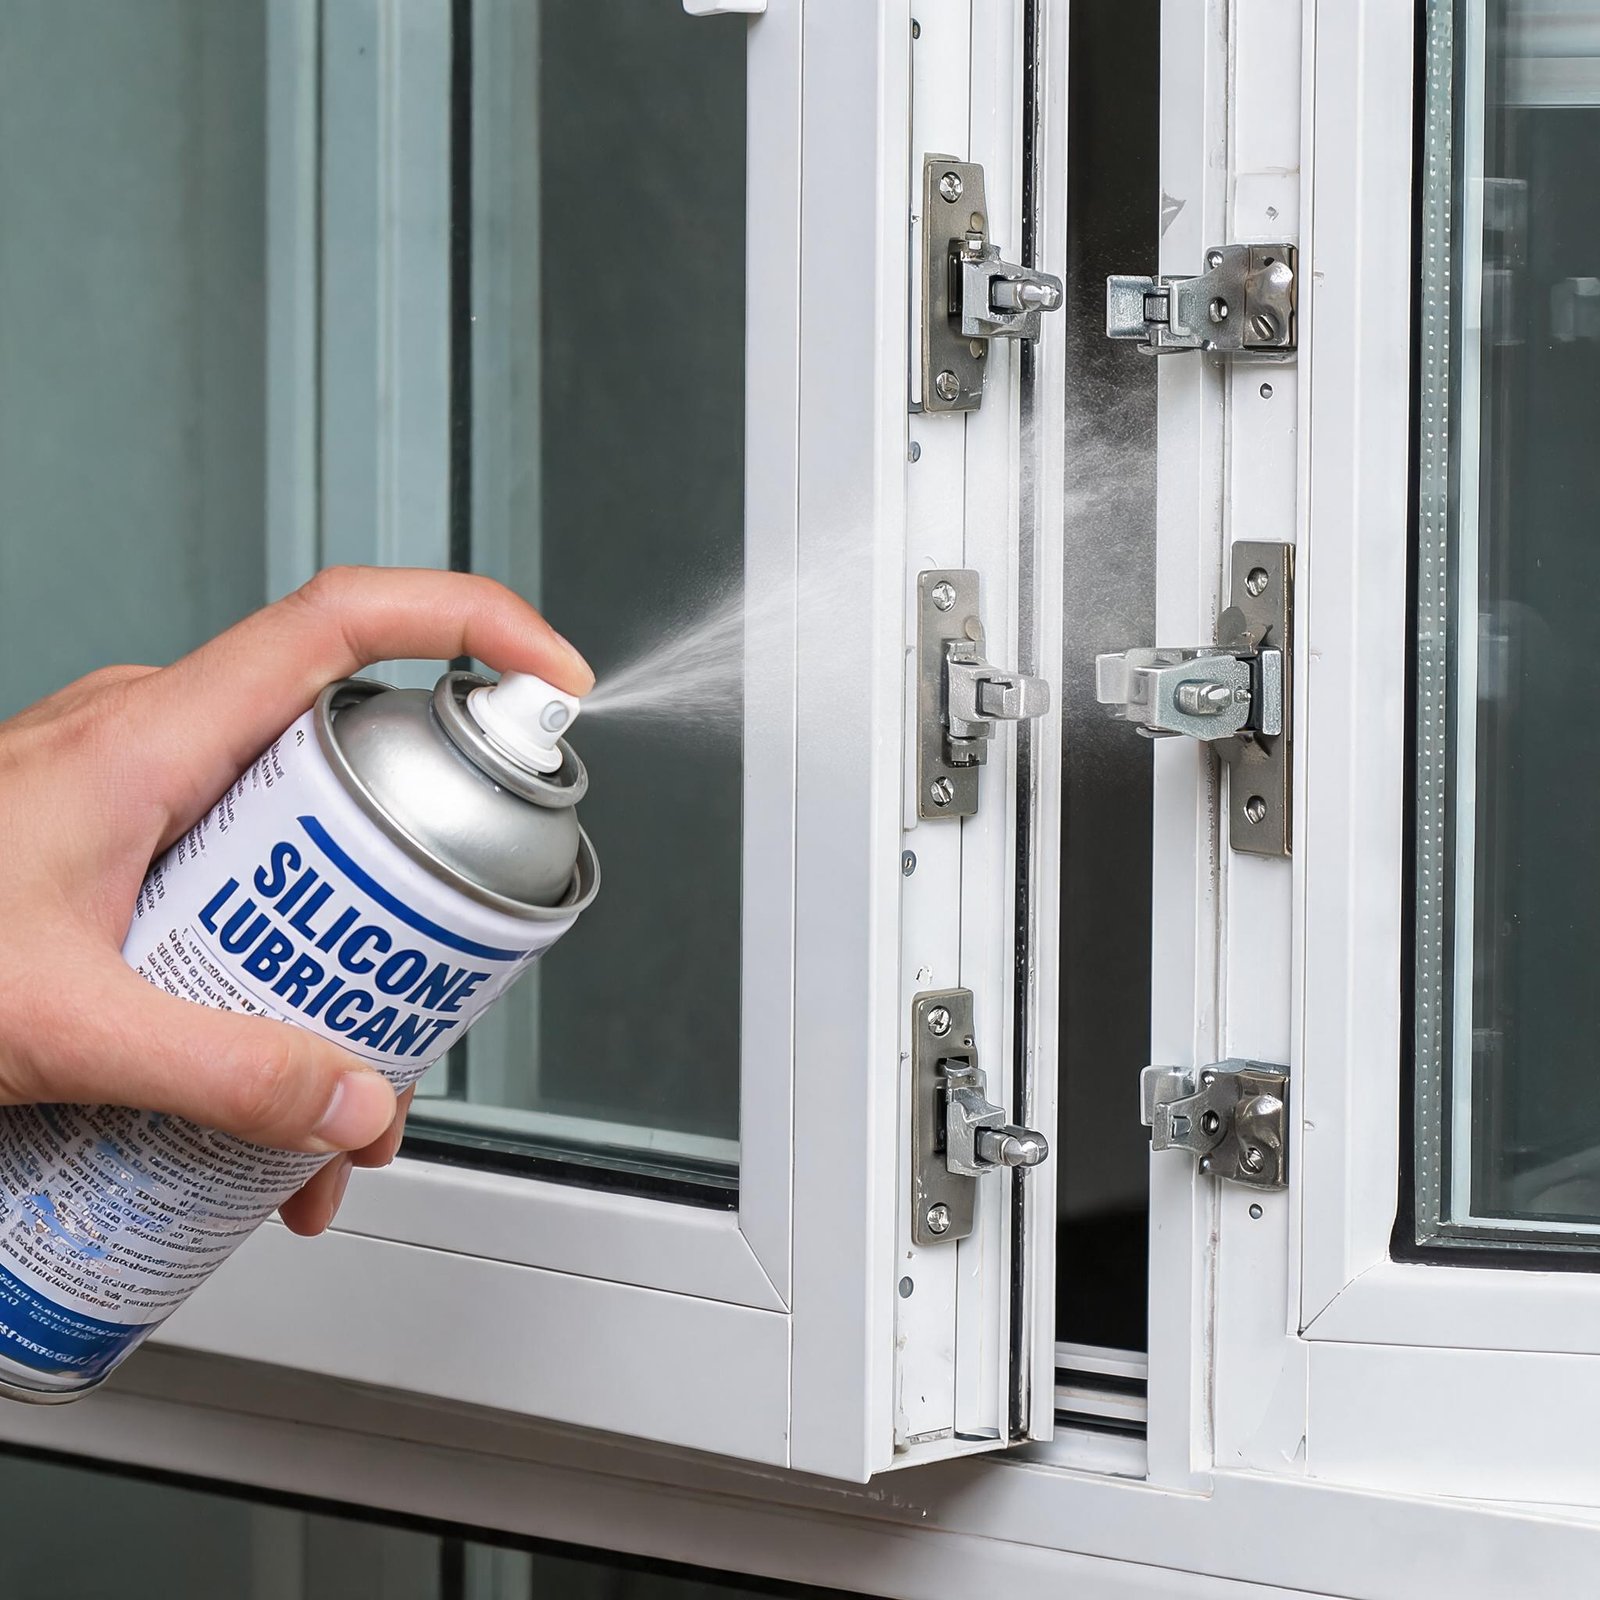
Regular maintenance matters too. Clean the frame channels annually to prevent debris buildup that can trap moisture against the glass seal. Lubricate moving parts according to manufacturer recommendations to reduce stress on the glass during operation.
Frequently Asked Questions
Can I replace just one pane of a double-pane window?
Technically yes, but it’s rarely practical. The insulating seal between panes is factory-applied, and field repairs almost never achieve the same airtightness. Replacing the entire IGU is more reliable and cost-effective in the long run.
How much does vinyl window glass replacement cost?
DIY replacement typically costs $50 to $150 for the glass unit itself, plus basic tools. Professional replacement ranges from $200 to $600 per window depending on size, glass type, and accessibility.
Why does my new glass look distorted?
Some distortion is normal with insulated glass units, particularly in larger panes. However, excessive distortion may indicate a manufacturing defect or improper installation. Contact your glass supplier if the distortion affects visibility.
Can I replace glass in a vinyl window without removing the sash?
It’s possible with some window designs that have exterior-accessible glazing beads, but it’s not recommended. Removing the sash gives you better access, reduces the risk of dropping glass, and allows for proper cleaning of the frame channel.
How long should replacement glass last?
Quality insulated glass units typically last 15 to 25 years before seal failure occurs. Proper installation and moderate climate conditions extend this lifespan significantly.